

For this Iron Craft challenge we were asked to try something new like a new technique or new material. This was the perfect chance for me to try the Viking Knitting Kit I bought last year. Viking knitting creates woven metal cords to use to make jewelry. I had seen someone do it last year and thought that it looked really interesting.
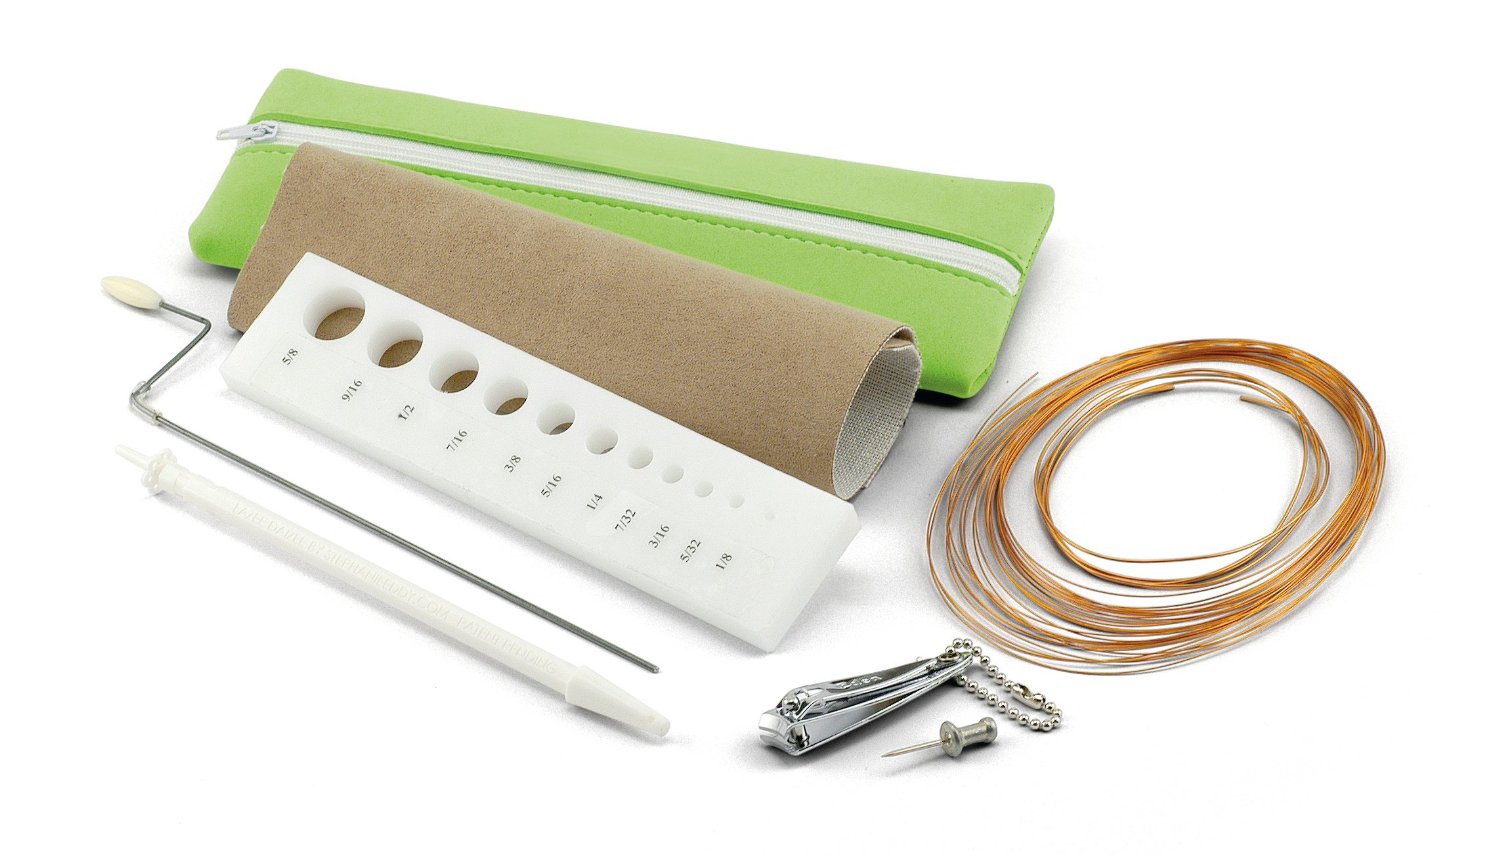
I looked for a kit at my local Joann and Michael’s, but neither had one. I ended up getting Lazee Daizee Viking Knit Kit (It’s now almost $70 on Amazon, I know I didn’t pay anything near that.) The kit comes with copper wire in various gauges, a nail clipper for cutting the wire, a push pin for help moving the wire on the tool, the weaving tool, a coil tool, fabric for rolling the woven wire, draw plate, a pouch and directions.
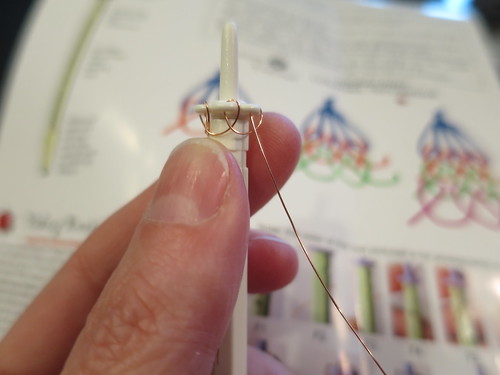
The technique itself is not that hard to learn. You start by creating a base row of loops though the holes at the top of the weaving tool and then just continue adding loop on top of the loops.
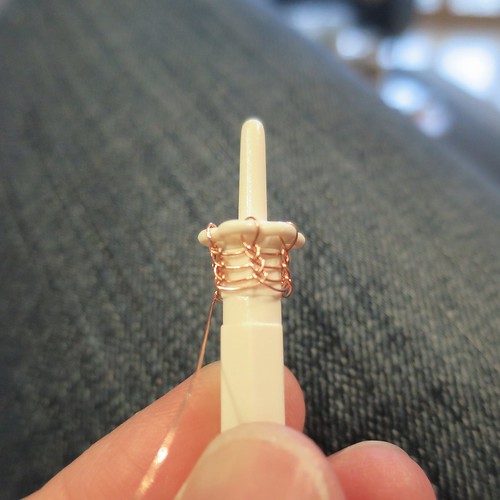
What is tricky is keeping the loops the same size and spaced evenly. The directions showed bigger loops but I found tighter ones easier to keep even.
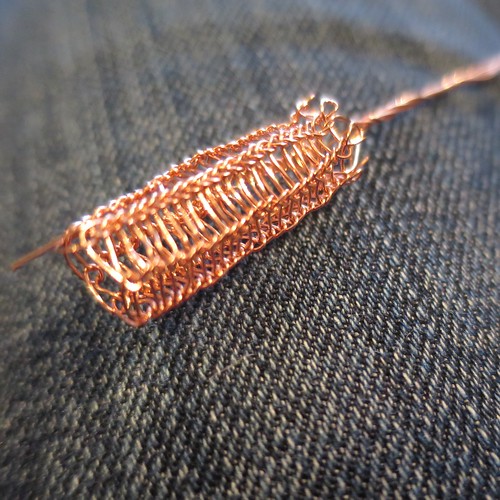
I spent about 2 hours and got just over a 1″ length. That gets cut from the tool. The nice thing about wire is it doesn’t unravel!
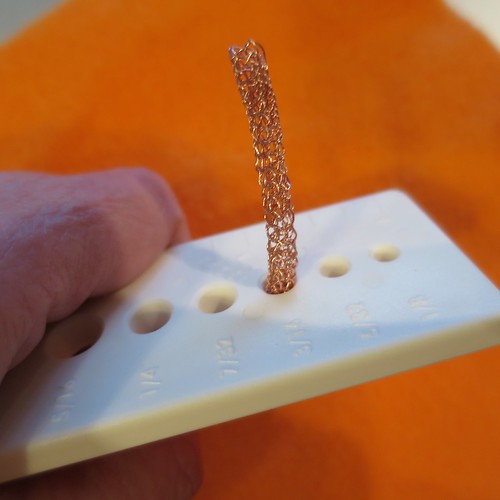
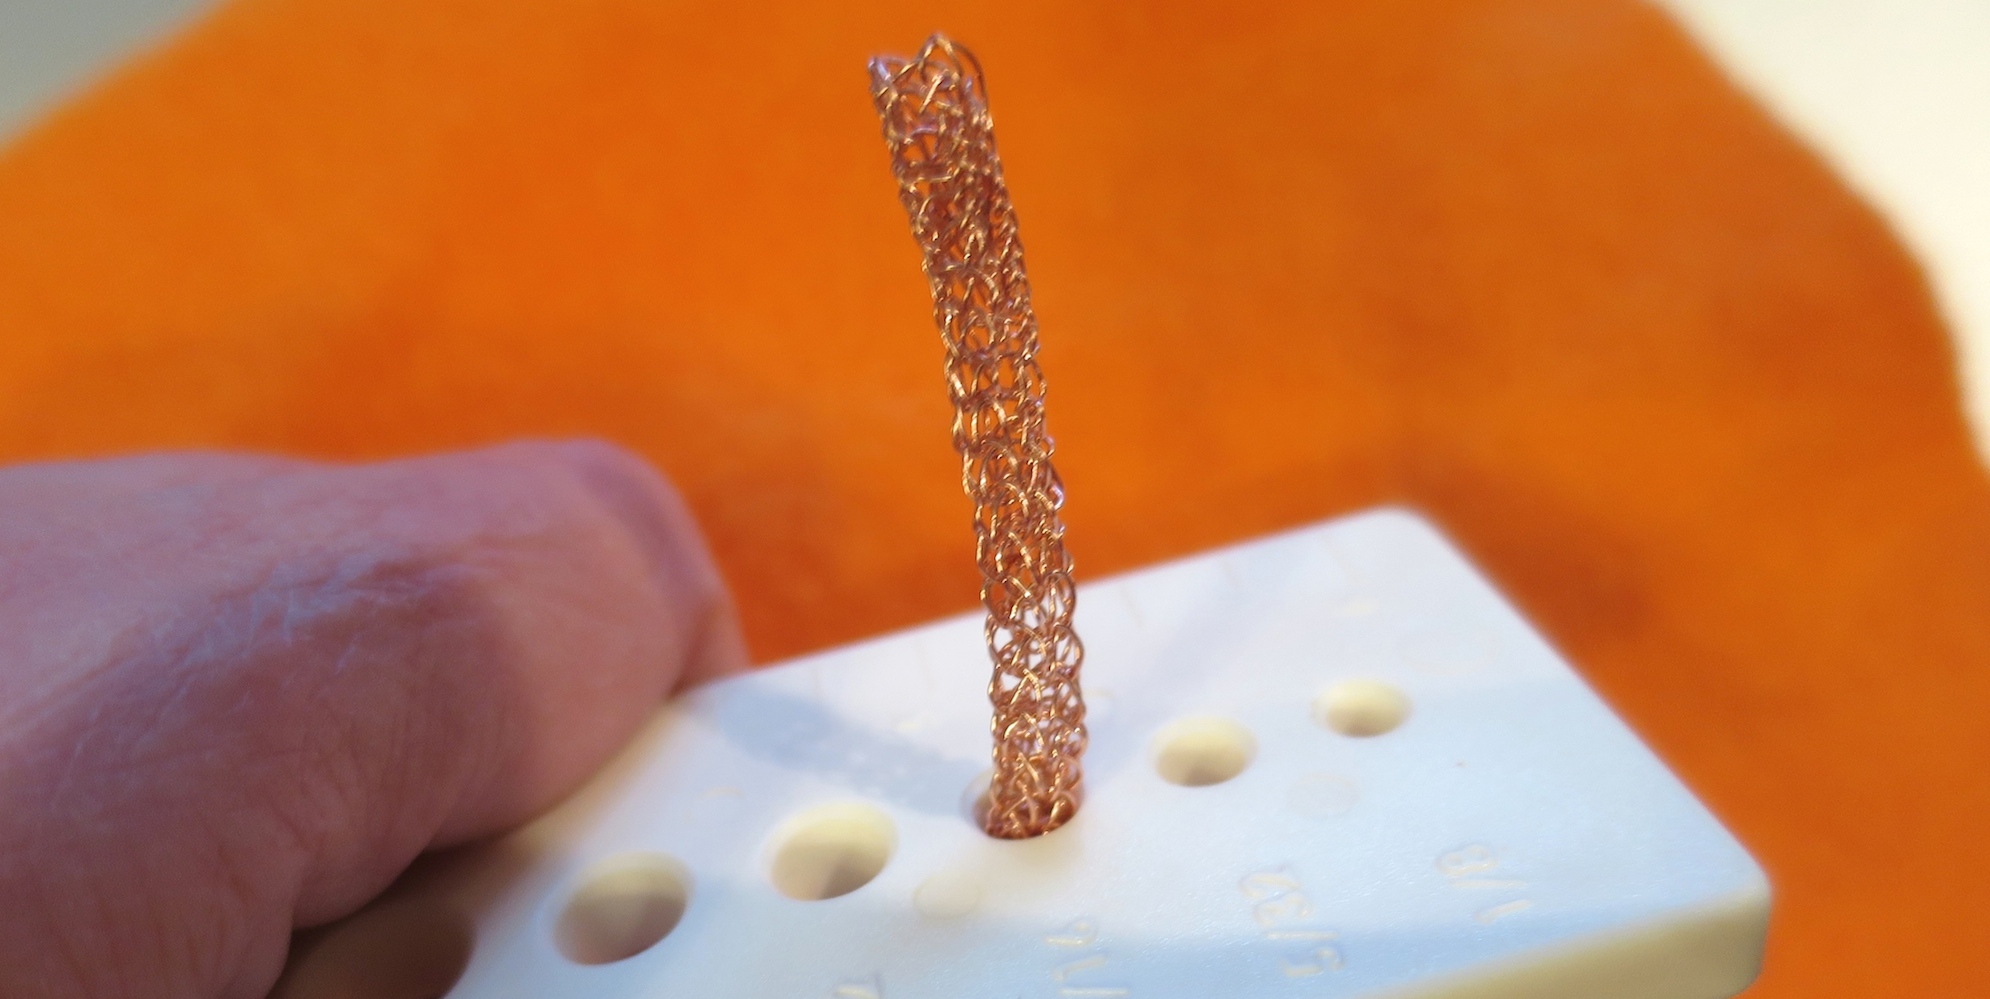
Then the woven wire gets pulled through progressively smaller holes in the draw plate. This is where it starts to look a lot more even and like a piece of jewelry.
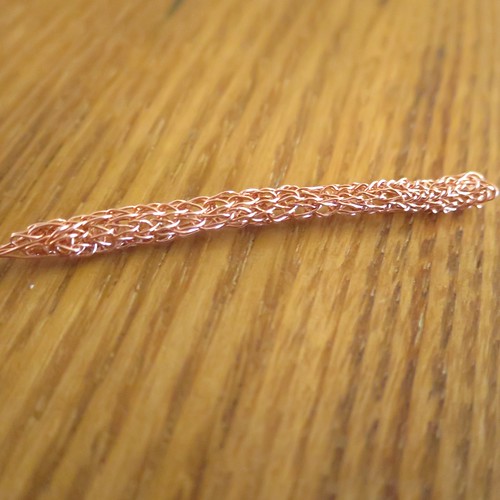
I think parts of mine look better than others. I had a hard time getting the very bottom to pull through the draw plate easily. The directions said not to worry if the ends look bad because you can cut them off. After drawing through the smallest hole I could, I had about a 2″ length. The directions give you a guide to know how long to weave to get different finished lengths. I think I need to do about 4″ or 5″ to get enough for a bracelet. Well, that and a little more practice!
© 2005 – 2015 Kathy Lewinski & Susan Cornish

5 Comments to Iron Craft ’15 Challenge #3 – Viking Knitting