
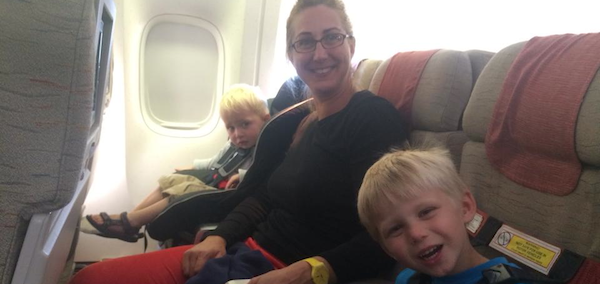

Some friends of mine were heading out on their Foreign Service assignment across the globe. They were flying to Hanoi with two kids under four. Here they are, all locked down and ready to roll. 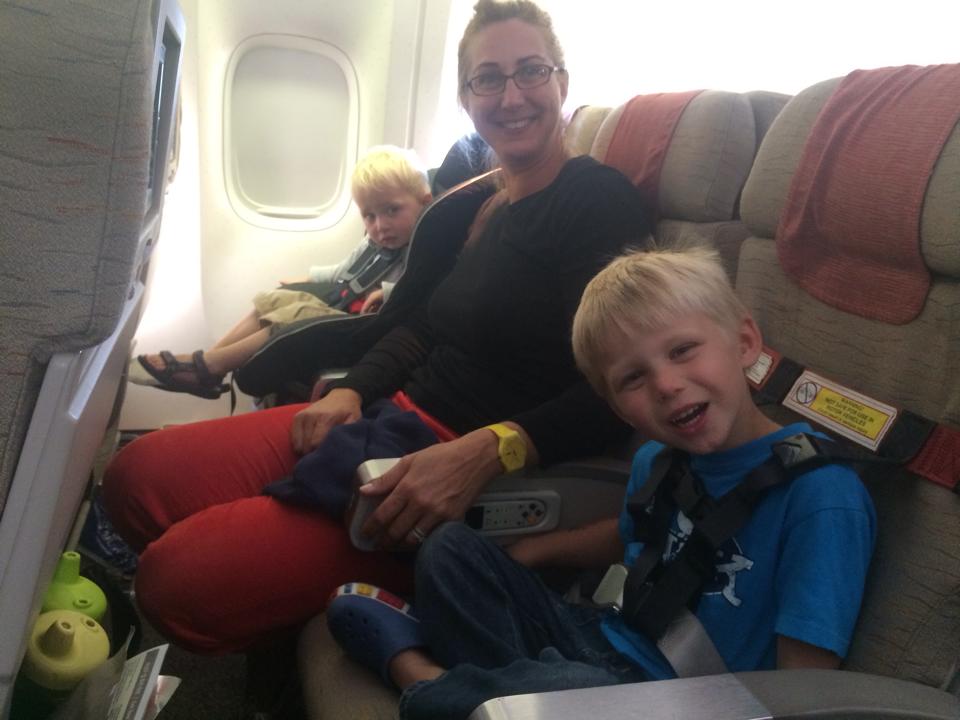 Daunting hours of unbroken flying lay ahead and I felt like I wanted to put something together to keep them busy. I looked around for ideas, took a few that I saw, and added a few of my own. This was made for kids that are two and nearly four, so preschool and pre-preschool. I would amend it with age relevant treats if I were making it for older kids.
Project – Travel Activity Bag
Supplies: (Note: this project was for two kids. So the supplies are all in quantities for two.)
- clipboards
- pens
- paper
- two little books
- small puzzle
- “grab and go” play packs
- pipe cleaners
- popsicle sticks
- velcro dots (self adhesive)
- bandanas (4)
- ribbon
- cube of post it notes
- tissue
- scotch tape
- ribbon
- marker
The package for the parents
- wet wipes
- air borne
- kleenex travel pack
Nothing sticky, no permanent color, nothing wet, and stuff that a 2 year old could play with. I wanted stuff that they could DO and not just “color this page”. Here is what I did to put the kit together. 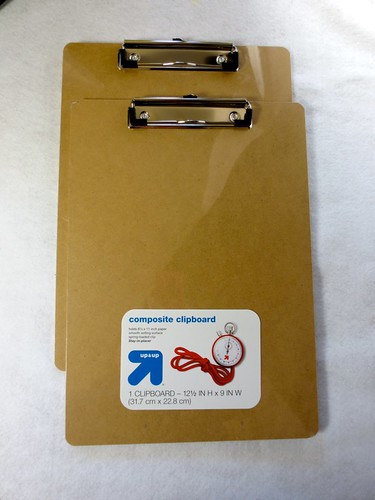 Clipboards are the base of the whole thing. If they each have one, then they do not have to have their tray table up and down every second. They can stay busy on their laps.
 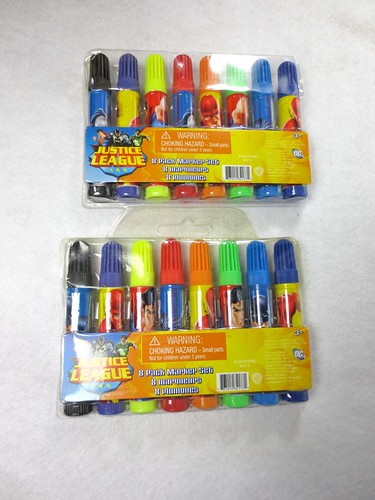 They each got a tiny set of markers. I cut some sheets of regular paper in half and put that all together.
 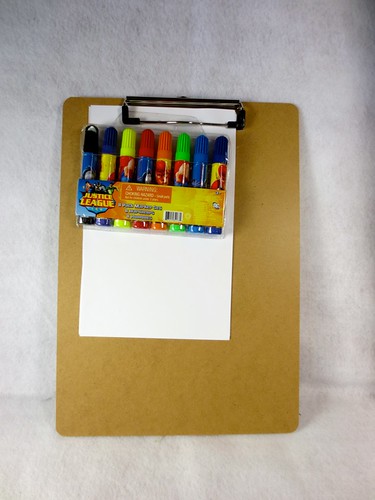 That was the largest gift and that was the first one for them to open. Next, and in any order from now on: Post-it notes.
 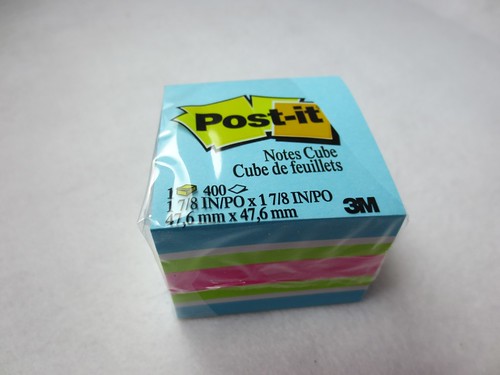 I broke the cube here in half, so each boy had half to play with. These are a great way to decorate the seats. They can stick to whatever and can be cleaned up easily. Next, I made a building game from popsicle sticks.
 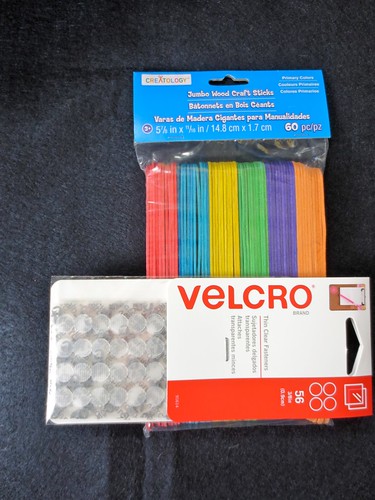 Rainbow colored popsicle sticks!!!
 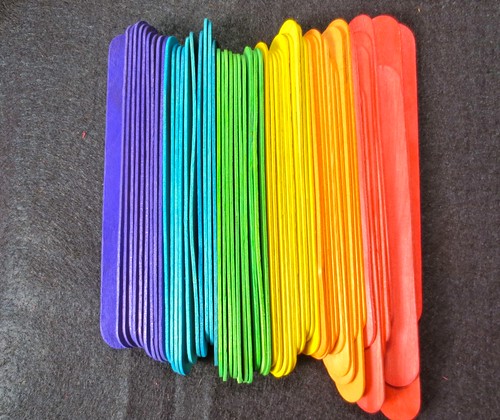 These are so bright and cheerful, even just on their own. Take them out of their package and line them up on a surface. Then find a zen place and start applying the velcro dots to the ends of the sticks.
 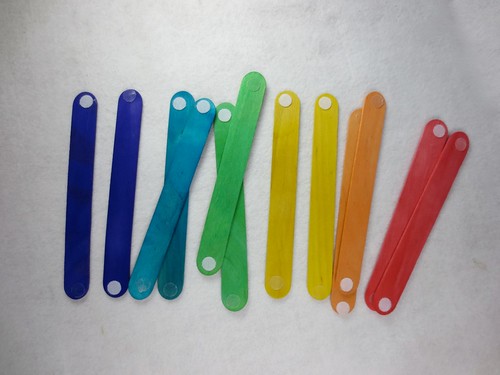 On some of them, you can just put them on one side and on some you will want to apply the dots to both sides.
 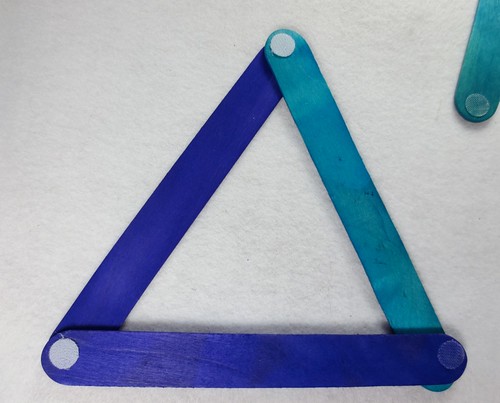 Then you will be able to build things like this triangle. These Play Packs are pretty straight forward.
 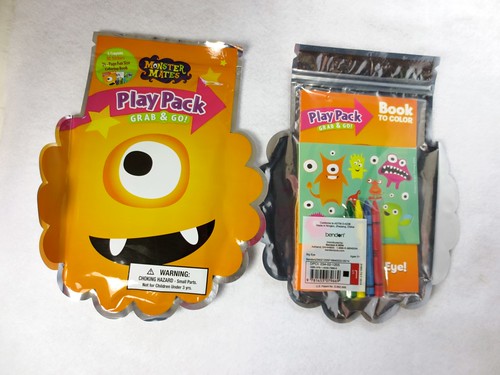 I threw in this little puzzle because it was “where in the world am I?” It is only 24 pieces, so really, if they lost one piece and it remained on the plane, then so be it. I thought maybe the older boy could do it if the younger boy was asleep.
 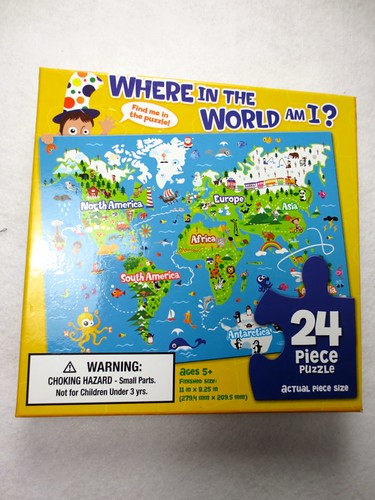 I took a package of pipe cleaners, opened them, and divided them in half. I then rapped the little piles, one for each kid. They could either do structured play, “Can you make a triangle?” or just free play twirls.
 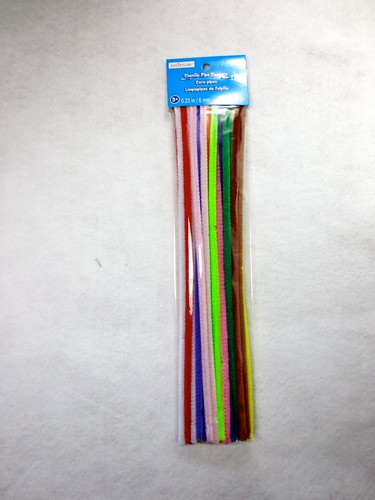 I got two wheelie books, one for each of them.
 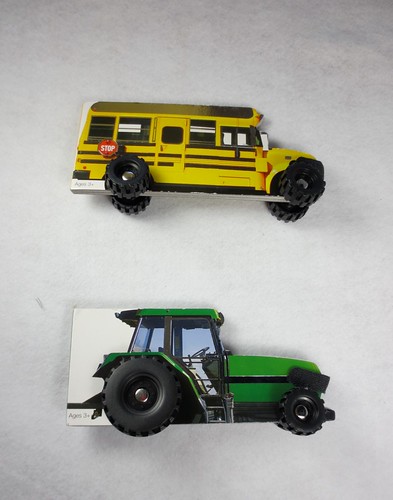 And finally 4 bandanas.
 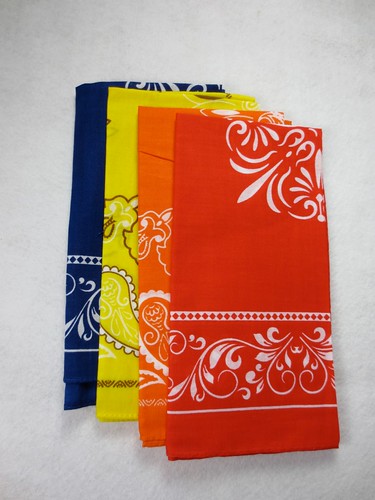 I sewed these up on three sides, careful to reinforce the corners. And I added small ribbon handles so the boys could carry them.
 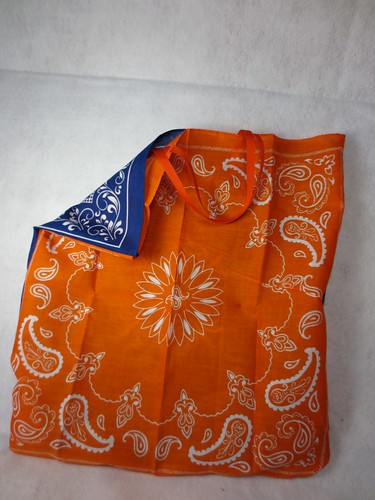 They are light, but perfect for throwing everything on the airplane into. Everything should be out of its packaging. They should not need scissors or a knife to pry open the plastic. I wrapped every piece individually in one layer of white tissue. I added an initial on the outside so the boys could pick out the letter of their name. This (tissue) was probably a little extra weight, but I thought the surprise element would be fun, and the act of opening a package would take them all 60 more seconds. That’s another minute closer to the end of a 12 hour flight. I put the surprises into pairs and put a ribbon around each pair, that way Mom and Dad will not have to fish around in the dark for the matching set. In the end there were the bandana bags, six gifts (for both) and one puzzle package. Plus three packages for Mom and Dad. : ) And I am happy to report they made it safe and sound. Both boys acted like a trans-pacific flight was no big thang. Of course. That is due in part to the packages and in part to their amazing parents. Bon Voyage friends.

8 Comments to Project: Travel Activity Bag