


(For the 24 weeks leading up to December 1st, we’ll be making a Christmas ornament, giving you enough to fill an advent calendar.)
This week’s ornament was inspired by a day my husband and I spent antiquing recently. All the stores had lots of vintage (or maybe just old) Christmas ornaments. Some were great and some were a little creepy.
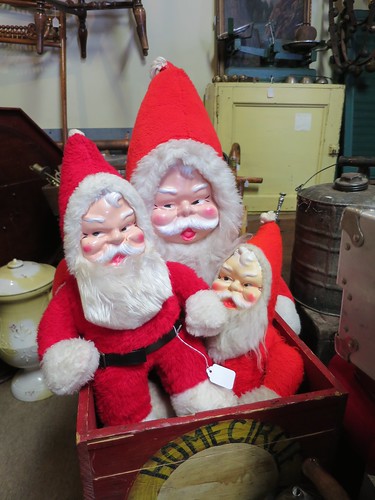
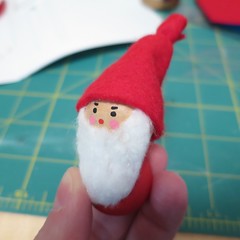
A few looked like they would be easy to recreate, so of course, I snapped a few photos and headed to my craft room. Here is the first of those recreations, a little skiing Santa.
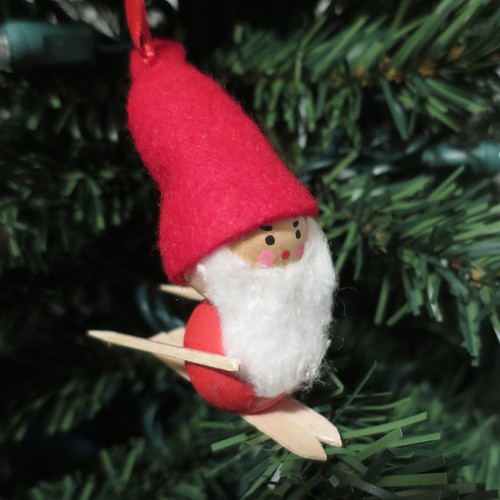
Other than a steady hand for painting the face, this guy comes together pretty easily. The head and body are just made of wooden balls from the craft store, while the skis and poles are just made from coffee stirrers and toothpicks. I like the sort of old-school hominess about him.
Skiing Santa Ornament
Supplies:
- wooden balls with one flat side, the ones I used were 1″
- acrylic paint in red, black and pink
- small paintbrushes
- toothpicks
- glue
- 1 wooden coffee stirrer
- scissors that you are ok cutting wood with
- fine grit sandpaper (optional)
- polyurethane (optional)
- 1 cotton ball or thin white faux fur or white felt
- red felt
- red thread
- sewing needle
- 1/8″ wide ribbon
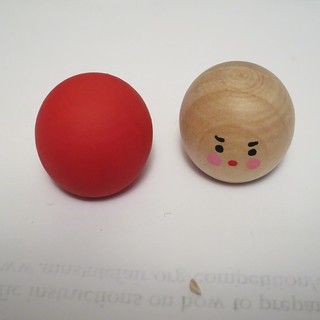
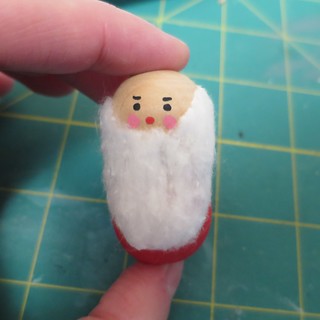
1. Paint one ball red. On the second ball paint a face. I kept mine very simple. Let dry. I did not seal my ornament, but you can add a coat of polyurethane if you wish.
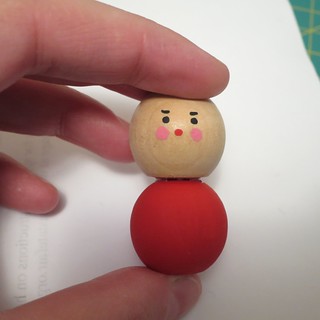
2. Glue the ball with the face on top of the red one. Let dry.
3. Cut a beard from your cotton ball, fur or felt. I used a cotton ball which rolled out to a single layer.
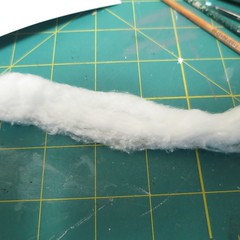
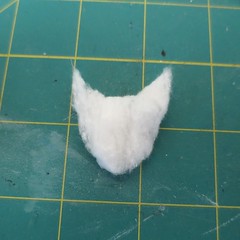
Glue onto the face. I also glued it to the body since cotton is rather flimsy.
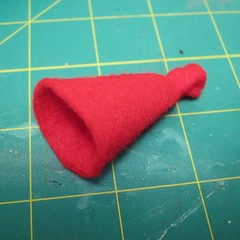
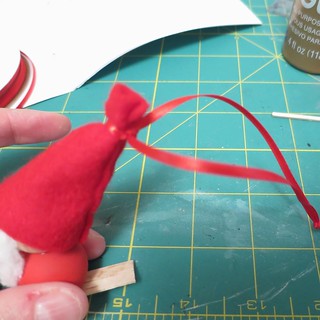
4. Make a pointed hat with the red felt that fits on the head. You could glue it together, but I hand sewed mine. I also sewed to pull in at the top of the hat. Glue to the top of the head at a tilt so it covers most of the back as well.
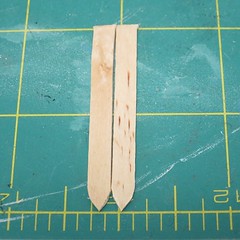
5. Cut the coffee stirrer into two 2″ lengths. Trim into a point at one end. I was able to cut the stirrers just with regular scissors. Sand the edges and seal the wood if you wish. Glue the santa onto the skies.

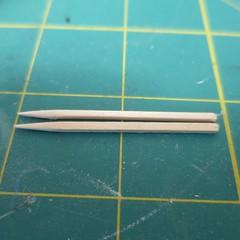
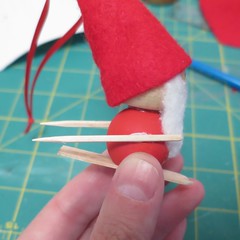
6. Trim two toothpicks down to just under 2″ leaving one end pointed. Once again sand and seal if desired. Glue one to each side of santa for ski poles. You may have to hold them in place until the set.
7. Cut about a 10″ length of ribbon. Tie around top of the hat then tie the ends at the top to make a loop for hanging.
© 2005 – 2014 Kathy Lewinski & Susan Cornish


