

I taught a kids sewing class recently and I want to share all of the lessons (I learned) with you.
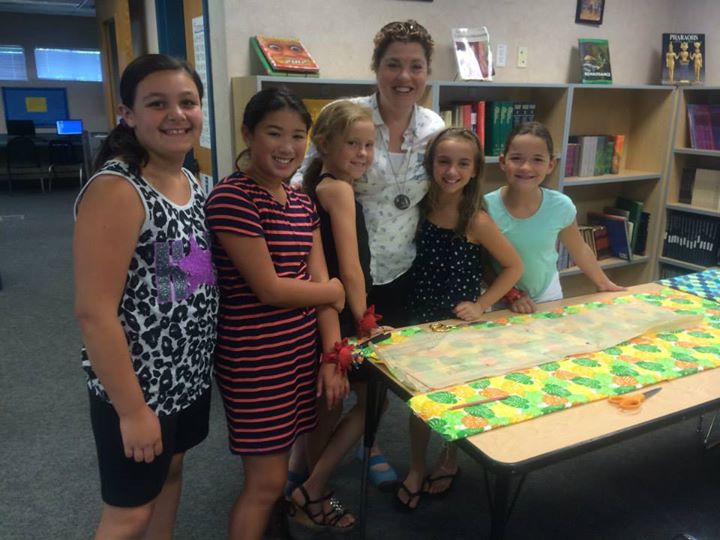
(That is me with my ladies.)
For this class, I preselected the fabric and the pattern. The whole group did the same project.

We made Lounge Pants (or pajama pants or yoga pants, whatever you want to call them). The girls were THRILLED with the project.
I brought 6 choices of fabric (and contrasting fabric) which I washed and ironed beforehand. When the girls came in, I showed them all of the combinations and they made their selections. I sewed up one pair ahead of time, just to make sure I had all my ducks in a row and also to have a sample. I had anticipated that some of the combinations would be more popular than others and had devised a scheme to get everyone at least their first or second choice. In the end though, the girls each picked one they were really happy with and there was NO overlap. (Just shows I have great taste in the eyes of a 10 year old! Wink.) Funnily enough, no one picked the combination the sample was done in. That goes against every “retail rule” : the sample in the shop sells twice as fast.
We used two different patterns. One was an adult pattern and one was a kids pattern. The adult pattern I used was Amy Butler Lounge Pants from her book In Stitches. (This pattern has a strange fit. The legs are ultra wide and they have an exceptionally low rise. We modified the pattern to correct those issues.) The kids pattern was just generic pajama pants. (If I did it again, I would look for a “family” pattern that had a range of sizes, or buy two of the same pattern.)
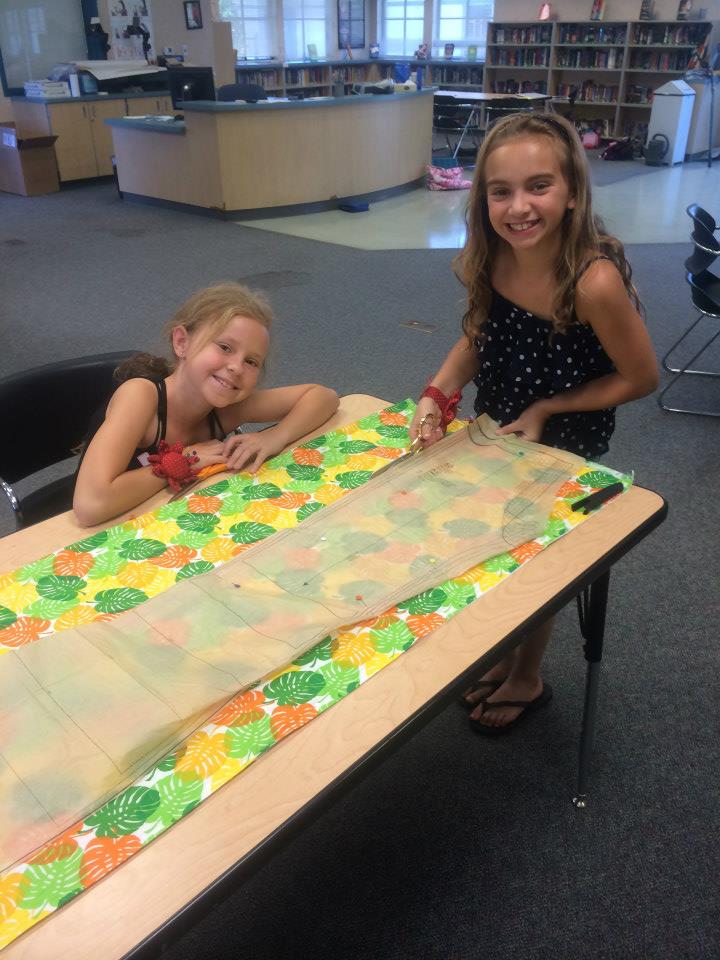
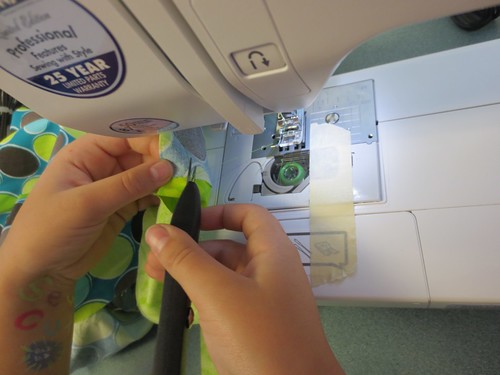
Our first step was to look at the pattern and see which pieces we would need to use from the tissue paper. I had the girls cut out the relevant pieces with craft scissors and explained the differences in the scissors we would use. We laid out the tissue on the fabric, pinned them down and cut them out. I had the girls do all the steps themselves, but they needed to check in before they started cutting and when they were finished. (There were a few times we needed to get the pattern flatter on the fabric and a few times I asked them to cut again, closer to the pattern.)
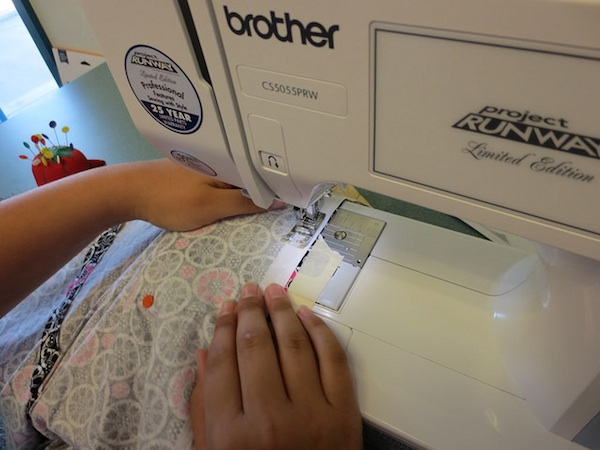
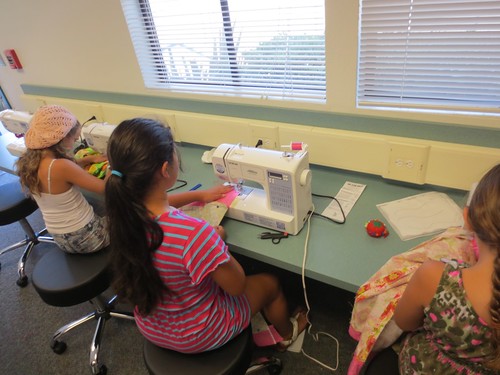
The first seams we did were the interior leg seams. That seam is almost straight, so it was a good place to start. I found out the kids needed more practice on a machine. So, we did some sewing of lines and shapes on paper with no thread. That gave us a little bit more practice with the speed and feel of the presser foot.
Next we pressed those leg seams open. This was some of the girls first time holding an iron. We have the cordless irons in the classroom, so that was a plus. But the real lesson here was “how to iron”. Irons are hot and some of the kids were more tentative than others.
Next we sewed the crotch seam. That is a curved seam, so that took more concentration and focus. Then we pressed that open, ironing a curved seam is hard. (Here is where we could have learned about clipping curved seams so that they sit flatter, but the seam allowances on the girls’ pants were a bit irregular and I was afraid to start clipping into them. So we just forged ahead.)
I (myself)used a rotary cutter and cut 4-inch strips of the contrast fabrics. They added those to the bottom hem of their pants. Then we folded and ironed a hem into the bottom edge and sewed them down. We sewed another contrast strip to the inside top waist band area. This was to add interest and also to make the rise longer. Then we pinned the legs together and sewed up the outside. This step proved a little bit tricky, because our waist band needed to match up at the top and then our trim needed to be even down at the bottom. On some of the pants, we did some fudging to make them line up a little bit better. I had the girls seam rip a few inches and make their seam allowances a little bit wonky so that the trim would be perfectly even. In the end, all of the fiddly work was so worth it, because the pants really look great.
Lastly, we pressed the contrast waist band down and sewed almost all the way around. Then they fed the elastic through the casing, sewed the elastic together and sewed the hole in the casing closed.
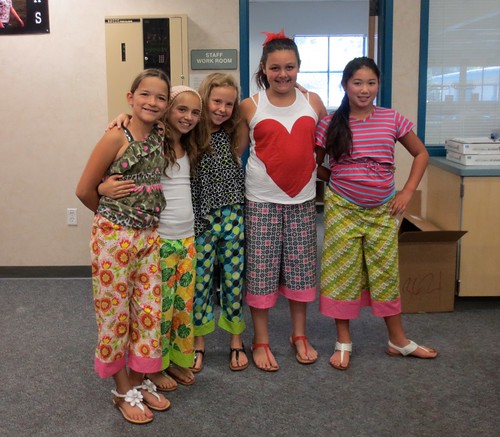
Here they are in their finished pants! Groovy!
Tips:
- Have the students each bring a pair of pants similar to the ones you are making as a size guide (we had two pairs and that was helpful, but more would have been better.)
- Do NOT get fabric with an obvious repeat or stripe pattern. Lining these up will be impossible and the patterns would be unforgiving.
- On the last day, tell the models to bring a shirt that goes with their pants so that they can model.
- We did the pants in three three-hour classes. Luckily, I had the flexibility of using an extra 75 minutes which I took. I would recommend allotting a full 12 hours to the project. I had to ride the kids HARD to get done.
I asked one of the Moms if she could offer any feedback that she had heard from her daughter or the other girls. She answered that the only complaint that she heard was that they wished that they could sew all day and they were bummed out when they had to leave.
The kids were excellent. These are nice girls and they worked hard. It was a LOT of fun. Plus, they were so pleased with their pants, as you can see.
© 2005 – 2014 Kathy Lewinski & Susan Cornish

2 Comments to Sewing with Kids: Lounge Pants