


(For the 24 weeks leading up to December 1st, we’ll be making a Christmas ornament, giving you enough to fill an advent calendar.)
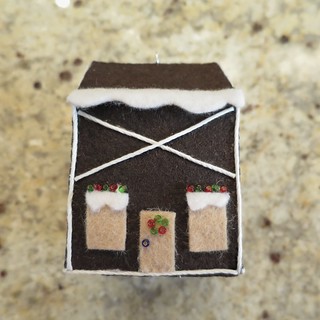
My husband came up with this week’s ornament. He suggested I make a tiny gingerbread house from felt and decorate it with beads. Here’s what I came up with…
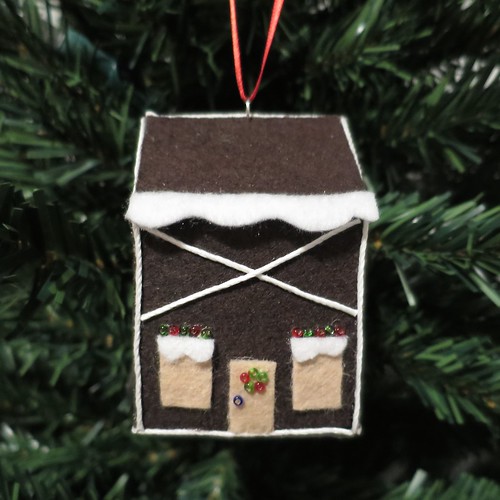
I kept my decorations simple (and just on the front of the house) with a few beads on the door and over the windows. I love the look of the white beading cord to represent frosting holding the pieces together. You of course, can got as crazy or simple with the decorations on this ornament as you want.
Felt Gingerbread House Ornament
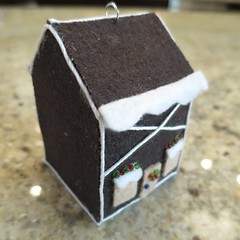
My template will make a house that is about 2 1/2″ tall.
Supplies:
- dark brown felt (look for one a little heavier than craft felt)
- fabric stiffener
- (or skip the two items above and buy a sheet of pre-stiffened felt)
- scissor
- paintbrush
- tin foil or wax paper
- sharp needle
- jump ring
- tacky glue
- thin white string, such a beading cord or pearl cotton
- other colors of felt, I used light brown and white
- small beads
- toothpick
- stuffing
1. Print or draw a template for a paper house on paper or card stock and cut out the pieces. You can download this simple gingerbread house template I made or if you search paper house templates on Google or Pinterest you can find a bunch. Use the pattern to cut the pieces out of the felt. (I wish I had spent a little more time making sure I cut my pieces straighter.)
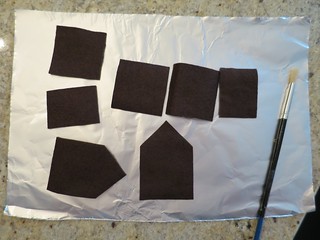
Note: A lot of the templates have you cut the body of the house in one piece. I didn’t do this because I wasn’t sure how sharp a fold you could get from stiffened felt. It does make assembly slightly harder, but I was correct in that the felt didn’t fold in nice straight lines.
2. If you are not using pre-stiffened felt, use the stiffener on your felt pattern pieces. Lay the pieces on a piece of tin foil or wax paper, so you can easily remove them when dry. I used a paintbrush to fully coat them and painted the stiffener on both sides. They were not as stiff as I wanted the first time, so I added a second coat. The side closest to the foil or paper will be shiny, use that as the back of your pieces. If the pieces curl up while drying, you can easily flatten them by setting them under something heavy for a little bit.
Note: I chose to assemble my house before decorating it, because I wanted to see the decorations on the house. In hindsight, it probably would be easier to do the decorations and then glue the house together. For this tutorial, I’ll give the steps as I did them.)
3. Assemble the body of the house by glueing the four sides together. Try to keep it as square as you can.
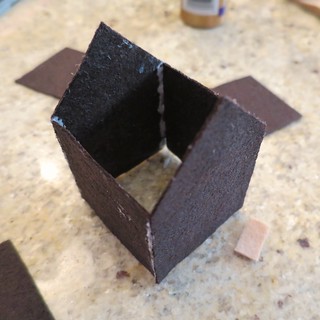
I like tacky glue for this because it really hold things in place while drying. I was surprised at how stable this was once dry, even with just the four sides.
4. Decorate the sides of the house as you wish.
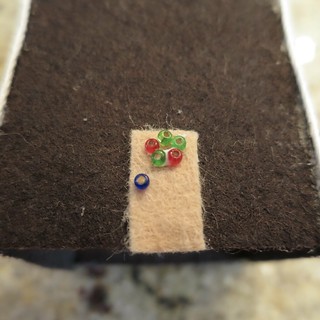
As I said, I kept it simple: a felt door and windows, a little wreath of beads, snow made of white felt. I found a toothpick really helped to place small dots of glue where I was putting beads and them to ease the beads themselves into place.
I also glued pieces of thin white beading cord along the seams of the sides. Here again, I used a toothpick to spread a thin line of glue along the seam. Not only does it look a little like frosting holding gingerbread together, it hides any gaps from not perfectly straight lines. I also added a little detail on the front of the house with the cording.
5. Glue the bottom of the house in place. Add cording around the seams if you wish.
6. At this point, I filled my house with stuffing. It isn’t something you must do, but I think it gives the house a little more strength while not adding much weight.

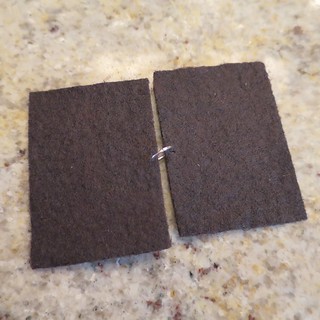
7. Now assemble the roof, but first you need to add a ring to hang your ornament. Hold the two roof pieces together, back sides facing each other, and poke a small hole though both pieces with a sharp needle on the edge that will be the top of the roof. Open a jump ring and put it through the hole in both pieces. Close the jump ring.
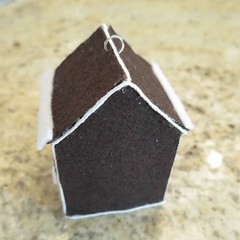
Glue the roof into place. Once again, I added cording at the seams. I also put “snow” in the eaves of the roof.
8. Add a ring through the jump ring and the ornament is ready to hang.
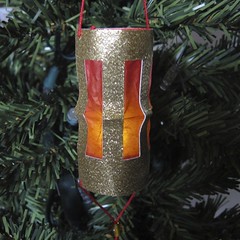 2013’s Week 2 Ornament – Chinese Lantern Ornament
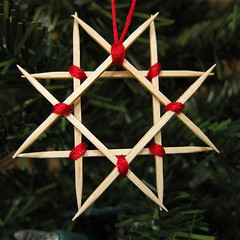 2012’s Week 2 Ornament – Wooden Star Ornament


2 Comments to Advent Calendar Project ’14 – Week 2