I love it when all the flowering trees are in bloom in the spring. All the gorgeous shades of pink and white, like this amazing grove at the University of Minnesota Arboretum.

We are about another month off from seeing anything like this, so I made my own little trees to bring some Spring into my house.
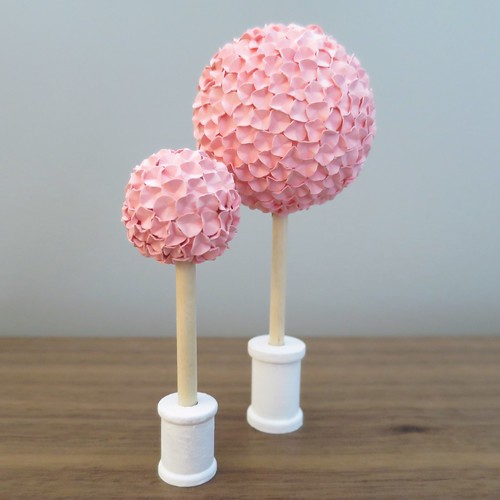
My trees are a little more conceptual than realistic, but I think they are so much fun. There is almost something Dr. Seuss like about them. I will admit they are a little tedious to make, especially if you are doing a good sized one. Nothing about making them is hard, but you do spend a good deal of time folding little pink circles and gluing them on. I was so thrilled with how they were coming out that the three hours it took to cover the large one flew by.
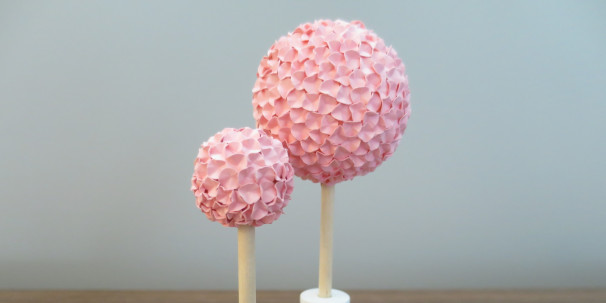
These trees are on the smaller side, the largest has a 2″ ball on top and stands about 5″ tall. You could definitely make them bigger to use as a center piece or on a mantle. If I was making them a lot bigger, I would use a bigger circle punch to make the petals.
Paper Cherry Trees
Supplies:
styrofoam ball (or wooden ball/bead with a hold in it) I used 2″ and 1″ balls.
pink card stock
1/4″ round paper punch
styrofoam glue (I like Hold the Foam)
spool
white acrylic paint
paintbrush
dowel appropriately sized to fit in the hold in the spool
scissors or saw to cut dowel
tacky glue (If you use a wooden ball or bead for this project, you can skip the foam glue and just se this.)
1. Punch a bunch of circles from the pink card stock.
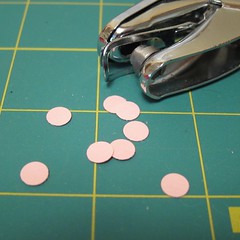
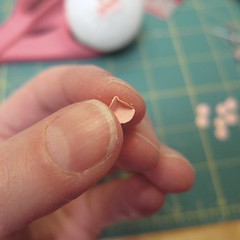
Fold the circles to give them a bowl-like shape. I folded them into thirds and fours. These are your flowers. It is a little tricky because you are working with small circles, but once you get the hang of it it moves quickly. I did a bunch at a time, glued them on and then made more.
2. Put foam glue on a small section of the styrofoam ball and start covering that section with the flowers you made in step 1.
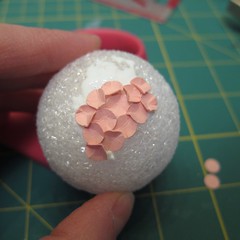
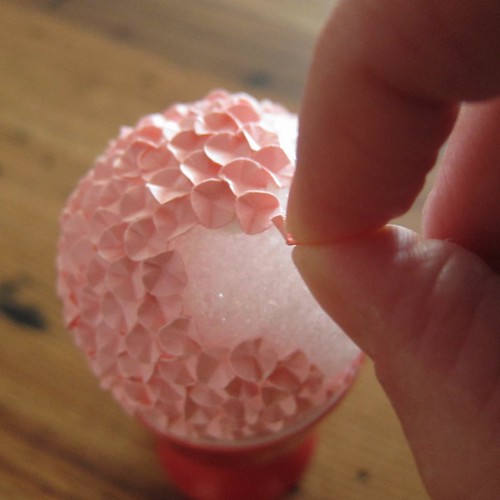
Continue until working around the ball. I found it helped to use something to keep the ball stable. For the big one I used an egg cup and for the smaller one I used a bottle cap.
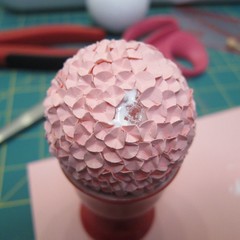
Leave a section of the ball uncovered for the dowel. Let the glue dry.
3. Paint the spool white and let it dry.
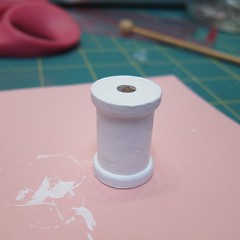
4. Make a hole in the ball for the dowel. Put some styrofoam glue in it. Insert the dowel and let it dry.
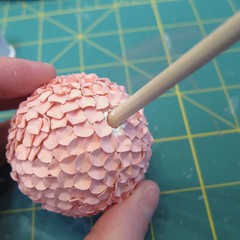
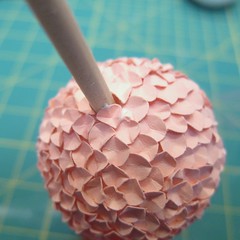
Fill in any gaps with more flowers.
5. Cut the dowel to the desired length. Glue into the hole in the spool with tacky glue. Let dry.
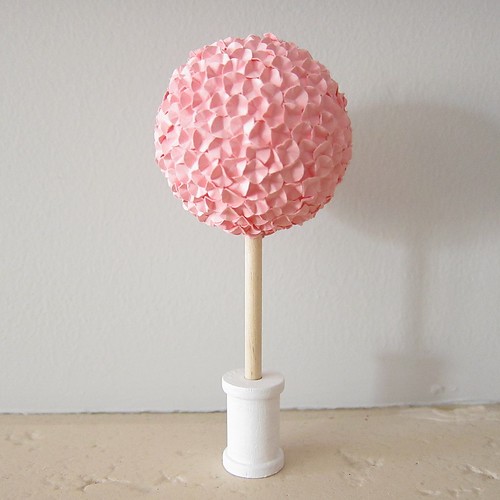
Later this week, I’ll show you what I did with my trees.
© 2005 – 2014 Kathy Lewinski & Susan Cornish



Pingback: Lady From USA
Pingback: 20 Cute and Easy DIY Projects Perfect for Summer Home Decoration |DIYManiac
Pingback: 40 Fantastic Tree-Inspired Projects