

I had two dining room chairs and an office chair to recover. I had an idea of what I was doing, but I wanted to make sure that I really had all the professional tips and tricks, so I watched/read any number of tutorials. The one I liked the best was this one. And this is the closest to my chair’s make-up. (it is not a spring seat, and it does not have webbing.)
This tutorial features a professional from an upholstery shop in NY. Matthew Haily, owner of The Furniture Joint shows us how it is done. Man, do I want to go THERE for a class! Whew! I kind of giggled at one point because he was talking about the tools you need. He recommends using a pneumatic staple gun, but if you don’t have one of those, use an electric one. (I thought to myself, “Uhm, are you going to get to the “regular squeeze gun” in a minute?” ) If you don’t have either of those, then you should have a little hammer and tacks.
Well, I moved ahead with a regular squeeze model. Here is how I did it.
Project Dining Chair Make-Over
Supplies
- 2″ foam (Caution, if you look for foam at a big store, they pre-cut foam squares are in 2 sizes. I needed the bigger size (22 x 22) for both chairs. I am not sure if the top of a chair for a hobbit would use the smaller size. )
- muslin
- fiber on the top (batting)
- upholstery fabric (the size of your seat base plus at least 5″ on each side)
- staple gun
- screw driver
- pliers
Optional:
- snack bag zip lock
- post-it notes
- camera
- electric carving knife (I use an electric knife that is designated for crafts. The threat of green foam dust in some fine cut of meat is too much for my heart to bear.)
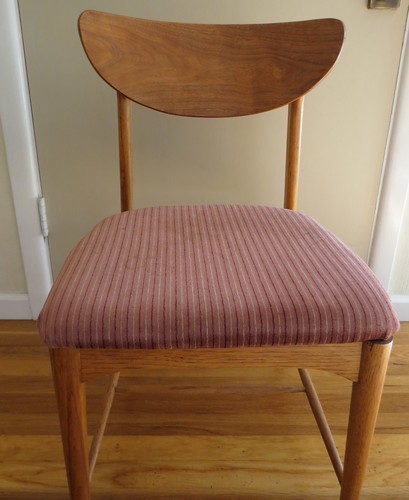
Before:
The first step is to deconstruct the chair you have. This is the “wild card” step. The chair might be in it’s original condition. Or. This could be it’s third recovering. And a chimpanzee may have attempted the first two times. The base of the chair is wood and it is fastened to the legs with some sort of screwing system. So I found the screws that held the base down and begin by unscrewing them. If you do not have a long window of time, or a great isolated, dedicated space, then you might want to take pictures. And have a zip lock bag for the screws. Use a post it note to say what they are (in case you don’t get back to this project until Spring. Two years from now.)
Once the base is off, then the deconstruction starts.
How many layers are there? Did they recover over the old cover?
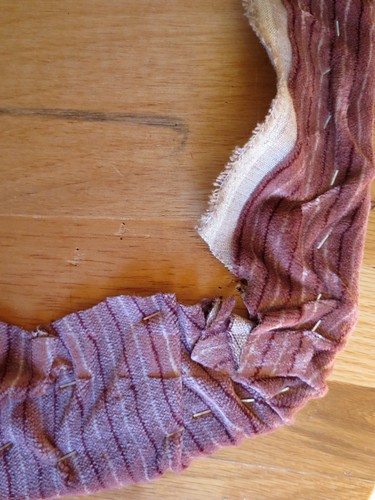
Begin by pulling the fabric up, and getting the staples out. Work carefully, the staples are sharp.
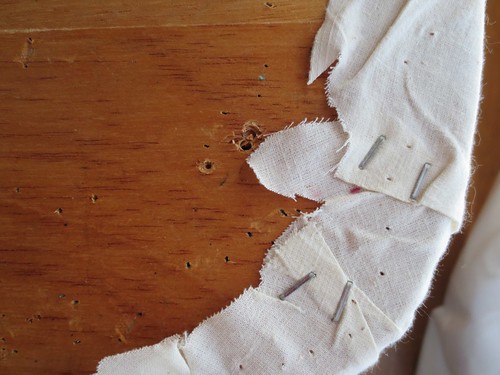
Once the fabric is up, likely muslin will be showing. The muslin layer is harder to get up, because normally, the fabric is old and muslin has less strength anyway, so it does not offer any assistance in pulling up the staples. You may need to get a screwdriver in under the staple and then get the pliers in there to pull them out.
Now the old foam and possibly the old batting is exposed. (Here is where your own personal comfort levels may be tested. Or not. Depending on your tolerance for old foam and the great unknown.)
I opted for “all new everything”. The supply list reflects that.
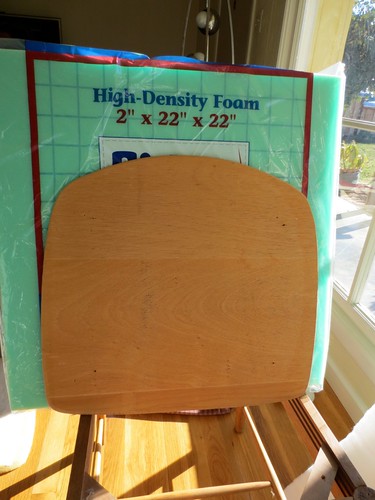
Set the seat base on the new foam and trace around it. At this point, you can cut the foam with a sharp pair of scissors.
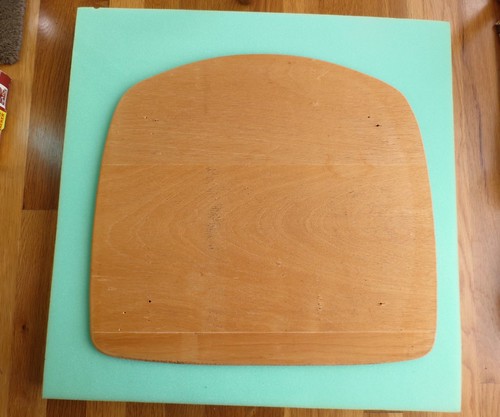
But it may be a bit choppy. The alternative is to hit the garage sales for an electric knife. I have a dedicated electric carving knife for my foam projects. If you are cutting the foam, just do it carefully and evenly. If you are using the carving knife, I recommend working on the corner of a work bench. Put the foam down and put the wood form on top of it, then turn the wood and foam around slowly as you go. With the addition of a work bench or counter beneath you, the foam won’t vibrate so much and you will have better success making a clean cut. The issue is to keep the foam sandwiched in between the counter and the wooden seat and not get so close that you cut the wood or the counter. Tricky, I tell you.
Once the foam is cut, next you add the batting. (Some sites suggest a spray adhesive to keep things from moving, but I was grateful that there was no adhesive when I pulled my chair apart, so I chose not to use a glue here.)
I put the foam down on the base and put the batting over the top of it. Then I turned it over, made sure it was centered, and started stapling.
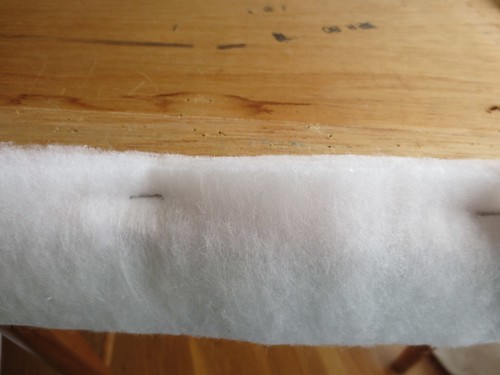
I pulled the batting tight, but I did not tug it. It was just snug. I kept this as close to the edge as I could. I did not want to create ripples or puckers due to lots of foam and batting.

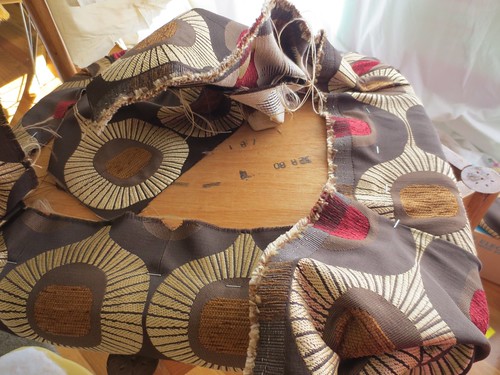
Here the corner has batting on it. I cut this corner down, so that there were no flaps or pleats in the batting.
The next step is to lay down a muslin layer. Keep the staples close to the edge of the chair. This is the second of three lines of staples you will make. Round 1 is the batting, round 2 is the muslin and round 3 is the fabric itself. You don’t want the staples to land on each other, so you will make 3 concentric rings. The batting will need very few staples, the muslin will need more, and the fabric will need the most of all.
Lastly, you will staple the upholstery fabric on. Plan for at least 5 inches all the way around to allow room for the new cushion. (That is a special and important tip.)
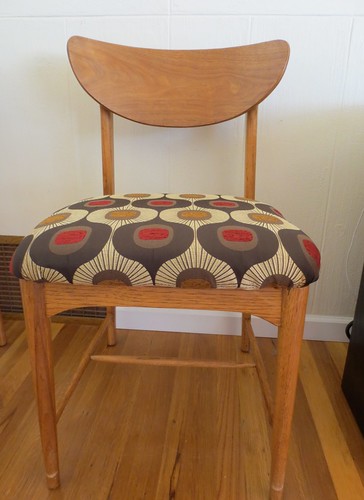
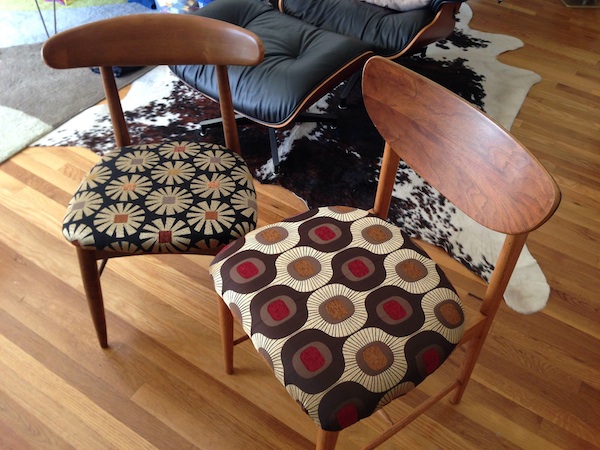
And here is the after shot.
HOT chair!
I think it will wear well. It is VERY comfortable with the new pad in it.
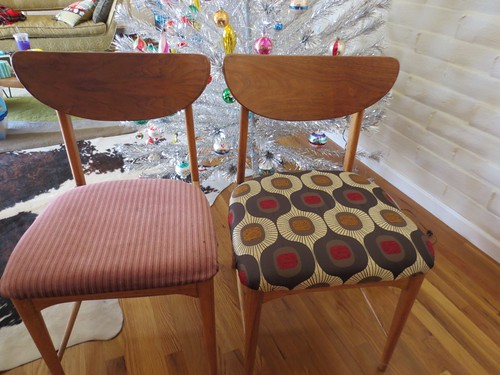
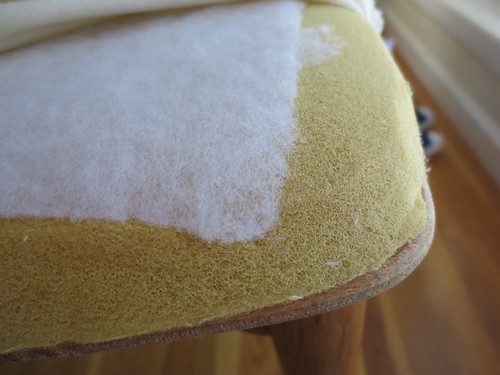
Here is a before and after side-by-side. If you look at the front edge of the still mauve chair, you can see the seat meets the fabric without the cushioning at all. It was rough.
You know what happened next? Well, there was an office chair that was covered in some hideous throw back fabric. And while the whole living room was an upholstery studio, I just kept going.
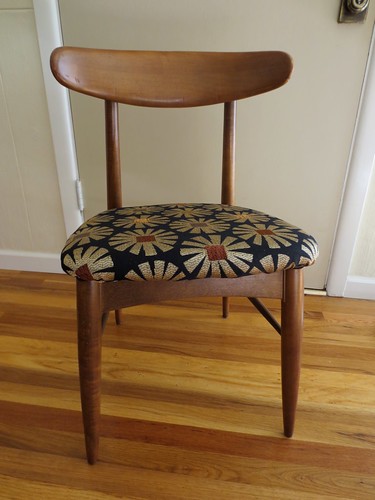
By this time, I was getting good. And quick. So here is the chair that made it a trio.
I love the way this came out.
I stuck with a more traditional 1 inch density foam on this one. But the foam and the batting together do not make is seem austere.
We are oh so ready for the next holiday meal.
What about you? Have you done an upholstery project? Can you share your victories and your tips?
© 2005 – 2013 Kathy Lewinski & Susan Cornish

4 Comments to Dining Chair Make Over