

For awhile now I’ve seen things in local gifts shops made from felted balls, things like trivets and clutch purses. I always wanted to try my hand at it and then I got a surprise box full of roving from my aunt who was cleaning out her craft supplies. I knew it was a sign to try making one of these felted ball projects. I went with the trivet, because it would be the easiest and the one I would actually use the most.
I made my felted balls by hand, but you can buy them pre-made at some knitting stores, JoAnn, Amazon and Etsy. Yes, making them is time consuming, but it’s not hard at all and I find needle felting kind of therapeutic. There is nothing like stabbing something over and over again when you are stressed out.
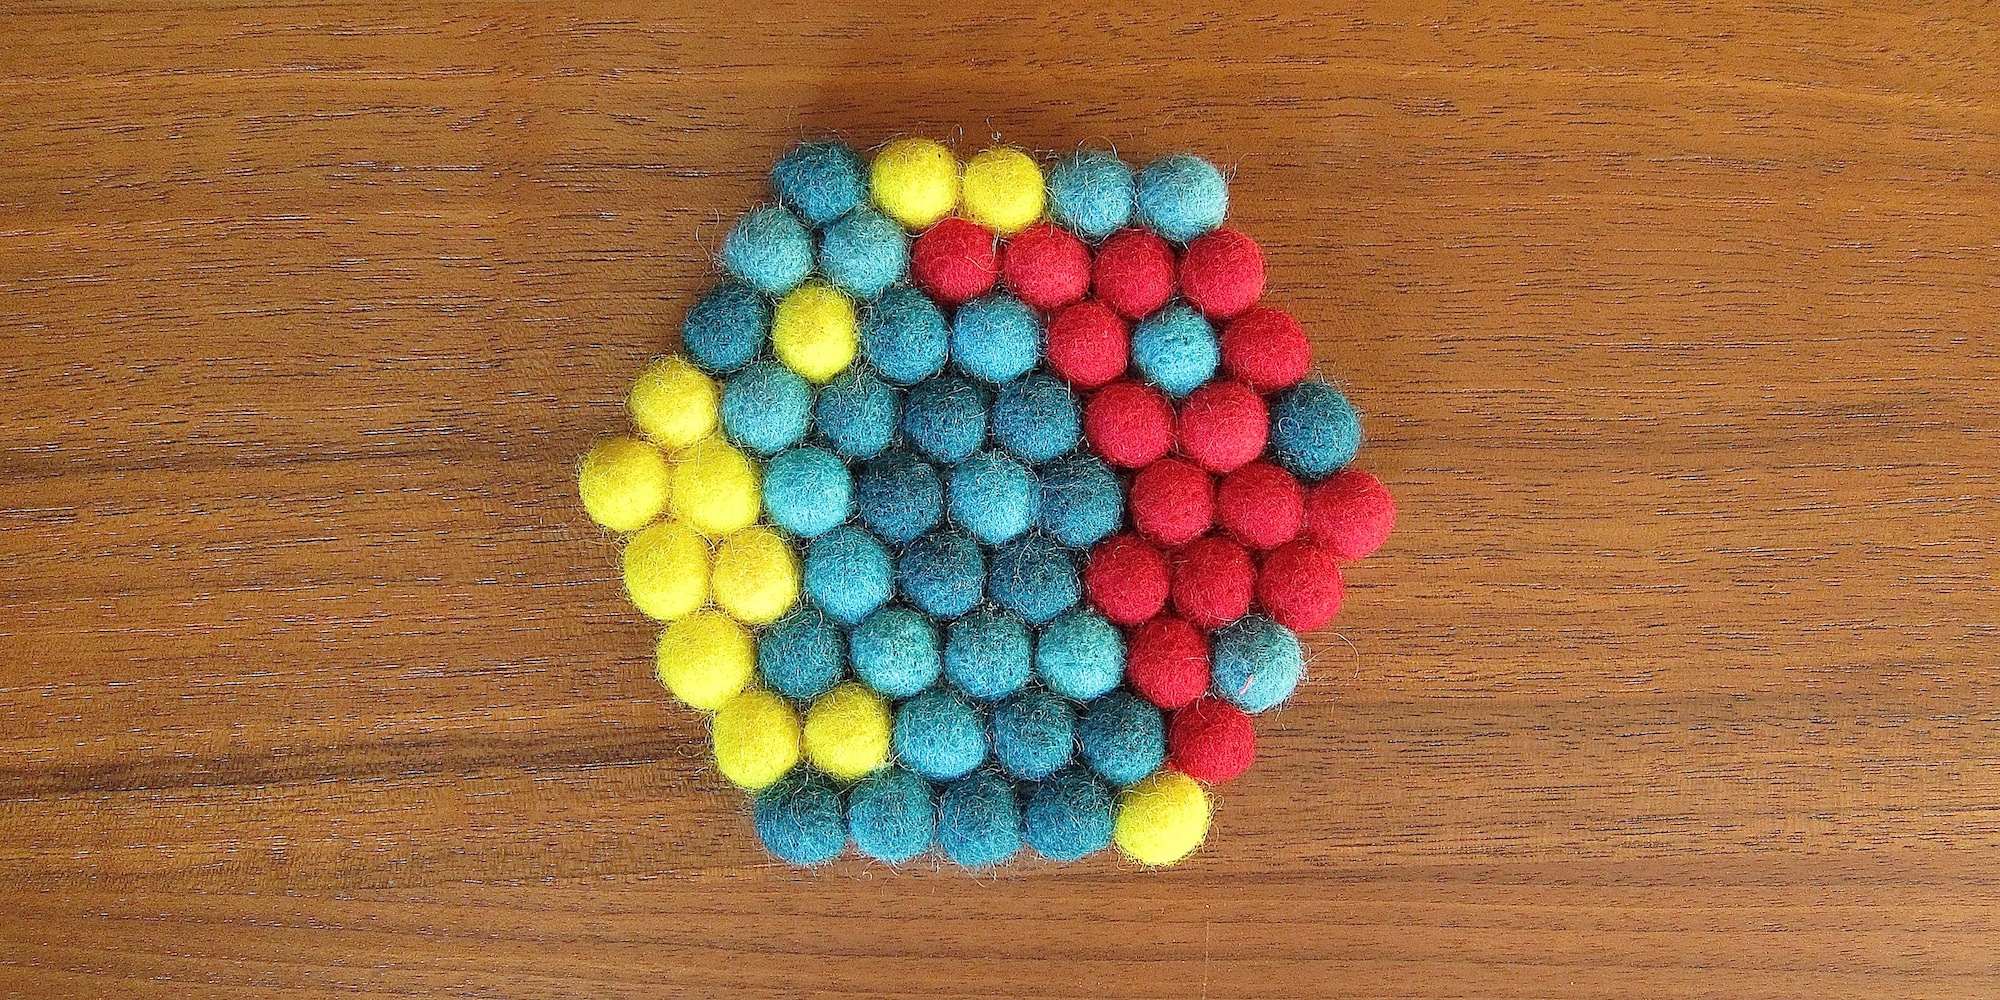
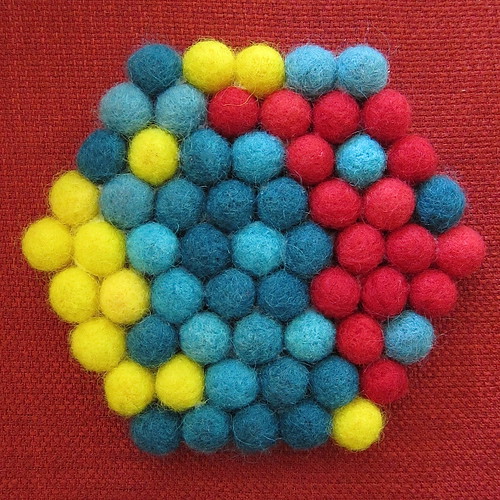
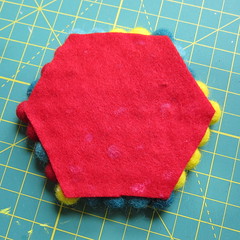
I love my color choices, but wish I had spent a little more time planning the layout. Still it is cute and practical, so it’ll get a lot of use.
Felted Ball Trivet
Supplies:
- roving (shredded wool yarn will work too)
- felt
Tools:
- felting needle
- felting board
- strong fabric glue
1. Make your felted balls – I made my balls by cutting a piece of roving about 1″ x 1″. I worked it into a ball with the felting needle on my felting board. When the balls were just slightly bigger than I wanted I rubbed them between my hands until warm water with a little dish soap until they were the size I wanted. Then I just let them dry on a towel. I have a post on it here.
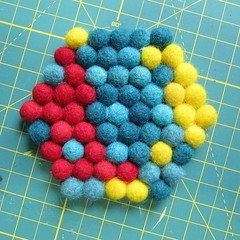
The amount of balls you need will depend on how big you want your trivet and how big you make the balls. My trivet is 4″ across (just big enough for a small pot or bowl) and I used sixty-one 1/2″ balls. The main thing is to try to get your balls as close to the same size as possible.
2. Glue your trivet together – Start by glueing a circle of balls around one center ball. Then just keep adding more rounds until you get the size trivet you want. I pressed them together as I was gluing so there was very little space in between the balls.
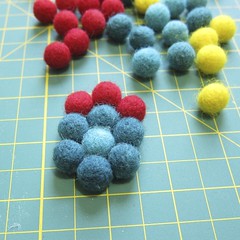
My original plan was to sew the balls together, but I didn’t want the stitches to show and I was afraid it would be too floppy. Gluing was the perfect solution.
3. Add felt backing – If your trivet is anything like mine, the bottom will be a little messy with glue. Plus it could use a little more structure. Cut a piece of felt to fit under your trivet, but just slightly smaller. Glue the trivet on it. Let dry.
Now protect your table from that hot pot in style!

© 2005 – 2013 Kathy Lewinski & Susan Cornish

One Comment to Project: Felted Ball Trivet