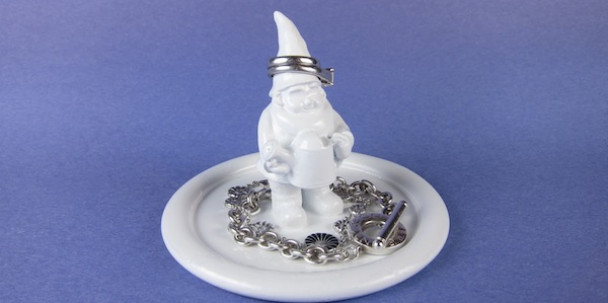
Here’s a quick little project that is full of whimsey, but useful too. This little gnome will add a smile to wherever you put him, but he’ll also keep your rings and bracelets safe while you are gardening, cleaning or working on messy craft projects.
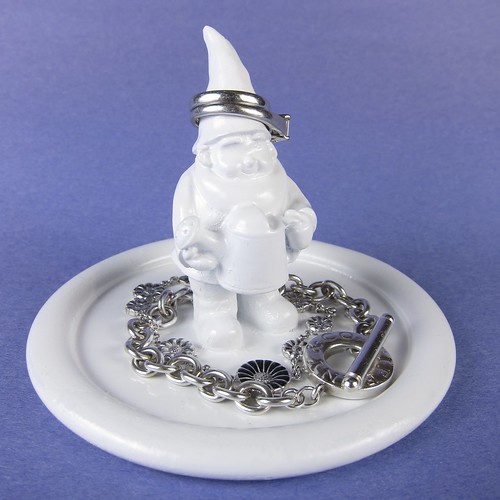
Gnomes are everywhere right now. I found the little guy I used at Jo-Ann for $3.50. (When I last went by they were 50% off! I had to stop myself from buying more.) For the base, I used a dollar store pillar candle holder. You could also use a small plate or shallow bowl. I painted everything a glossy white, but you do any color you wanted or just paint the gnome or perhaps paint the gnome and dish different colors.
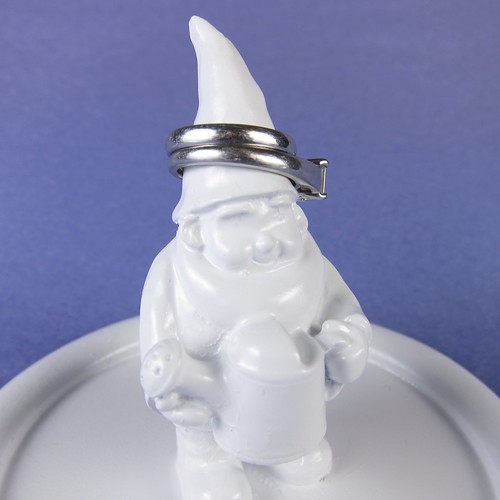
Gnome Jewelry Stand
Ok, so I made mine and realized I did it totally in the wrong order, so I’m going to tell you guys how I would do it if I did it again which means my pictures are a little off.
Supplies:
- small gnome statue (make sure your rings will fit on over his hat)
- small glass plate, shallow bowl or candle dish
- fine grain sandpaper
- gloss white (or color of choice) spray paint that works on glass (I used Krylon Indoor/Outdoor paint)
- wax paper (optional)
- clear polyurethane or other protectant coat (optional)
- super glue
1. If you are painting the dish, sand it a little with the sand paper to get the shine off.
2. Place the dish and gnome on a piece of wax paper. I use wax paper because the dish won’t stick to it when the paint is dry. Spray the dish and gnome with a light coat of spray paint. (If you want to really make sure the paint stays on the glass dish spray it with a primer first.) Let dry and repeat until completely painted. It is best to do lots of light coats rather than one thick one. It’ll prevent drips and adhere better.
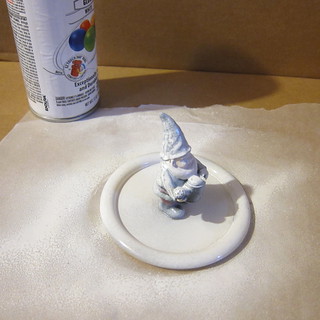
Here’s where I made my mistake, I glued the dish and gnome together before painting. This made it hard to get all the underneath bits of the gnome. So, I had to do a lot of coats which was too many for the dish and the paint started to crack. I had to sand it down and touch it up. Moral of the story, paint the dish and gnome separately.
3. Optional step – Spray the dish and gnome with a coat of clear polyurethane to make the finished holder even shinier and protect the paint.
4. Put super glue on the bottom of the gnome. Glue to center of dish. Let dry.
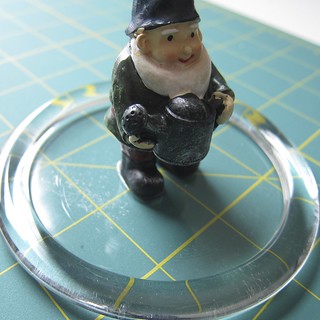
You could do something similar with other objects too. How about a small eiffel tower? Or a lego minifig? Any other ideas?
© 2005 – 2013 Kathy Lewinski & Susan Cornish



Pingback: Gnome Jewelry Holder – Just Crafty Enough · Indie Crafts | CraftGossip.com