
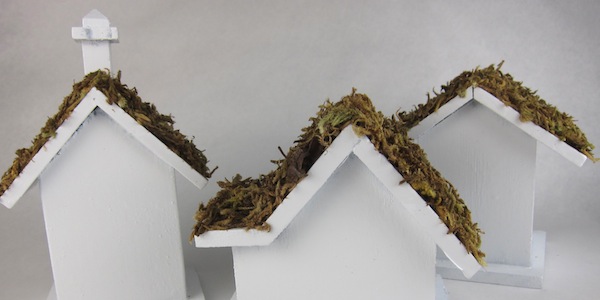

I’ve decided to decorate my house with white, silver and natural textures this holiday season. It’s actually something I’ve been thinking about for a couple years, but this year I am actually going to do it. So, over the next couple of weeks I’ll share with you the projects I am making in that theme. The first one is a little village of moss-roofed houses.
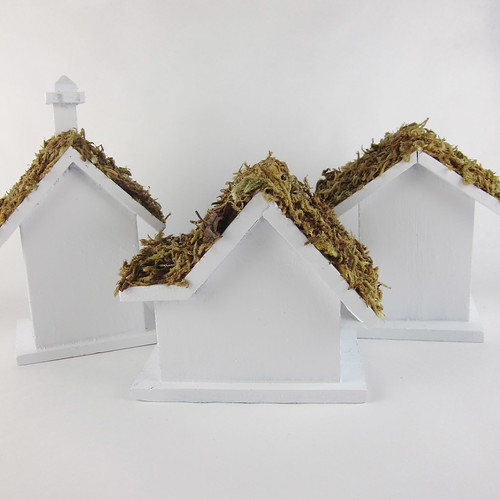
I like the idea of a holiday village, but wanted something much more minimal. My inspiration for these came from the small $1 birdhouses you can get at JoAnn, Micheal’s and I’m betting Hobby Lobby. I loved the different shapes and thought if I flipped them around they could be little houses instead of birdhouses. Originally, I was going to just paint them white, but then I found floral moss at the dollar store for $1 a bag. I thought it would add great texture and a little more interest to these simple houses. I experimented with painting black windows and doors on the houses, but in the end decided I like them best simple.
This is really a very easy project, though it is a little messy playing with that moss (I really need to vacuum my craft room now). It took me less than an hour to glue the roofs on all three houses. Really most of my time was spent waiting for paint and glue to dry.
Moss-Roofed Houses
Supplies:
- Small wooden houses or birdhouses
- Spray paint primer
- White gloss spray paint
- Craft glue
- Floral moss
- Scissors
1. Spray paint the houses – Start with a coat or two of primer. It is really hard to get a nice glossy coat of paint without doing primer first. Once that is dry paint with the white gloss paint. Let dry.
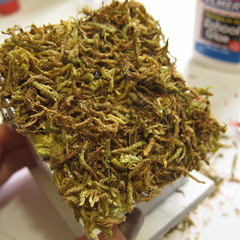
2. Cut the moss to an appropriate size if needed – The moss I was using was in long pieces that made it hard to cover the roofs nicely, so I chopped it finer with scissors.
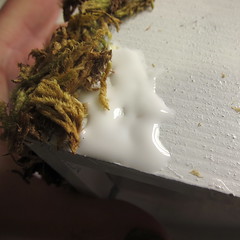
3. Coat the roofs with moss – Put a thick coat of glue on the house roof. You want it to be really thick so the moss is sitting in the glue. Press on the moss to cover. I worked a small space at a time, so the glue didn’t dry.
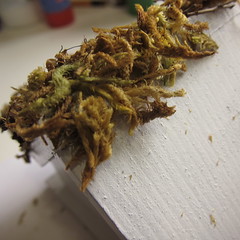
Let dry and them fill in any empty spots with more moss. Trim any stray moss hanging over the edge of the roofs if you wish.
I think it would be fun to experiment with different natural things to cover the roofs, autumn leaves, pieces of pinecone, pebbles or sand. You could differ them to fit your decor. Of course, you could go a whole different direction and add glitter roofs for a bit of holiday shine.
© 2005 – 2012 Kathy Lewinski & Susan Cornish


Pingback: DIY Love: Roundup | Lana Red Studio
Pingback: DIY Love: Roundup