

(Every week until December 1st we will be making a small Christmas ornament that can be used in our Pocket Advent Calendar. Join us in making all 24 or just pick and choose your favorites.)
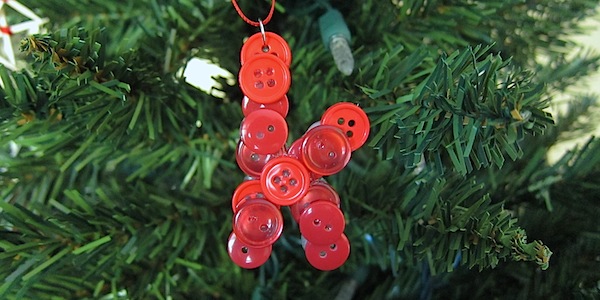
This week’s ornament was inspired by all the great button art, especially the button initials, I keep seeing on Pinterest. I wanted to see if I could create a smaller version to hang on the tree.
I think it turned out really cute and all it took was some hot glue and a bunch of buttons. I bought a big bag of red buttons at Jo-Ann for almost nothing, so I kept this one color. You could certainly mixed up the colors or even do this with silver or gold buttons for a bit of bling. I do suggest you use buttons that are a similar size though.
Button Initial Ornament
Supplies:
- Wax Paper
- Sharpie
- Small buttons
- Hot glue and glue gun
- Jump ring (optional)
- Ribbon for hanging
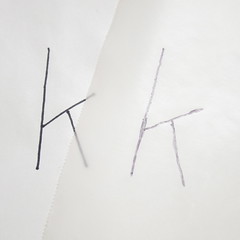
1. Draw or print out the letter you want to use on a piece of wax paper with a sharpie. My letter was 2 1/4″ tall. I also drew it on a piece of paper so I could play with the layout of the buttons before gluing them.
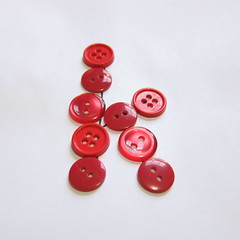
2. Draw line of hot glue on the letter and quickly place the buttons. I ended up doing one line at a time making sure each new glue line started a little on the one I did before. Otherwise, my glue would have dried before I got all the buttons down.
3. Now at a second layer of buttons on top by putting a dot of hot glue on each button as you add it. It is important to place the buttons at the seams between the different glue lines.
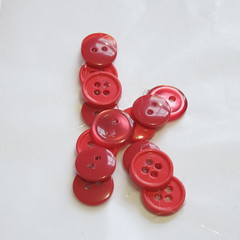
You can see I didn’t do that to the bottom leg of the “k” here and when I removed it from the paper, that leg came off.
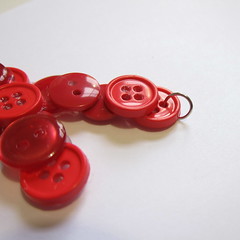
4. Let dry and then carefully peel from the wax paper. The paper stuck a bit and ripped, but I didn’t care that there was a little paper on the back. If you have lots of glue gun strings use a blow drier to help met them off.
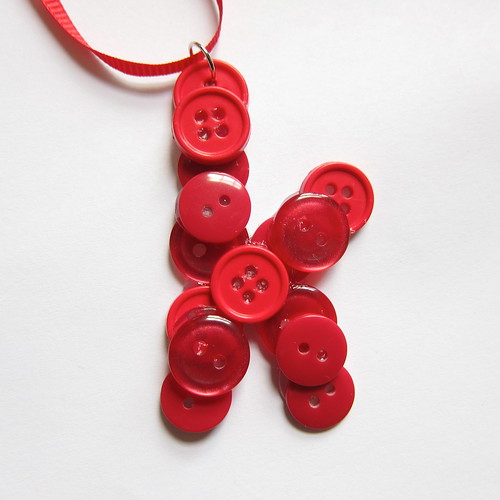
5. Add a loop for hanging. You can do this by putting a jump ring through one of the buttons and ribbon through that like I did.
Or you can just glue a loop of ribbon to the back of the ornament.
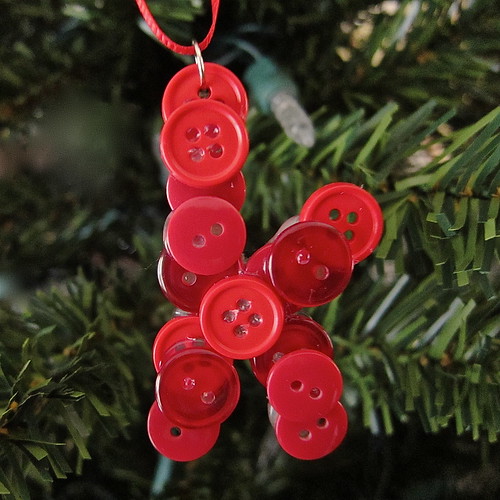
This is more delicate than a lot of the ornaments we’ve made, but it is also surprisingly strong once the glue is dried. You could add buttons to the back if you wanted another layer for strength.
Really there is something so nice about a personalized ornament.
© 2005 – 2012 Kathy Lewinski & Susan Cornish


One Comment to Advent Calendar Project – Week 15