

(Every week until December 1st we will be making a small Christmas ornament that can be used in our Pocket Advent Calendar. Join us in making all 24 or just pick and choose your favorites.)
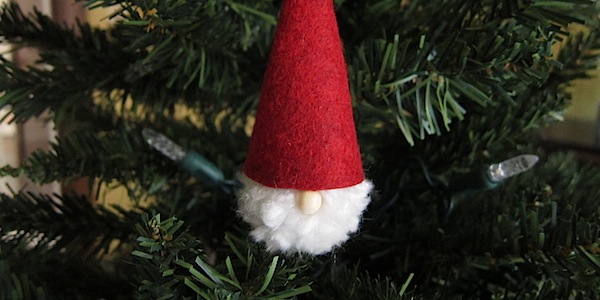
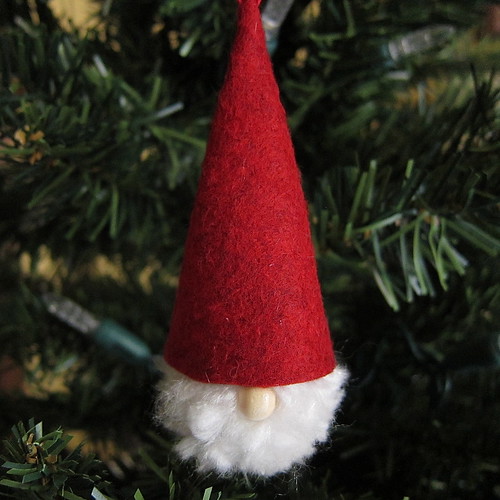
Often on Scandinavian Christmas ornaments Santa or tomtes are shown as just a beard, nose and large hat. This week’s ornament is based on that look.
This ornament is so easy, you could whip out a bunch of them for gifts or to decorate packages in an afternoon. Kids love to make pom poms, so this would be a fun one to do with them too. I used a dinner fork to make the smaller sized pom pom, so no special pom pom making tools are needed.
Pom Pom Santa
Supplies:
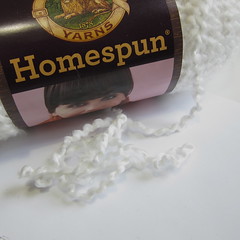
- Scrap bulky yarn in white or grey (I used Lion Brand Homespun because it has a little texture to it.)
- four prong fork
- tapestry or large eyed needle
- scissors
- compass
- red felt
- fabric glue (Look for a strong quick drying glue like Beacon Fabri-Tac)
- 8mm wooden bead (Don’t worry if it has a hole through it)
- red embroidery floss
- sewing needle
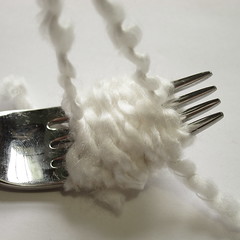
1. Make the pom pom – Wrap the yarn around the fork 25 times and cut off the ball.
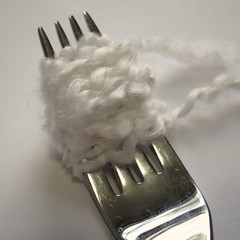
Cut another piece of yarn about 10 inches long and put on the tapestry needle. Thread through the center of the wrapped yarn between the 2nd and 3rd prongs.
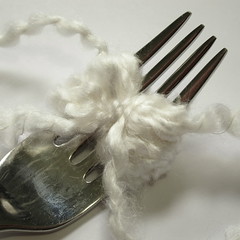
Wrap the ends of the yarn around so both sides of the yarn on the fork are wrapped in it. Tie into a tight knot.
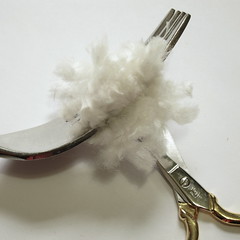
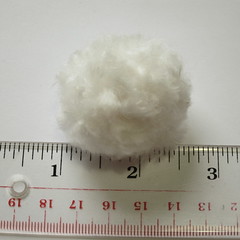
Cut the wrapped yarn off at both sides. Roll in your hand to fluff out. Trim to even out the edges (I needed quite a bit of trimming. Your final pom pom will be about 1 – 1 1/2 inches.
 >
>
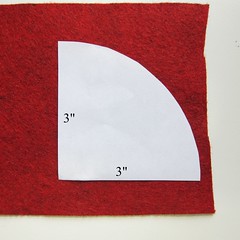
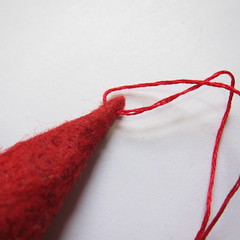
2. Make the hat – Set your compass to 3 inches and draw a half circle on a piece of paper. Cut that half circle in half. You’ll have a quarter circle with two 3 inch sides. Use that pattern to cut out the felt.
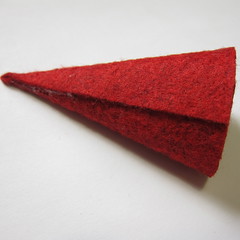
Roll the felt into a cone and glue the ends. (You could also sew it together, but gluing is quicker.)
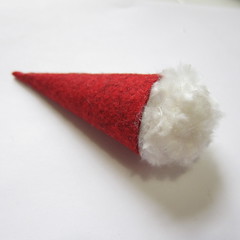
3. Put a bead of glue on the inside of the bottom of the hat and insert the pom pom.
4. Put a dot of glue on the wooden bead and nestle into the pom pom just below the hat. If your bead has a hole through it like mine did, turn it so the holes are on the sides.
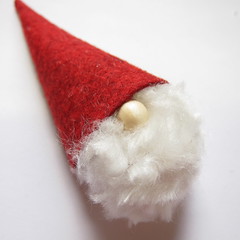
5. Thread some embroidery floss on a sewing needle. Stitch through the top of the hat. Tie into a loop for hanging the ornament.
Now I’m torn to whether these or the little snow people should decorate my presents this year.
© 2005 – 2012 Kathy Lewinski & Susan Cornish


Pingback: a pinterest christmas: clay ornament & pom pom santa. | emerald city diaries
Pingback: X-Mas | Pearltrees
Pingback: Jul | Pearltrees
Pingback: 25 Nicest DIY Christmas Ornaments
Pingback: DIY Ornaments
Pingback: 15 Christmas DIY Ideas Under $15 – The UrbanWire
Pingback: Santa Ornaments Kids Can Make! | Letters from Santa BlogLetters from Santa Blog
Pingback: Inspirações para usar pompom de lã na decoração do Natal - Simplichique