
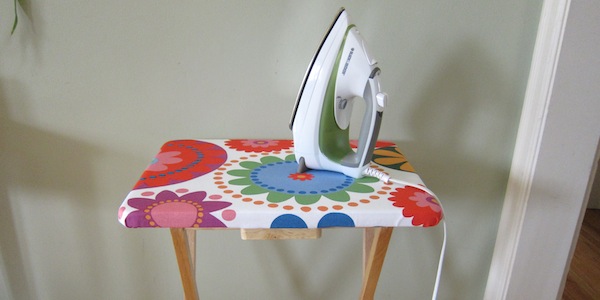

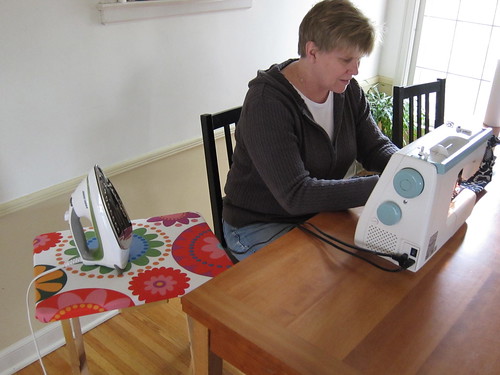
One day not too long ago, I was over at Jenny‘s sewing up some Project Project Runway designs when I noticed her ad hoc ironing board. She would set up a wooden tv table next to her chair, cover it with a towel and was able to iron away without standing up or filling her whole dining room with a huge ironing board. I thought why not take it one step further and cover the top of the tv table to make it into a true ironing board.
This is a quick and easy project that will take just an hour or so to complete. The end result is so useful. It’s perfect for small crafting spaces like mine that don’t have room for a full-sized iron board, but gives you a lot more ironing space than those tiny craft ironing boards. When I’m quilting or need to press open a seam the iron is right there next to me so my workflow doesn’t get interrupted at all. Then when I’m done the ironing board gets folded up and stored away until needed again. I love it!

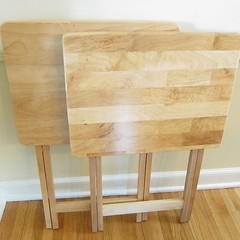
Just a note about the supplies for this project. We picked up the foldable tv tables at Target for $10.
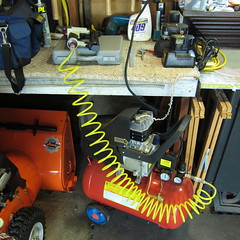
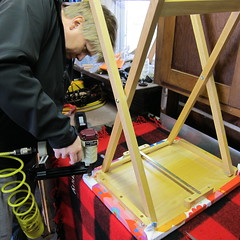
Jenny’s husband saw this project as an excuse to get a pneumatic stapler, but any staple gun with strong staples should work. It may just take a little more hand strength.
By-Your Side Ironing Board
Supplies:
- wooden foldable tv table (I got mine for $10 at Target)
- marker or pen
- scissors
- ruler
- heat resistant batting
- cotton fabric
- tape – scotch, masking or duct will do
- staple gun
- staples
1. Lay the batting out and put the table top on it. Trace around the edges with a pen.
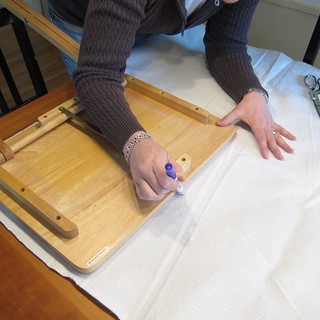
Cut it out. Since you want it to just cover the top, you’ll want to cut right inside the tracing line.
2. Lay out your fabric and place the piece of batting on top of it. Cut the fabric so it is about 3″ bigger all the way around than the batting.
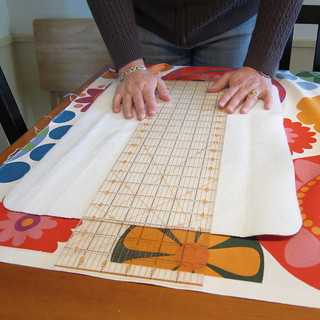
It’ll look like a lot extra, but you’ll need the extra length.
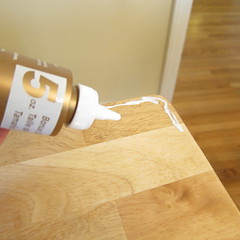
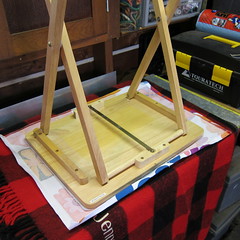
3. Glue the batting to the top of the table. You are just looking to keep it in place so you don’t need to go crazy with the glue, around the edge with just a few stripes in the middle is fine.

4. Lay your cut piece of fabric out with wrong side facing up. Center the table on it. On one side of the table, fold the raw edge of the fabric under and then fold the fabric around the table edge. Use tape to hold the fabric in place on the table.
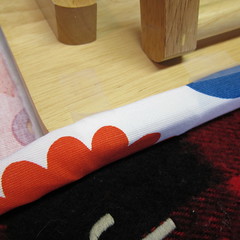
The tape will help you hold the fabric taut and keep your fingers away from the stapler.
5. Staple the fabric on that first side down.
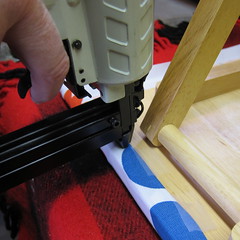
We put in a staple about every inch.
6. Now do steps 4 and 5 on the opposite side of the table. Make sure to pull the fabric taut.
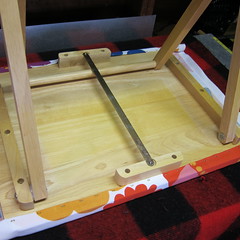
7. Now you will do the two other sides and the corners. You will do the length of each side the same way, but you will have extra fabric that needs to be folded up at the corners. We found it was easiest to fold this fabric up before stapling in final sides.
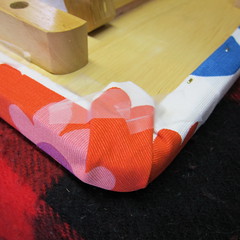
You can get fussy and do super neat tight corners. Since this isn’t a piece of furniture we were upholstering, we didn’t worry about it too much.
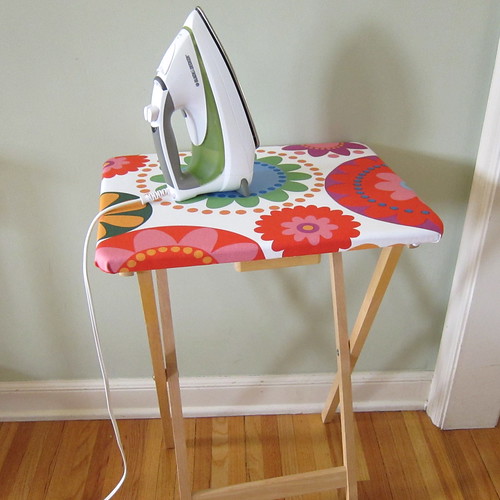
8. Remove the tape and you have a new ironing board to stand by your side wherever you need it.
© 2005 – 2012 Kathy Lewinski & Susan Cornish

Pingback: By-Your-Side Ironing Board · Home and Garden | CraftGossip.com
Pingback: Ideetjes | Pearltrees
Pingback: Pinterest Picks 5.29.12 - Totally Stitchin