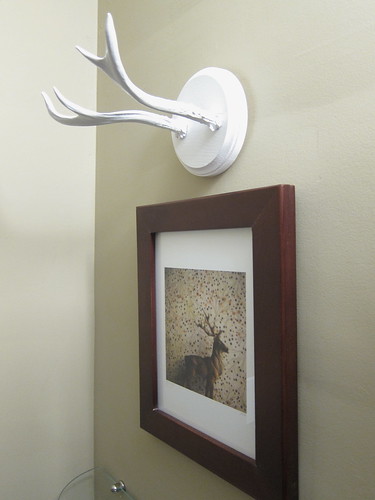
This week’s Iron Craft challenge was called Best in Show. We could make an animal or something for an animal. Well, I decided to make something from an animal… I have a little bathroom on the first floor of my house that I call “my deer little bathroom” because of the way I’ve decorated it.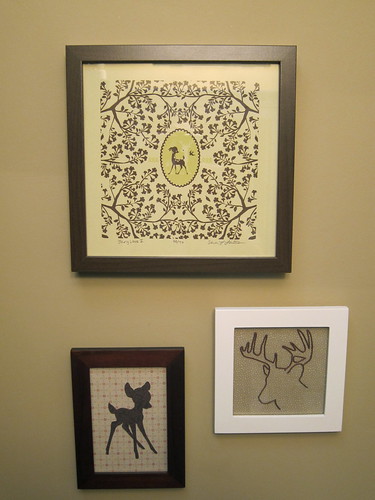
The top piece is from a local artist, Too Many Suitors and the other two I made. I’ve always felt it was missing one thing, a pair of antlers. I wanted the antlers to be glossy white for a little more modern look. I’d seem some similar things in design stores & online that cost way too much (& were usually too big) so, I decided to make my own.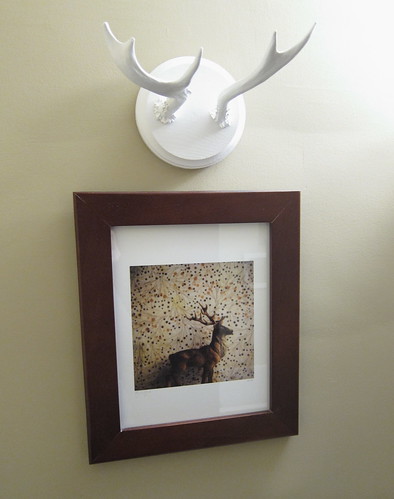
This was a relatively easy & cheap project but, it is one to do in the workshop & not the craftroom. The main thing is finding the antlers & having the right tools. Living in Minnesota, antlers were not hard to find at a local antique/junk shop. They had piles of them in all different sizes & shapes. I needed something on the smaller side but, also wanted it to have a couple points (not just be one straight antler). I found this one which I liked the shape of but, was not thrilled with the fact it still had fur on it! Since I was planning on cutting the antlers off it wasn’t too big a deal in the end. The best part, I only paid $14 for them.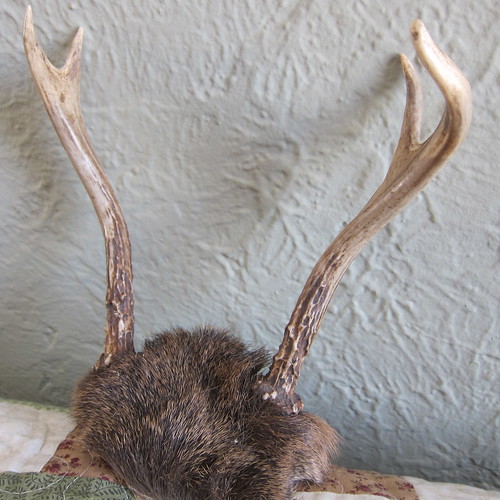
Antler Wall Plaque How-To
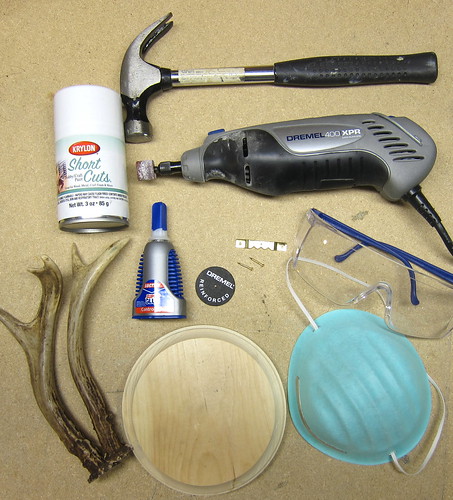
small can of gloss spray paint – I used white but other colors would be fun
hammer
Dremel tool with a large reinforced cutting blade & sanding attachment
eye protection
picture hanger
super glue
antlers
wooden wall plaque – I got mine for $2 at Joann’s
breathing mask
Make the Plaque:
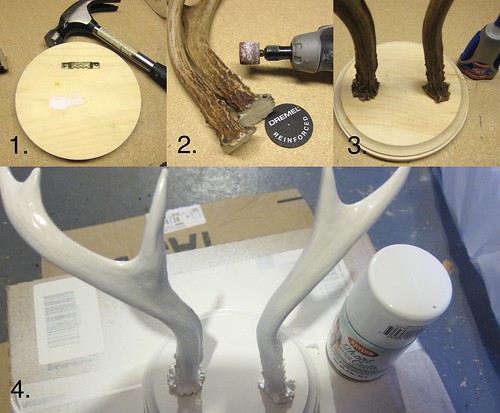
- Attach the picture hanger to the back of the wall plaque.
- Saw the antlers from the skull if necessary. This is a very stinky dusty step, wear your eye protection & mask. Antlers are made of the same thing as hair & cutting them smells a lot like burning hair. Do this step outside or in a well ventilated area. You won’t be able to cut straight through & will have to work around the base of the antler. I actually went through two blades. I vise helps hold the antler in place if you have one. Use the sanding attachment of the dremel to sand the cut end of the antlers smooth.
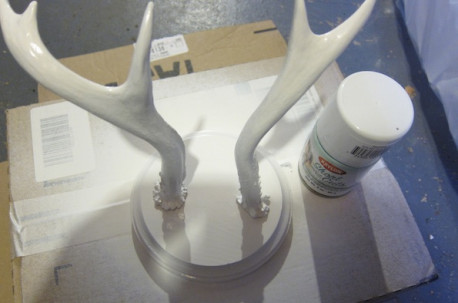
- Decide how you want the antlers to sit on the plaque, paying attention to where the hanger is, & super glue them on. Let dry completely.
- Spray paint the plaque. Once again, do this in a well ventilated space or outside. I find the garage is good because it blocks the wind. It’s best to do lots of thin coats of paint so you don’t get any drips. Make sure to get it from every angle. I did 6 coats over 2 days, letting it dry 2 hours between coats. This used all the paint in my little can. Let dry completely.
- Hang in your own deer little space.
A few notes: Since I’m not planning on every hanging anything on these antlers super glue should keep them secure enough but if you wanted to make them into a towel hook or something I would screw them to the plaque. Also in that case I would prime the antlers & plaque before painting.



4 Comments to Iron Craft Challenge #13 – Antler Wall Plaque