

This week on Iron Craft we were getting in a St. Patrick’s frame of mind by crafting something green. We were restricted to the color green this week not the concept of living green. I’d been wanted to make a terrarium for the house since I had seen them made on Martha so, this was the perfect excuse. Since terrarium building required buying a lot more supplies than just I could use, Thing 2 & his mom decided to join me & make some for their house too.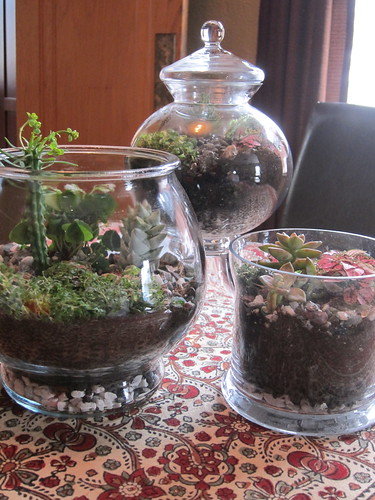
Really this couldn’t be an easier project & adds a bit of spring to the house when everything outside is still covered in snow.
Terrarium How-To
Supplies: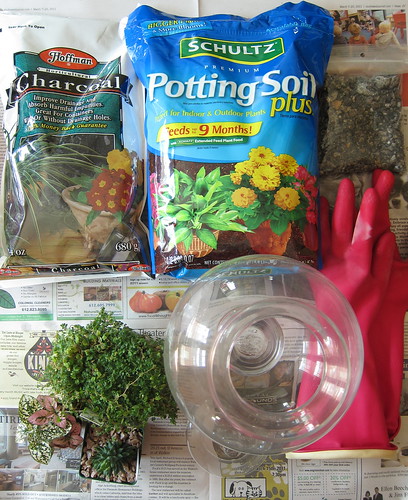
Large Glass Jar *see below for thought on choosing a jar
Small Rocks
Charcoal
Potting soil
Small Plants
Decorative rocks (optional)
Gloves
Assembly:
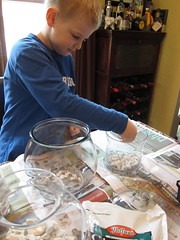
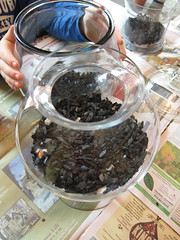
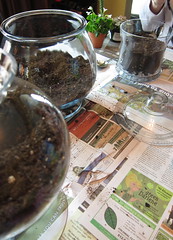
Work on a protected or easily clean surface. Put a layer of small rocks on the bottom of your jar. Put on your gloves & add a layer of the charcoal (you do not want to touch the charcoal with your bare hands). Add enough potting soil to plant your plants in. If you want to keep the soil out of the rocks below you can put a coffee filter in-between the charcoal & soil.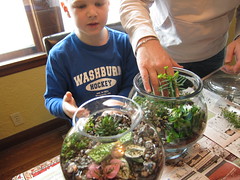
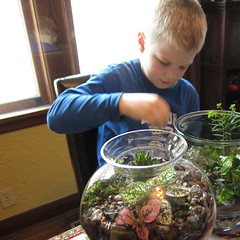
Plant your plants. Add decorative rocks (or moss or gnomes, etc…). Water.
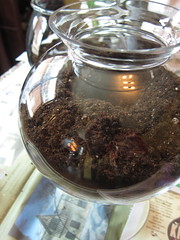
*Ok, let’s talk about choosing your jar. First of all you want to make sure to pick a jar that has an opening big enough to fit your hand holding a plant in it. I picked a really pretty apothecary jar that I could JUST fit my hand in & planting was tricky. Also look at my finished jar, because of the bowl shape it ended up being almost all dirt & with just a little room for the plants at the top, not the look I wanted at all. Now look at Thing 2’s nice big jar with a large flat bottom. Easy to plant in & it shows off the plants. A much better way to go than the rounded bottom. You can use a jar with or without a top. If yours does have a top you can leave it on & your plants will require watering less often. But make sure not to shock your plants by suddenly taking the top off & leaving it off.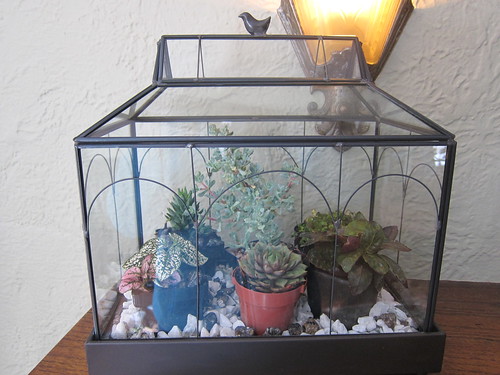
I was so unhappy with my results Matt a bought me this glass terrarium from Crate & Barrel. You can’t plant directly into it so, I added little plants in containers surrounded by rocks. It looks beautiful on my mantle. The apothecary jar will get filled with candy or pretty marbles instead.
© 2005 – 2011 Kathy Lewinski & Susan Cornish

4 Comments to Iron Craft Challenge #11 – Terrariums