We decided to start a lot of our vegetables from seed ourselves this year instead of buying plants from nursery. We figured it would be cheaper in the long run since seeds are cheap & can be saved to use from year to year. The main outlay would be the cost of a grow lamp. We wanted something adjustable that could be moved up as the plants grow bigger. Matt started pricing grow lamps & figured he could make something pretty easily with a shop light & some scrap lumber in our basement for much less. His final design was so ingenious I thought I’d share it.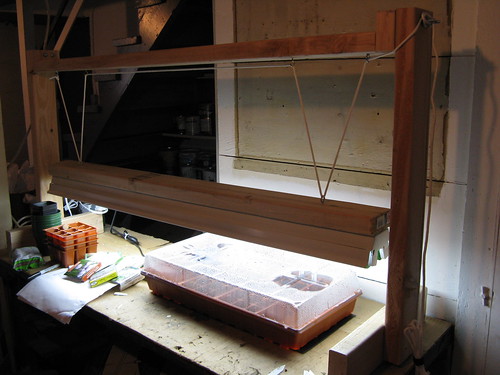
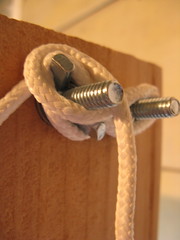
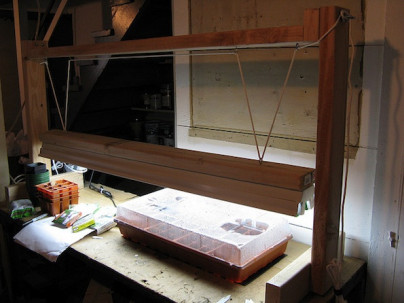
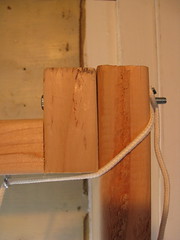
This is our seed starting set up on an old workbench in the basement. The light is big enough to accommodate 2 flats of seeds. The hooks & eyes along with the rope create a pulley system to move the light up & down. The rope is secured to the ends to two screws with wing nuts, working a lot like a cleat on a boat.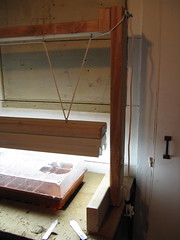
Here’s what you need to build it…
15 1/2 feet of 2×4 cut into the following pieces
two 15″ lengths
two 3″ lengths
two 48″ lengths
two 27″ lengths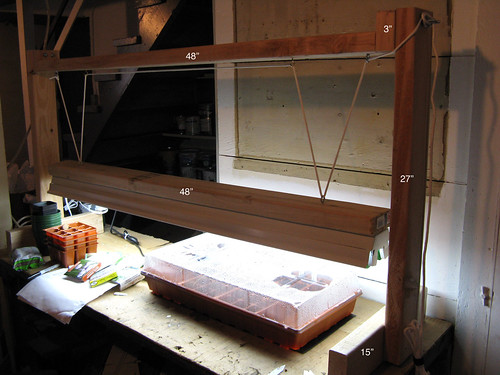
four 4″ bolts with 4 washers & 4 wing nuts
ten 2″ screws
two screw in hooks
four screw in eyes
one 48″ shop light with daylight bulbs (you don’t need to spend extra for plant bulbs)
8 feet of rope, thin enough to go through your eyes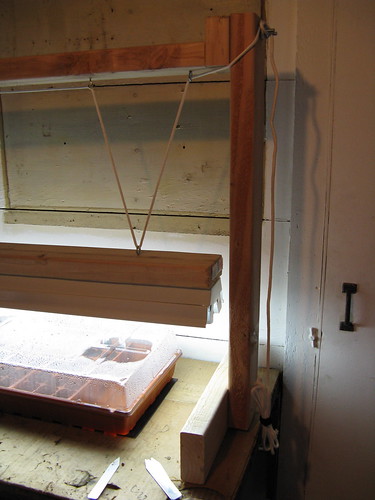
© 2005 – 2011 Kathy Lewinski & Susan Cornish



Excellent. I actually have a similar idea, except take all the work out of it. I got on craigslist and sourced some freebie broken miniblinds of which the lift mechanism was still functional. I just cut out the blinds themselves, and attached the flourescent balasts to the hanging blind base. I then use the same pull string to raise and lower the flourescent ballast. I also use the cheap $10 utility ballasts from Home Depot and make sure I put a red spectrum and a blue spectrum bulb (each ballast holds two bulbs) per ballast. That costs me $3 per set of two, each spectrum coming in sets of 2. It closely covers the full spectrum of lighting that high end full spectrum bulbs do at a fraction of the cost. I mounted all of this on a bookcase, leaving me several levels of lighting and flat space over the same square footage as a single setup. I've used this for years for garden plants and flowers. I've had to give away hundreds and hundreds of plants each year. This past two winters I have used the same setup to grow orchids purchased by the flask off of ebay. VERY happy plants. Mount a power strip to the side of the bookcase and then the power strip to a plug in timer, and voila, you have a seedling machine. The good thing is there is a negligible change in energy useage and very little heat generation. To pop seeds, I rotate my seedling trays from the bookcase to the top of my refrigerator. When the seeds pop, it's all up to the light, and room temperature was fine for growth. Good planting!!