

This is my first attempt to give instructions on how to sew anything so please be kind.

Here’s how I make my cloth grocery bags.
Body
Carefully open a paper grocery bag at all the seams until it lies flat. Square off the sides the best you can & cut off the handles
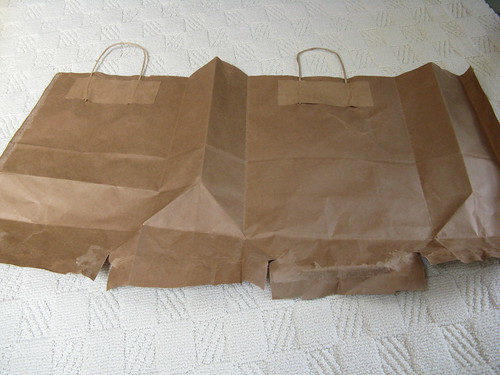
Pin the grocery bag to your cloth & it out. It should be about a 41 ” x 21 1/2 ” rectangle. If your fabric has a design with that goes a particular direction keep in mine that you want it to go up & down the 21 1/2-inch length.
Fold the cloth in half length-wise with wrong sides together, creating a 20 1/2″ by 21 1/2″ rectangle. Pin the side across from the fold & sew it together with a 1/4-inch seam.
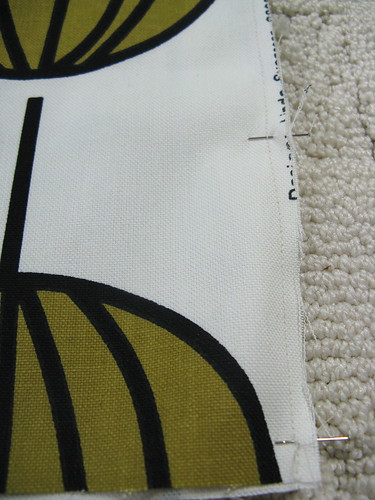
Turn the fabric inside out so that right sides are together. Iron the seam you just sewed flat, then sew along that side again with a 3/8-inch seam. This creates a french seam.
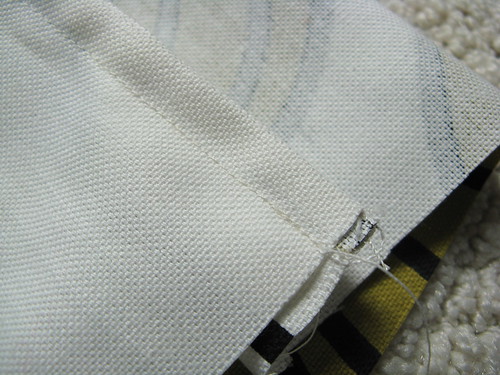
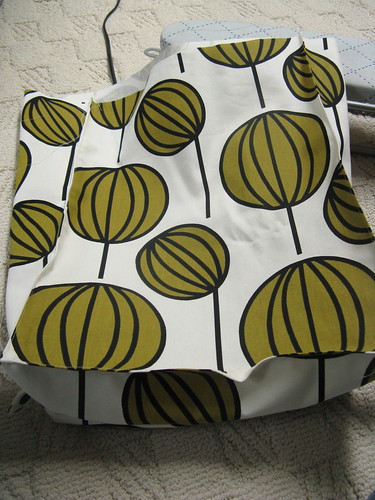
Now you will sew the bottom of the bag. Lay the bag flat, with right sides still together so that your french seam in 3 inches from an edge (it will become on of the corners of your bag).
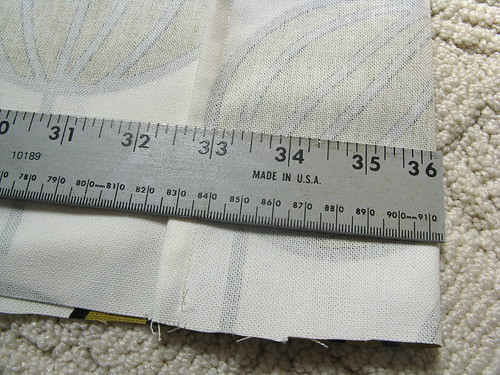
Pin along the bottom (you can chose either end to be your bottom just make sure if your fabric has an up or down its going in the right direction. Sew that seam with a 5/8-inch seam.
Gusset
Ok, this is the kind of tricky part but once you start playing with the fabric it will make sense. Using the bottom seam you just sewed as the middle point, square off the bottom of the bag by making a triangle on each side. The widest point of the triangle should be 6 inches, this will create the short side of your bag. One of the triangles should have your french seam across half the top & at one corner of the 6 -inch line. Draw a line here so you know where to sew & pin it.
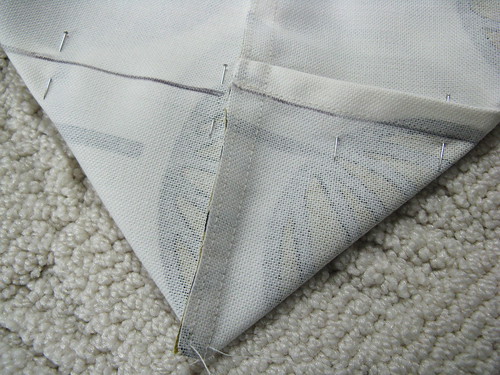
(The seam in the middle is my bottom seam, I double sewed & trimmed it, you don’t have to. You can see my french seam across half of the top of the triangle.)
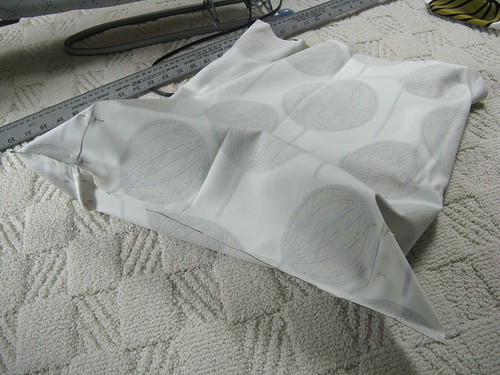
When you have both sides pinned it should look like this.
This next bit is optional but I make little tabs that come out of the sides of the bottom with snaps on them so the whole bag can fold flat to a small square & be snapped shut.
Cut two lengths of fabric 3″ x 4″. Fold them in half, right sides together” to form 1.5″ x 4″ lengths. Pin them together. Sew a 1/4-inch seam down the long side & one short side. Trim the corners of the sewn edges & turn right side out. Iron flat with the seam on one side. Then top stitch around the two long sides & the short side that is sewn together.
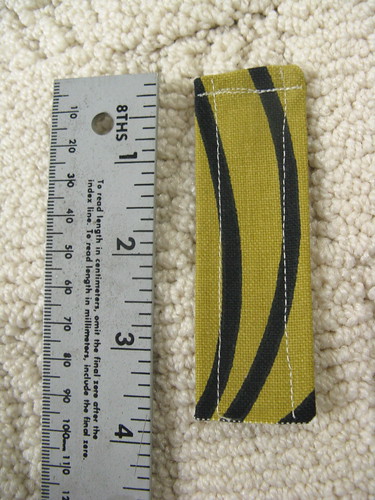
Attach half a snap to the end of each strap, velcro would work as well.

These tabs now get pinned from the right side into the center of the triangles you have pinned off. (So, basically you are doing this inside the bag because the bag is inside out.) The unfinished edge of the tab gets tucked into the center of the triangle & pinned. Make sure the snaps or velcro are facing up.
Then you sew along the line you have drawn on each side marking the bottom on the triangle. This creates the square bottom & secures the closure tabs.
Shaping
I find topstitching really gives this bag its shape. First I fold the bottom onto a rectangle & iron in creases to show the length of the long sides. I fold those creases together & topstitch about 1/8-inches in on both of the longer sides of the bottom. Then I use the iron to mark creases where all the corners will be starting with the french seam corner. I fold those creases together & also topstitch in about 1/8inch. This creates four sharp sides & keeps the bag in a square shape. The short sides of the bag should be 6 inches-wide.
Then I turn the bag inside out & fold it so I can iron a crease right down the middle of the short sides. I mark 3-inches up from the bottom edge & then top stitch that crease from the top of the bag to that mark (you are doing topstitching on the wrong side of the bag to create a fold that pulls inside.)

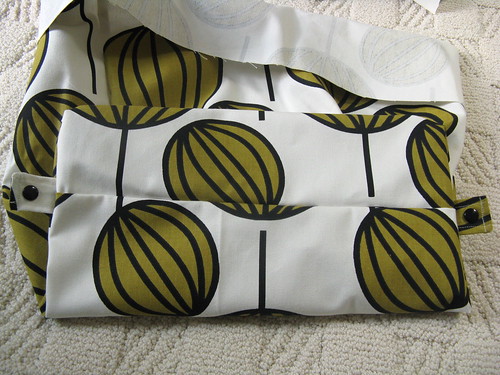
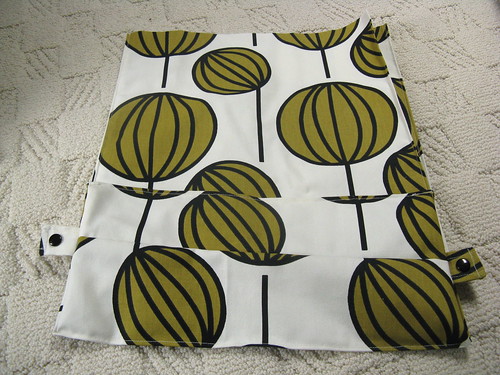
With all your topstitching done your bag should lay flat like this.
Straps
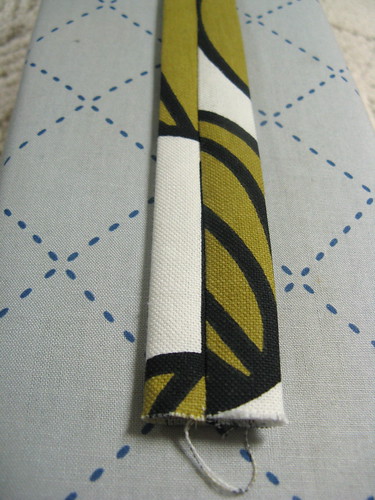
Cut two lengths of fabric 1/2-inch wider than you’d like your straps & 4-inches longer than you’d like. Fold the fabric in half along the short side with the right sides together. Pin & sew a 1/4-inch seam. Turn the straps right side out. Iron flat with the seam down the middle.
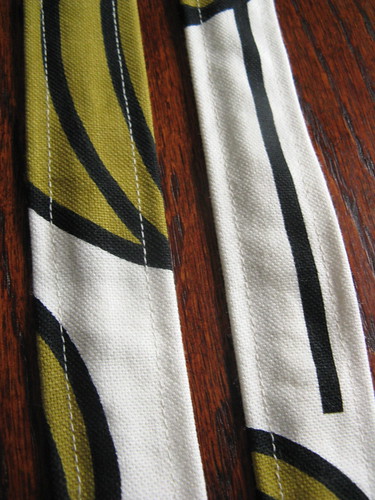
Topstitch along both the long sides.
More to come….
© 2005 – 2011 Kathy Lewinski & Susan Cornish

Pingback: Friday finds – a list of 18 links to free patterns to make market bags | a little bird made me