

For this Iron Craft challenge we were asked to make something shiny and/or bright. Over Thanksgiving my mother-in-law, Kathee, and I were looking at projects you could do with used K-cups. One idea was to use them as planters for pine cone trees. I really liked the look, but didn’t have K-cups. What I did have was small plastic planters from the dollar store which were just the right size.
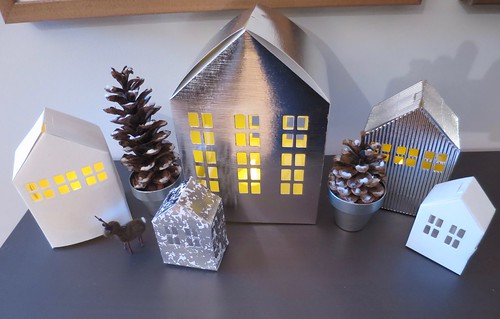
I think they look very sweet with my paper lantern village. (I little set I picked up at Target this year.) You can’t really see in the picture how the glitter sparkles when it’s dry.
You want to look for pine cones for this project that are big enough to either sit securely in your pots or will stand on top of them. I also recommend looking for some that are open, so you have places to put the glitter “snow.” (If you are picking pine cones up outside, bake them at a low temperature for a bit to kill any creepy crawly and dry up any sap.)
You can use any type of glitter you want for this or even some snow-tex. I used clear glitter, but it still dried pretty white.
Pine Cone Trees
Supplies
- small pots
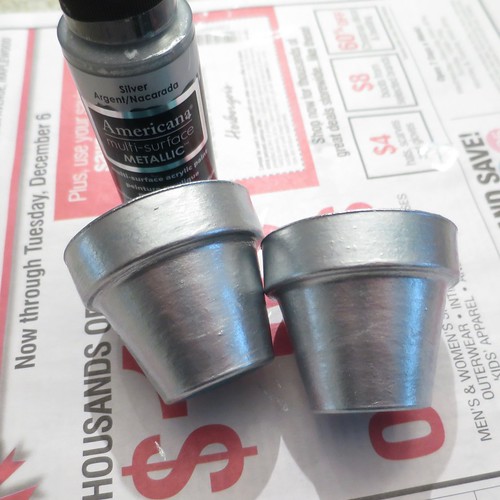
- silver or other color acrylic paint (optional)
- small paint brush
- pine cones
- white or clear glitter, glitter glue, glitter paint or snow-tex
- clear glue, I used Elmer’s (if using plain glitter)
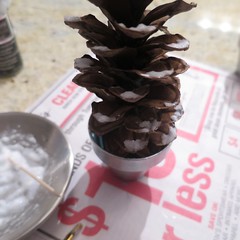
1. Paint your pots if you choose. Mine were plastic and took about three coats.
2. Pick pine cones that either sit in your pots or can be glued sitting on top of them. Mine sat securely in the pots, so I did not need to glue them in place. You can use the clear glue to glue them in place.
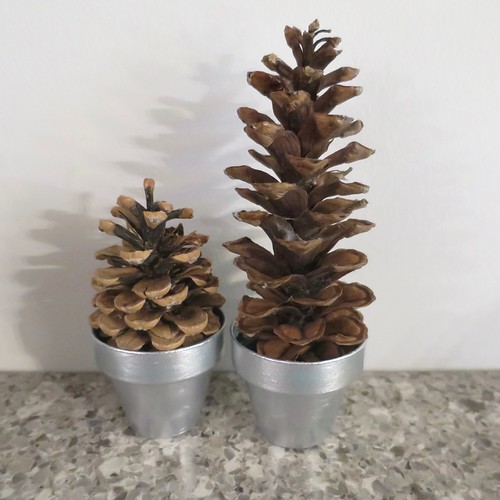
I chose to do this before adding the glitter, because it was nice to have the pine cones standing to work with them.
3. If you are using plain glitter, not a glitter paint or glue, mix it with some clear glue. I also added just a little water. You want it to be thick like a wet sand.
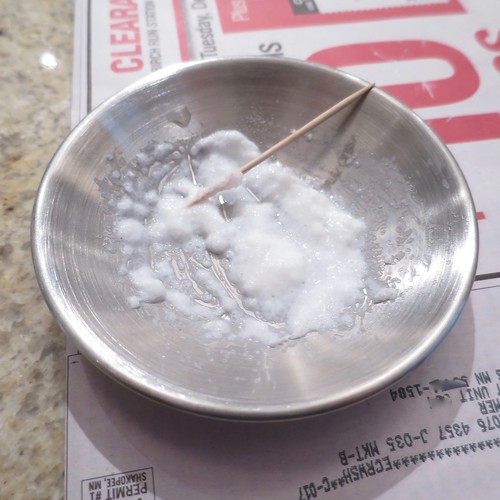
4. Use the small paint brush to mound the glitter on the tips of the pine cone “branches.” You want it to be like little piles of snow on the end of each one.
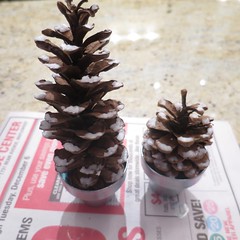
Let dry completely and display.
© 2005 – 2016 Kathy Lewinski & Susan Cornish
