

My daughter spends a LOT of time thinking up what she would like to do for her birthday. Really a lot of time. Because her birthday is right after the holidays, we can’t afford to “wing it”. People need to get invitations before they break for the holiday. Even if I wanted to wait, reservations for kids’ parties cannot be readily attained on a 48 hour notice. During our deliberations, one day she suggested a rock climbing party and I was THRILLED with that idea. I looked into climbing gyms in our area and waited 48 hours to see if that idea still held favor. I asked her later and the idea was still good! The rest is history!
The invitations were made from scratch and they sure were fun!
Rock Climbing Party Invitations
Supplies:
- boxed cards
- gray card stock
- small self stick foam sheets (or just a few stickers)
- plain paper (for printed inserts)
- black pen
- ruler
- scissors
- rubber cement (or non wrinkling adhesive)
(My printer is house is not working. So I did not send these cards through the printer. If you want to have the look and feel of professional printed cards, now is the time to do the printing, before layering all the things I talk about in the next few steps.)
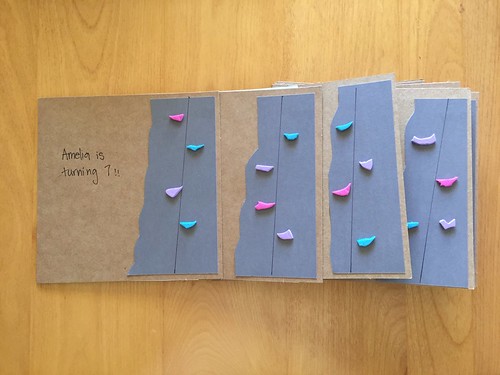
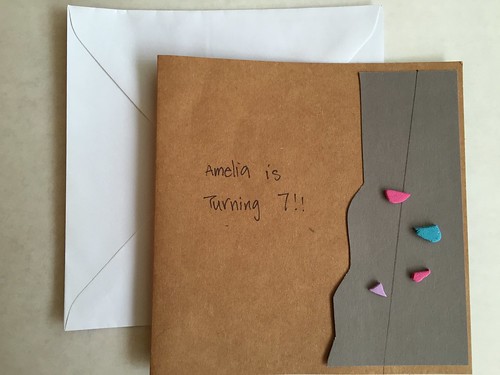
I started with a box of craft paper note cards. Then I cut a jagged piece that was about 1/3 of the size of the front of the card. I used both halves of the “jagged” cut, and turned them around so that they were “up hill” the right way on each invitation. Glue this “mountain” piece down.
Draw a line down the mountain. (this represents the ropes) Cut out tiny odd shapes of the different colors of foam sheet.
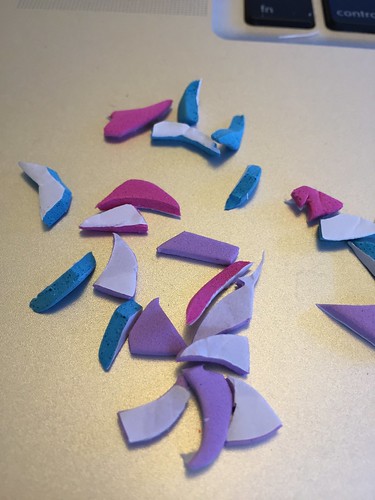
Most of them should have some sort of “scoop” shape. Peel the paper off the back, and stick these down the mountain, spaced on either side of the line.
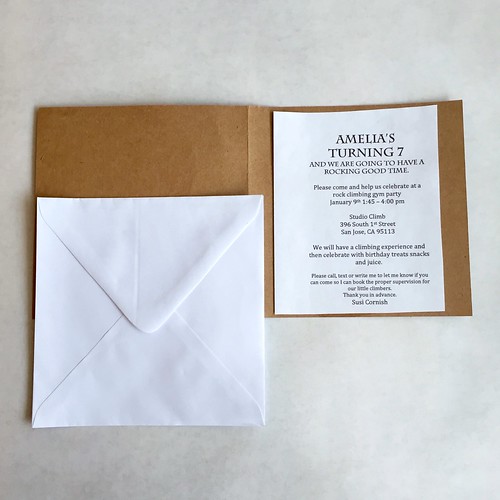
For the information part of this invitation, I typed out all the details and laid them out on 1/4 of a page. This was the perfect size for the cards I was using. I printed out these sheets, and carefully cut them into individual pieces. I glued these to the inside face of the card. Then I hand wrote “Amelia is turning 7” on the outside of the card.
I’m going to come clean here and say that I am not “in control” of my printer. I know I could have figured out how to run these through the printer and have all the information appear neatly type written directly on the card, but I didn’t do that. I was intimidated by the level of experimentation that this would take. “How do I get this right-side-up, inside on the right-facing card flap?” See, right there, that is too much for me. And let’s say I was successful, I would then need to get “Amelia is turning seven!” to print out right-side-up on the front flap. (“boom” – the sound of my head exploding) Instead, I did a printed insert and a hand written outside.
And in the end, I LOVE the look. It is clear that I made these invitations by hand, and with love. I got them done quickly with no waste. I was happy, and Amelia thought they were really neat. EXCELLENT!
© 2005 – 2016 Kathy Lewinski & Susan Cornish

Pingback: www.ntos.co.Kr