


Every Friday for the twenty-four weeks leading up to December 1st, we will be making a handmade Christmas ornament. Follow along and make them all or pick and chose your favorites.
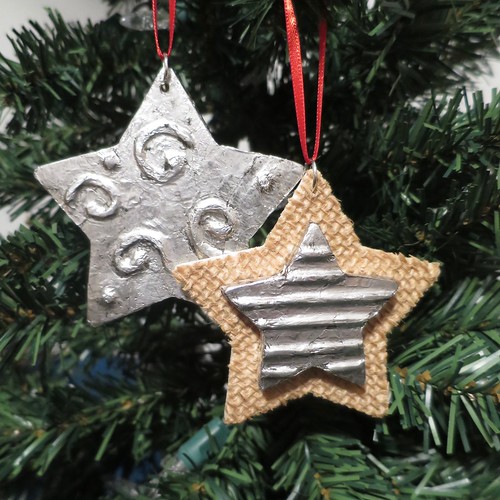
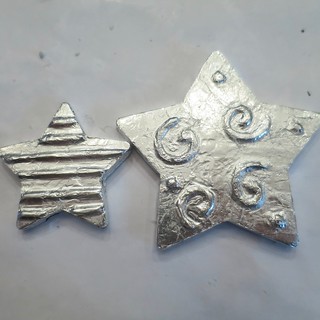
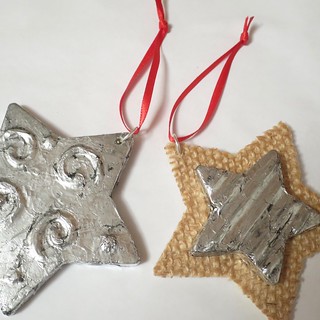
For this week’s ornament we are revisiting my antique silver effect using tin foil. This time I wanted to try making a three dimensional design and antiquing it. I kind of love the results.
You can see my original post on doing the foiling here.
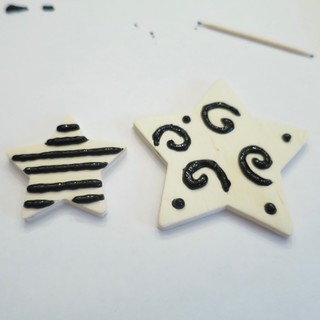
I used puffy paint to draw on the designs because the bottles have a pretty good tip for drawing. I think hot glue would work well too, but I find I have a hard time doing nice lines with hot glue. The one issue I found with the puffy paint is that it was easily flattened when you smooth out the tin foil, so you have to be extra careful.
Textured “Antique” Silver Star Ornament
Supplies:
- wooden star shapes
- pencil
- puffy paint, thick glue or hot glue
- tin foil
- tacky or school glue
- small paintbrush
- black acrylic paint
- paper towels
- drill with small bit or hammer and nail
- large jump ring
1. Draw the design you want on the wooden star shapes.
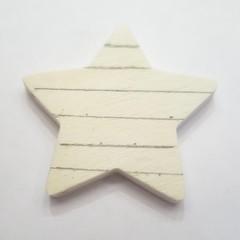
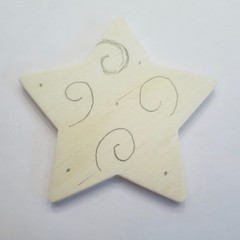
Use puffy paint or glue to draw on the design. Let dry completely. I let my paint dry overnight.
2. Rip the tin foil into small pieces, I like to work with pieces between 1/2″ and 1″. Use a small paintbrush to cover the dull side of each piece with glue. Place the foil pieces on the star, overlapping to cover them completely.

I covered both sides of the large star, but since the smaller star was going to be glued onto another larger one, I only covered the front and sides of it.
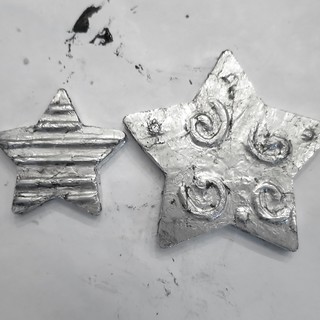
Let the glue dry a little and then smooth out the tin foil as much as you can, being careful not to flatten the designs. (I found that the puffy paint would flatten if pressed too hard, I am not sure if glue would have the same issue.) I used the round end of my paintbrush to do the smoothing. The more wrinkled you leave it the more places the black paint will have to fill in. Use a wet paper towel to wipe off any excess glue that escapes.
3. Brush or dab a small amount of black paint on to the stars. Use a damp paper towel to wipe it off. Add more paint and wipe it off until you get the look you want.
Let dry.
4. For the layered star ornament, cover the front of a bigger star shape with a fabric of your choice. I used burlap.
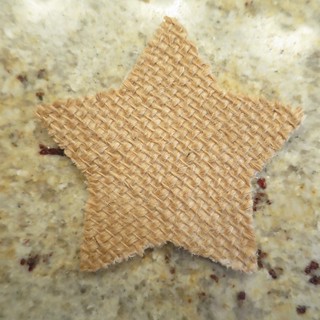
The easy way to do this is cover the front of the star with glue and glue to the wrong side of the fabric. Let dry. Use small scissors to trim the fabric. You may want to dap a little glue around the edges to prevent fraying.
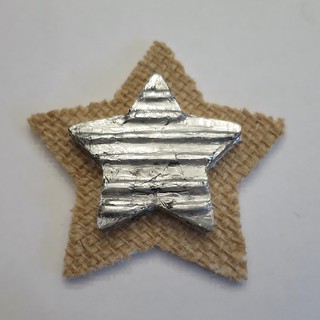
Glue the smaller star to the center of the bigger one.
5. Drill a small hole at the top of one of the points of the stars. Put a jump ring through the hole for hanging.
© 2005 – 2015 Kathy Lewinski & Susan Cornish


2 Comments to Advent Calendar Project ’15 – Week 23