

(For the 24 weeks leading up to December 1st, we’ll be making a Christmas ornament, giving you enough to fill an advent calendar.)
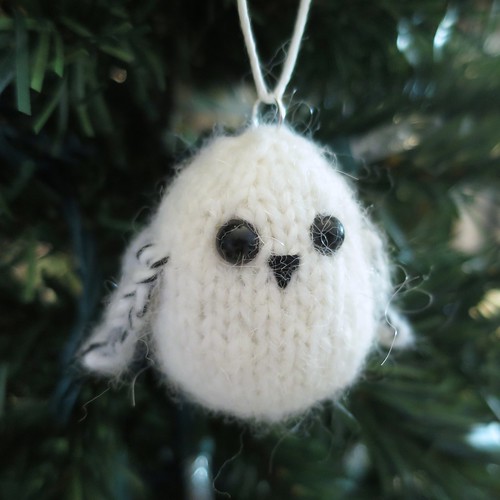
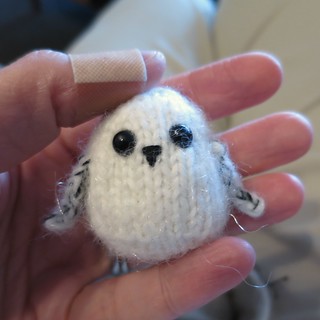
This week we are knitting up a little snowy owl ornament.
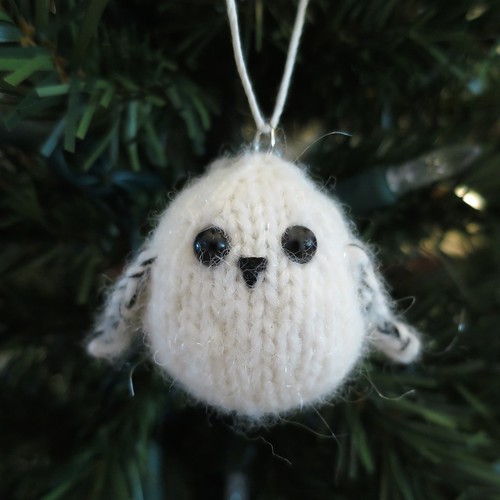
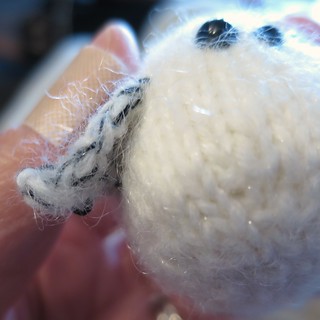
This little guy is based on our much bigger Little Black Owl, but only two inches tall. I thought a white, snowy owl was perfect for a Christmas tree (and great for any Harry Potter fans too). Because snowy owls often have black feathers mixed in with the white, especially on the wings, I knit some black embroidery floss in with the yarn on the wings.
This is a super quick knit, but it is a little fiddly since you start out by knitting with only six inches in the round. It gets better quickly with increases.
Knit Snowy Owl Ornament
Download a pdf of the Snowy Owl Ornament Pattern (For ease of printing this pattern does not contain the tutorial pictures.
Supplies:
- white worsted weight yarn (I used Wool-Ease in White Frost which is quite fuzzy)
- four size 2 double-pointed needles
- stitch marker
- two small black safety eyes (or small buttons)
- black embroidery floss
- tapestry needle
- stuffing
- small jump ring
Gauge: 7 stitches per inch (Gauge is not really important here just make sure it is tight enough that your stuffing doesn’t show through. My owl was about 2” tall, more stitches per inch will give you a smaller owl, less stitches per inch will give you a bigger owl.)
Abbreviations:
k- knit
p – purl
kfb – knit into the same stitch through the front and back increasing one stitch
ssk – slip to stitches and then knit them together decreasing one stitch
k2tog – knit two stitches together decreasing one stitch
Body:
Cast on 6 stitches. Join together to knit in the round placing a stitch marker between the first and last stitch to mark rows.
Row 1: kfb (12 stitches)
Row 2: k
Row 3: kfb, k1, kfb, k1, kfb, kfb, k1, kfb, k1, kfb, k2 (18 stitches)
Row 4: k
Row 5: kfb, k2, kfb, k2, kfb, k2, kfb, k2, kfb, k2, kfb, k2 (24 stitches)
Row 6: k
Row 7: kfb, k3, kfb, k3, kfb, k4, kfb, k3, kfb, k3, kfb, k2 (30 stitches)
Rows 8 – 15 : k
Row 16: ssk, k3, ssk, k3, ssk, k4, k2tog, k3, k2tog, k3, k2tog, k2 (24 stitches)
Rows 17 – 18: k
Row 19: ssk, k2, ssk, k2, ssk, k2, k2tog, k2, k2tog, k2, k2tog, k2 (18 stitches)
Rows 20 – 21: k
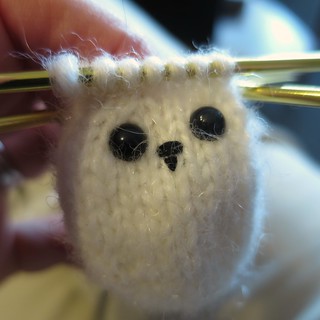
At this point add the eyes and embroider on the beak to the front of the owl, the section between the last ssk and first k2tog. (Some people prefer to do the embroidery after stuffing, I like to do it before. If you are using safety eyes, they need to be put on before stuffing.)
Row 22: ssk, k1, ssk, k1, ssk, k2tog, k1, k2tog, k1, k2tog, k2 (12 stitches)
Stuff the owl.
Row 23: ssk, ssk, ssk, k2tog, k2tog, k2tog (6 stitches)
Add extra stuffing if needed.
Cut the yarn leaving about a 12-inch tail. Put the tail on a tapestry needle and weave through the stitches remaining on the needles. Pull tight to close the hole. Pull the tail through the top to the bottom of the owl and weave in the bottom (this will help round out the top rather than having it pointed).

Wings (make 2):
I prefer to knit the wings separately and then sew them on, but you can also pick up stitches and knit them right on.
Cut a piece of embroidery floss about 2 – 1 ½ feet long. Divide the embroidery thread in half so you are working with three strands for each wing. Knit the embroidery thread and yarn held together.
Cast on 6 stitches leaving about a 6-inch tail
Row 1: p
Row 2: ssk, k2, k2tog (4 stitches)
Row 3: p
Row 4: ssk, k2tog (2 stitches)
Row 5: p
Row 6: k2tog
Cut the yarn leaving about a 6-inch tail and weave into the last stitch. Use the cast on tails to sew the wings into place.
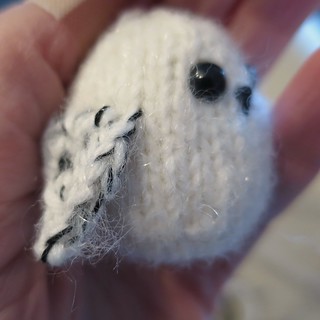
Weave the tail at the tip of the wing halfway up the back of the wing and then use it to pull the wing to the side of the body.
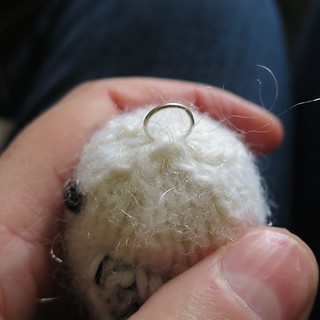
Open the jump ring and put it through a stitch or two on the top of the owls head. You want the ring to face the side of the owl. Close the jump ring. Use a piece of ribbon or ornament hook attached to the jump ring to hang.
Copyright 2014 Kathy Lewinski JustCraftyEnough.com
Please do not duplicate for distribution, repost, sell or teach without permission.
© 2005 – 2014 Kathy Lewinski & Susan Cornish

Pingback: Owl Knitting Patterns | In the Loop Knitting
Pingback: With Leftover Yarn, Knit These Free Patterns for Winter and Christmas
Pingback: 18 Owl Knitting Patterns - Knitting News
Pingback: 11 Cute Mini Owl Knitting Patterns for Beginners - Free Knitting Patterns