


(For the 24 weeks leading up to December 1st, we’ll be making a Christmas ornament, giving you enough to fill an advent calendar.)
This week let’s make an ornament with bling, lots of bling.
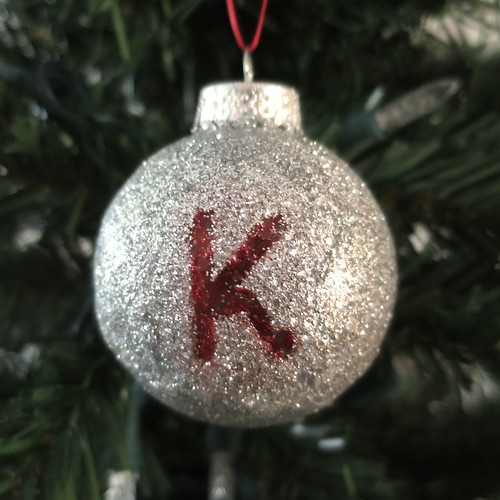
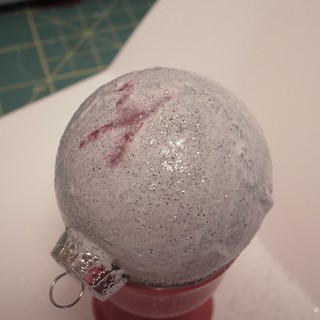
A glitter ornament catches the lights on the tree for a shimmery shine. Personalize it by adding an initial in the glitter. If you don’t want to do an initial do a short word or a shape like a heart or star.
This is a messy project and you will get glitter on you and your work surface. I typically cover my work surface when working with glitter. Then for the actual glittering, I work over a plate or piece of paper, so I can reclaim the excess. I use a 1/4 teaspoon to pour the glitter on my object to be glittered, I find it more manageable than sprinkling. When I was putting the mod podge on this ornament, I poured a small amount into an old yogurt container and then brushed it onto the ball from there. That way no glitter from the brush got into my main mod podge bottle.
Some of you may wonder why I didn’t use glitter paint for this. I have not found a glitter paint that really covers the way glitter and glue do.
Initialed Glitter Ball
Supplies:
- glass or plastic christmas ball (I used clear ones, but a colored one would be nice too.)
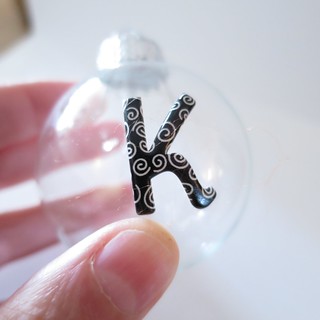
- stick-on letter (One that is puffy will be easier to remove. I found them in the scrapbooking department.)
- thick glue, like tacky glue
- small paintbrush
- glitter
- exacto or sharp small knife
- sharpie in color of your choice
- mod podge
1. Clean and dry the Christmas ball so the letter will stick to it well. Stick letter where you like it. Make sure it is well adhered.
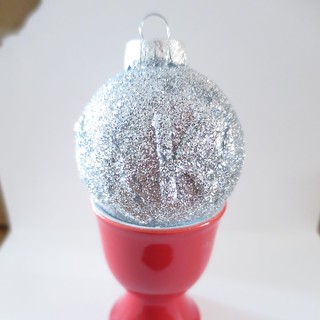
2. With the small paintbrush paint on a thick coat of glue a small space at a time. Press a good amount of glitter into the glue. I tried to keep it off of the letter as much as I could, while also getting in all the corners. I did half the ball, let it dry and then did the other half. An egg cup makes a great drying stand.
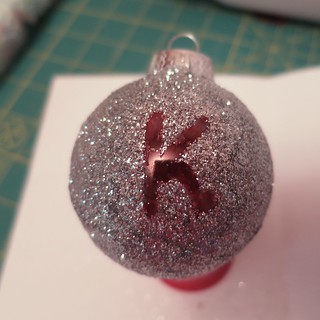
3. Once the ball is completely covered and dry, carefully remover the stick-on letter. The point of a knife may help. If the edges are not at clean as you would like the knife can also help clean them up a bit. If you want some color to the initial, I found it didn’t stand out as much as I wanted, color it in with a Sharpie.
4. To keep the glitter from getting everywhere, coat the whole thing with a layer of mod podge. Once again, I did half of the ball at a time and let it dry. (I did get a little glitter on the letter when I did this, but I actually liked it.)
© 2005 – 2014 Kathy Lewinski & Susan Cornish


2 Comments to Advent Calendar Project ’14 – Week 8