


(For the 24 weeks leading up to December 1st, we’ll be making a Christmas ornament, giving you enough to fill an advent calendar.)
This week we are playing with doll pegs again and turning one into an angel. With burlap wings and a tin star halo, this little angel makes me think of folk art.
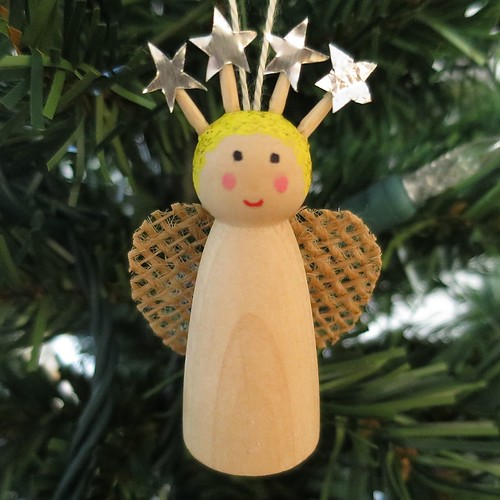
Other than making the holes for the halo, this is a very simple doll peg ornament. I think that is what adds to her charm.
Rustic Angel Ornament
Supplies:
- wooden peg doll
- pencil
- small braid nail
- hammer
- round toothpicks
- exacto or sharp knife
- acrylic paint in black, red, pink and yellow
- natural burlap
- fabric stiffener or starch
- scissors
- tacky glue
- 6″ of embroidery floss or thin ribbon for hanging
- tin foil or even better a disposable tin pan
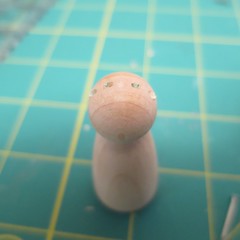
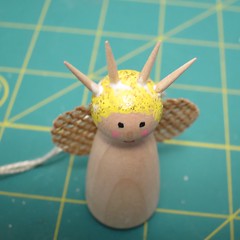
1. Decide where the face will be on your peg doll (the ones I buy tend to have a circle in the grain which makes for a nice face definition) and then mark four evenly spaced dots across the top of the head above the face.
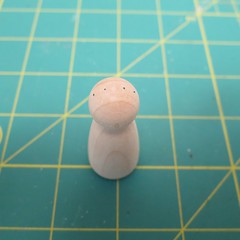
Using the braid nail and hammer, make a hole at each to the dots. Twist the nail in each hole to widen it a little bit.

2. Cut a toothpick into 1/2″ pieces. Use the exacto or sharp knife to shape an end of each piece into a point to fit in the holes on the top of the head.
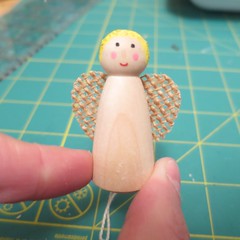
3. Paint on the face and the hair. I like to use a toothpick to get such small dots and thin lines. Let dry.

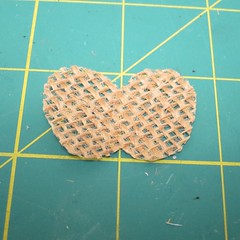
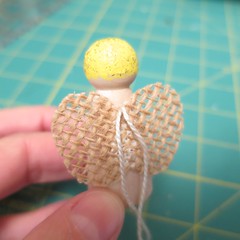
4. Saturate a piece of burlap with fabric stiffener, 3″ square will be more than enough, and let it dry (I let it dry on a piece of tin foil or wax paper so I can easily pull it off). Cut wings for the angel from the stiffened burlap (the stiffener will prevent it from fraying). I just did a simple butterfly shape.
Put a bead of glue along the back of the angel body where the middle of the wings will lay. Place the ends of the embroidery floss or ribbon in the glue forming a loop. Glue the wings on top of the floss. Let dry.
5. Put a small amount of glue on the carved end of each toothpick piece you made in step 2. Glue into the holes you made in step 1. Straighten as much as possible. Clean up any excess glue and let dry.
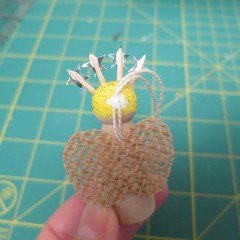
6. Cut small stars, approximately 1/4″, out of tin foil or from a disposable baking pan. (I like to use the baking pan because it is a little stiffer.) I didn’t even try to make perfectly even stars, I like that they are slightly off. Glue a star to the front of each toothpick.

7. This is optional, but I also glued the hanging loop to the back of the head, so the angel would hang straighter.
© 2005 – 2014 Kathy Lewinski & Susan Cornish


