


(For the 24 weeks leading up to December 1st, we’ll be making a Christmas ornament. Each one will be traditional to or inspired by a different country.)
This week we are headed to Denmark for our ornament inspiration. When I was in Copenhagen last year the stores has just put up their gorgeous Christmas departments. One thing I saw everywhere was gorgeous papercut ornaments. They were so delicate, often with 3-D elements, really amazing. Apparently, many Danes make their own paper ornaments, even setting aside a day before Christmas that they call “Cut and Paste Day.” Family and friends gather together for an afternoon of cutting and pasting to create tree ornaments. Everyone brings scissors, glue, colored paper, and a variety of materials.I decided to try my hand at making one this week.
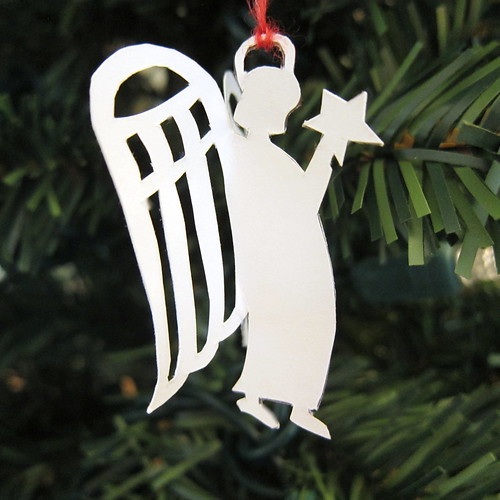
My ornament is relatively simple with most of the cut work on the wings. The hardest part is carefully cutting the two angels so they fit together. Using two angels allows you to open the wings.
Papercut Angel Ornament
Supplies:
- card stock
- thread or embroidery floss
Tools:
- exacto knife
- cutting board
- glue
- paint to match cardstock (optional)
1. Print out the angel template on card stock. (click on the image below and save it to your computer to print.)
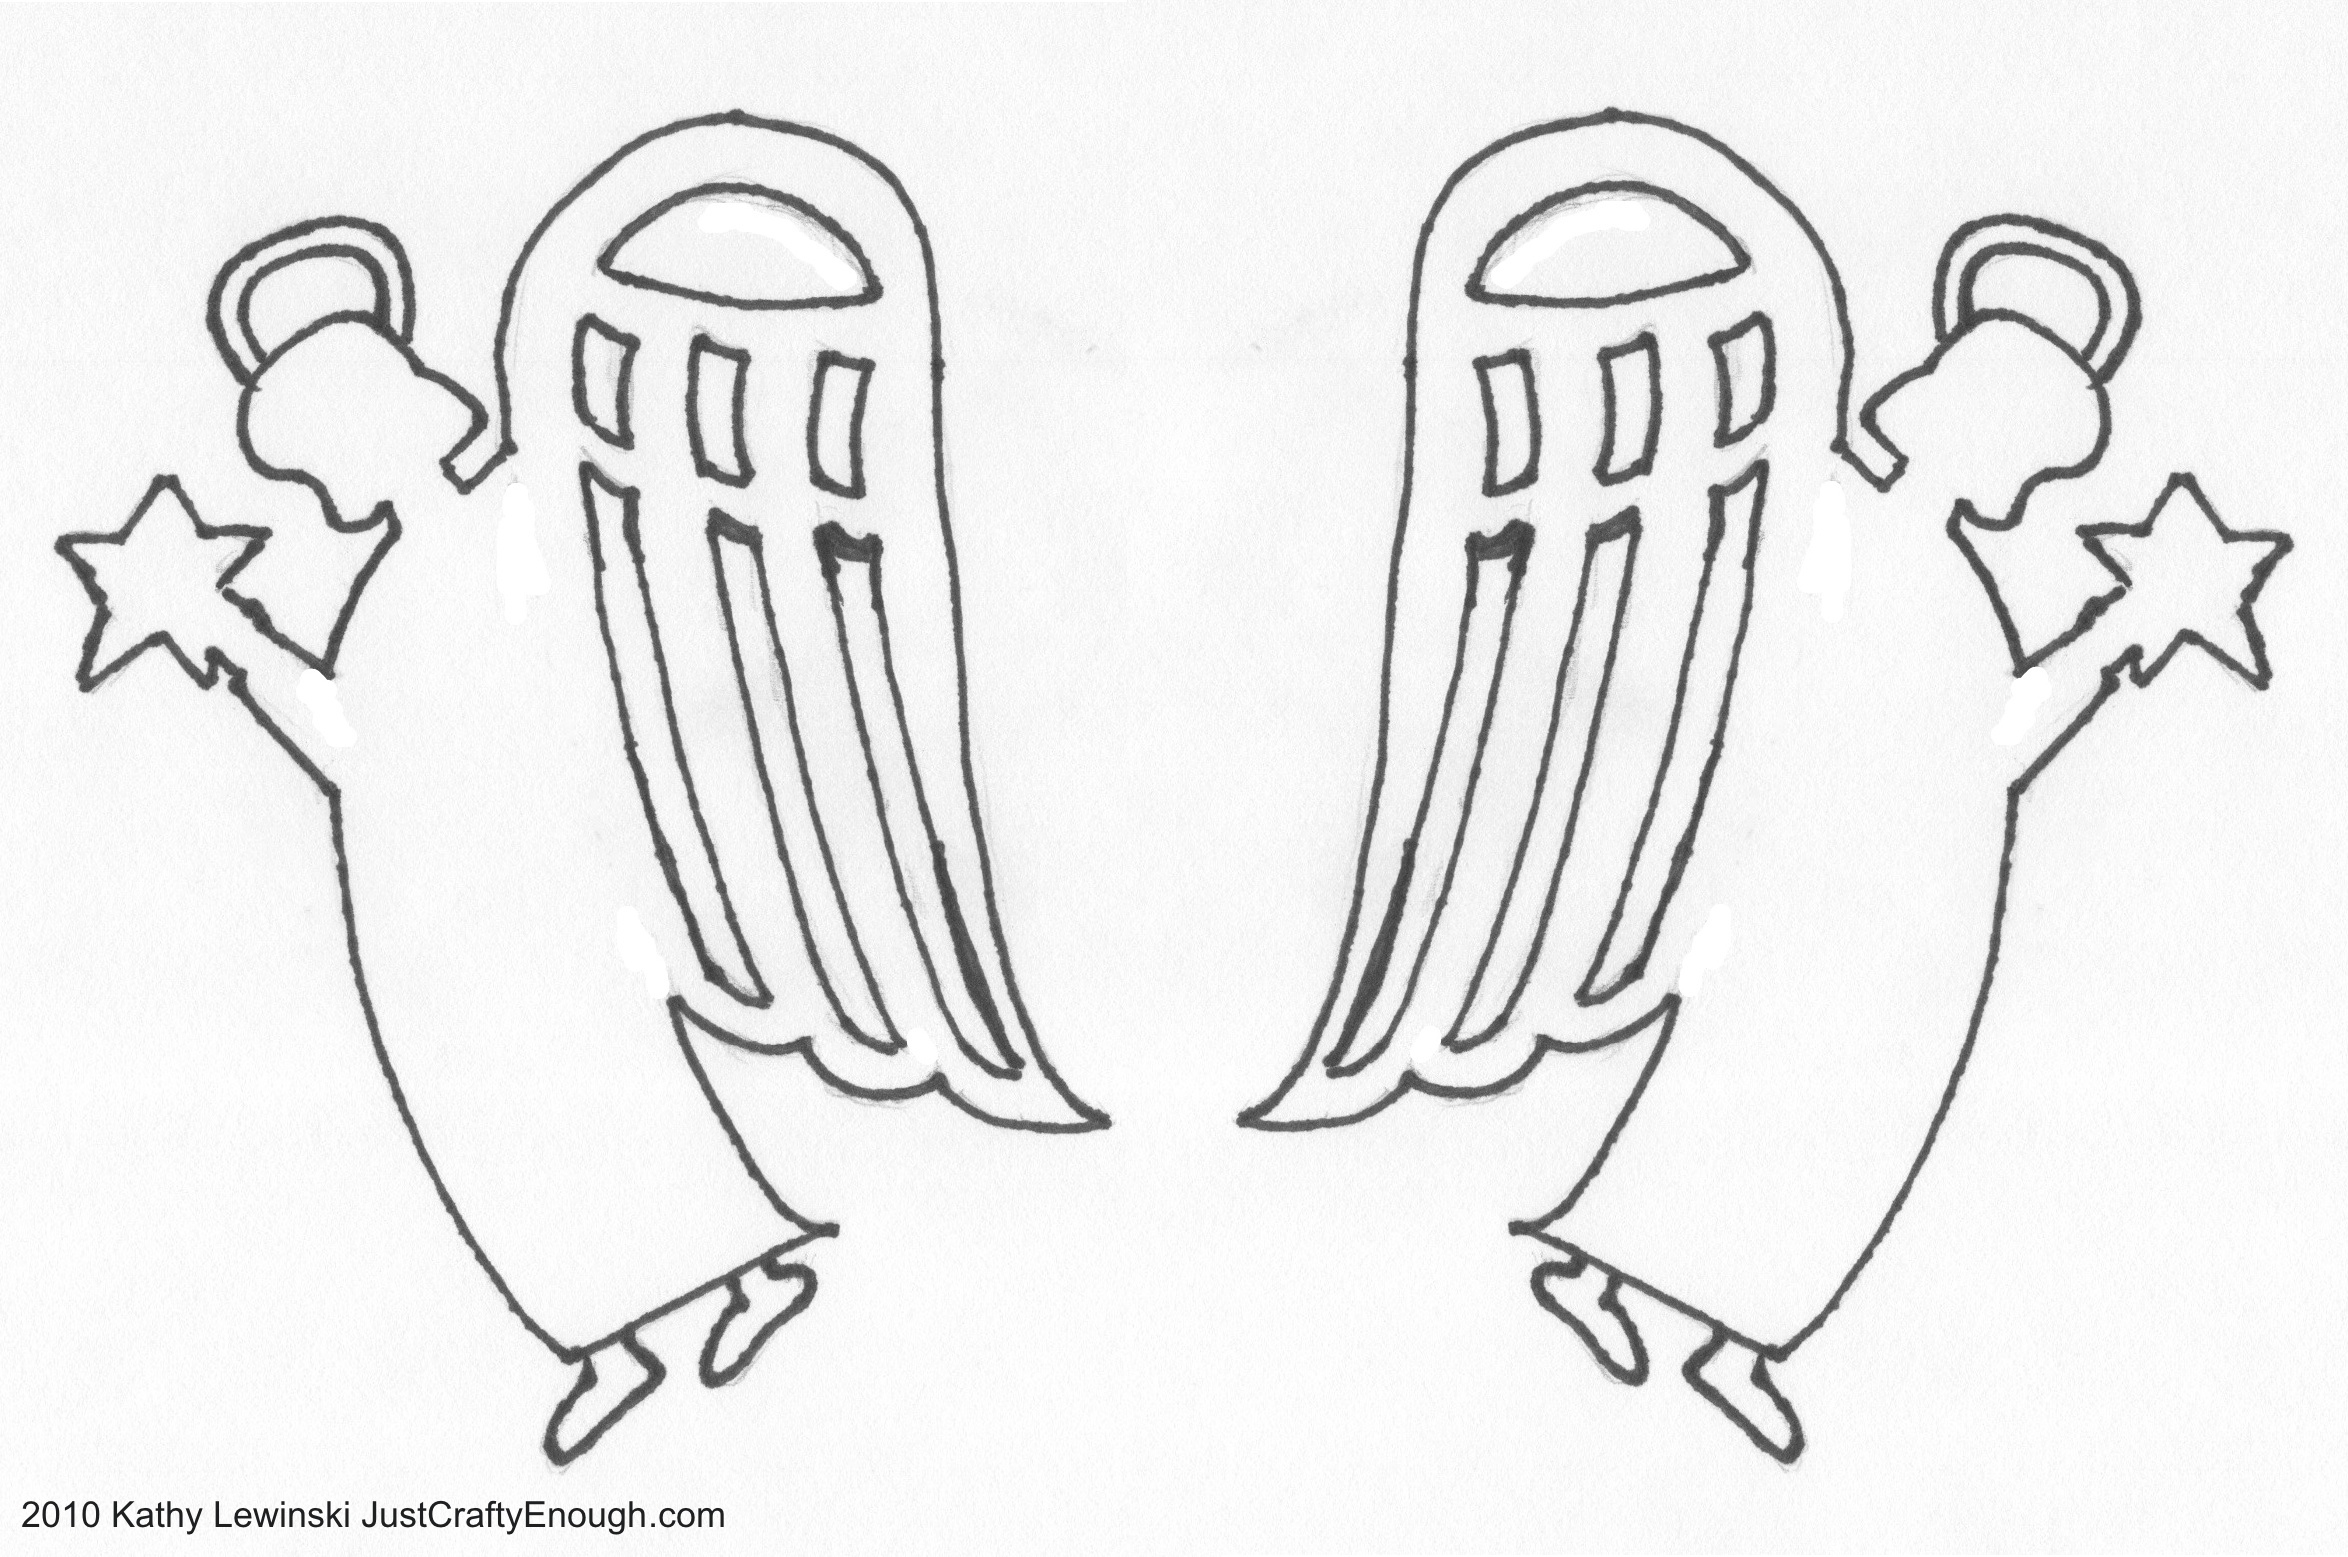
You can make it any size you want. I made mine pretty small, less than 2″.
You can also create your own design. You’ll just want to print out two that are mirror images of each other.
2. Using the exacto knife on a cutting board, carefully cut out the angels. Try to follow the lines as closely as possible.

I recommend cutting out the space under the halo first. It is a little delicate to do after the angel is cut out and easy to bend or rip the neck and halo.
3. Glue the angle bodies together, you want the sides that were print on facing each other. Glue the bodies only, not the wings.
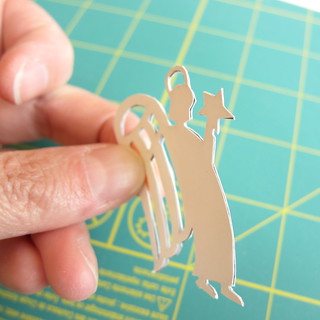
Don’t worry if they don’t match up perfectly, you can clean things up a bit with the exacto knife.
4. Fold out the wings.
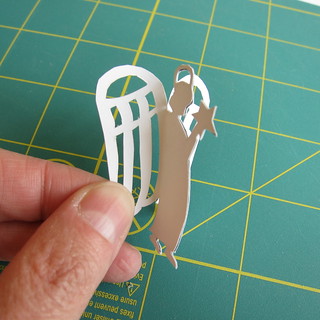
If the pattern lines on the back of the wings bother you paint over them.
5. Tie a loop of thread or strand of embroidery floss to the halo to hang. (Alternatively, you could glue the ends of the thread inside when you glue the bodies together.)
Glædelig jul!
© 2005 – 2013 Kathy Lewinski & Susan Cornish


