

(Every week until December 1st we will be making a small Christmas ornament that can be used in our Pocket Advent Calendar. Join us in making all 24 or just pick and choose your favorites.)
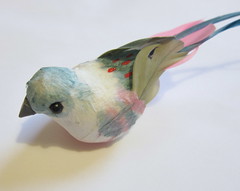
I’ve had this little birds from the dollar store sitting around my craft room since Spring but never found a project for it. It seems to be made of paper mache perhaps over styrofoam with a few feathers attached. Then it hit me, why don’t cover it in glitter for a Christmas ornament.

I had to remove the feathers that were on the bird already, but had a few small red feathers on hand that would be the perfect replacement and look very dramatic.
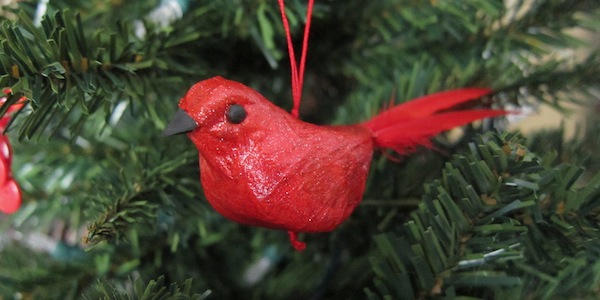
A bird in a tree is such a pretty natural look, but add some glitter an it becomes quite festive ;).
Glitter Bird Ornament
Supplies:
- Small Floral Pick Bird
- Red and Black Acrylic Paint
- Red Extreme Glitter Paint
- Small Paintbrush
- Three Small Red Feathers (or as many as you want for your tail)
- Glue
- Sewing Needle (optional)
- Embroidery Floss (optional)
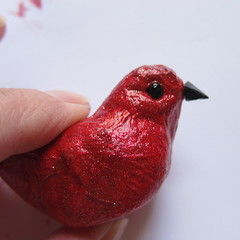
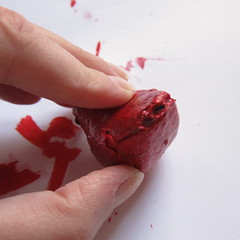
1. Remove any feathers already on the bird. Cover with one or two coats of red paint. I find the paint medium with the glitter in it is very see-thru, putting base coats of the red first really gives the deep color I wanted.

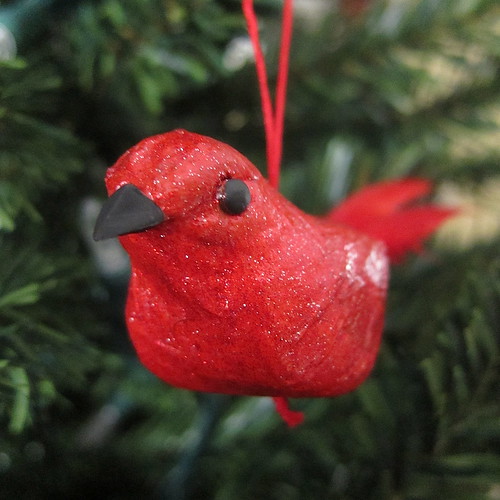
2. Add coats to Extreme Glitter Paint until you are happy with how sparkly your bird is.
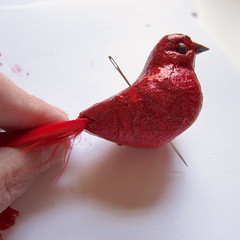
3. Touch up the eyes and beak with black paint. I wasn’t careful painting, so the eyes were red too and I didn’t like the grey beak. I carefully painted both black which looks crisp against the red.
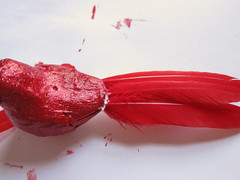
4. Since my bird already had holes in it for the original tail feathers, I was able to use those for my new red ones. If your’s doesn’t just make your own either with the feathers themselves or a toothpick.
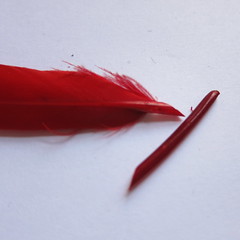
Trim the end of the feathers, giving them a point. Add a dabble of glue and insert into the tail of the bird. I like to dry fit them before gluing them.
If any of the holes look too big, (mine had a bit of a slit on one side) just fill it with glue, let it dry and paint over it.
5. You can leave your bird to just nestle in the branches of the tree or attach a hanger. I added one by poking a hole through the bird with a needle (the styrofoam was so soft this was easy). Then use the needle to thread some embroidery floss through and knot it into a loop.
Now there’s a cheery little addition for the tree. I love how it turned out in red, but think it would be equally pretty in sliver or white.
© 2005 – 2012 Kathy Lewinski & Susan Cornish


Pingback: The Advent Calendar Project Week 22 Felt Owls · Felting | CraftGossip.com
Pingback: Christmas: Glitter Bird Ornament | Crafts: Unknown Knowledge | Scoop.it