

(Every week until December 1st we will be making a small Christmas ornament that can be used in our Pocket Advent Calendar. Join us in making all 24 or just pick and choose your favorites.)
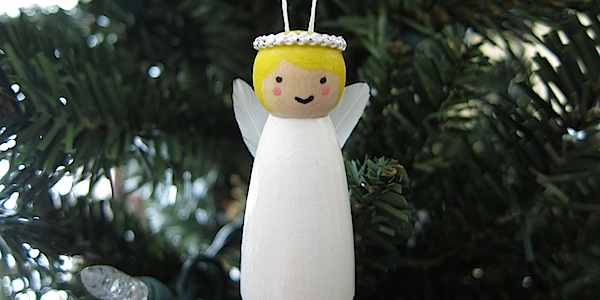
This week we are playing with wooden doll pins again to make a sweet little angel ornament.
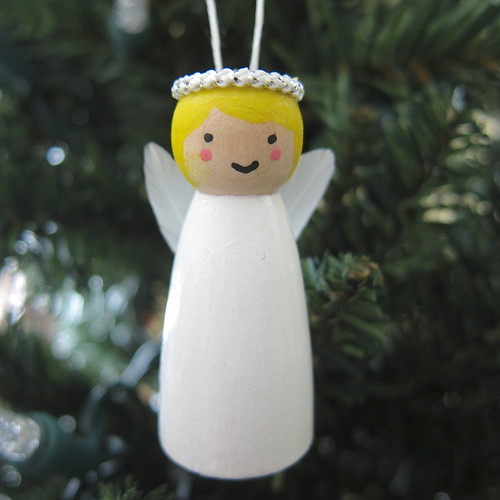
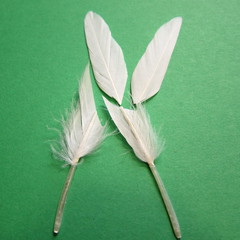
She’s the easiest of the doll pin ornaments we’ve made so far since she requires no knitting. The trickiest part was figuring out what to use for wings. I thought perhaps lace or tulle with fabric stiffener on it would work, but tulle does not stiffen and I thought lace might have the same problem. My next thought was some silvery ribbon cut into wing shapes, but it frays. Then the most obvious solution came to me, feathers. Everything I saw was too big, but they are easy to trim to size. I did white wings, but thought a blue would look pretty too. You could even take this idea and the different color feathers and make little wooden fairies.
Little Wooden Angel
Supplies:
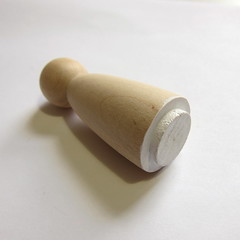
- 2″ wooden doll pin
- White, black, pink and yellow (or whatever color hair you would like) acrylic paint
- Small paint brush
- Polyurethane (optional)
- Two small feathers
- Tacky glue
- Silver cord (I found it with the embroidery floss. It is usually used for stitching on plastic canvas)
- Embroidery floss for hanging
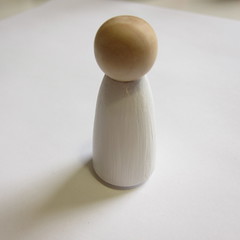
1. Paint the base and body of the doll pin white. It’ll take a couple coats. Let dry.
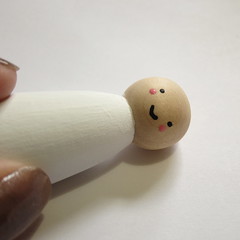
2. Paint on the face. I found this easy to do by dipping the tip of a knitting needle or pencil in the paint. Let dry.
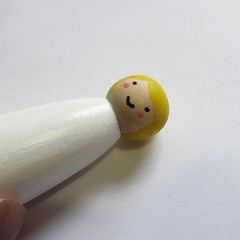
3. Paint on hair. Let dry.
4. Coat with polyurethane. You can skip this step, but I like the little shine and protection it gives it.
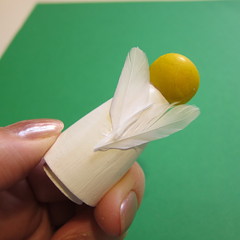
5. Find two feathers of approximately the same size. Trim them to fit on the back of the angel and just stick out about 1/2-inch. Glue the feathers to the back of the angel at an angle.
6. Cut a small piece of the silver cord just big enough to go around the angel’s head. Dab a little glue on the ends of the cord to keep it from unraveling. Glue to the top of the angel’s head. If you want to attach a hanging loop, make a small loop from embroidery floss and glue it to the back of the angel’s head where it will lie underneath the halo.
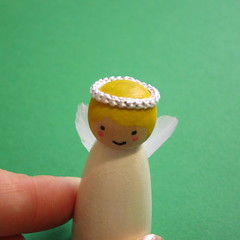
She is so simple, but I think that is what I find so darling about her.
© 2005 – 2012 Kathy Lewinski & Susan Cornish


Pingback: Angels « katie Bee
Pingback: Angel Crafts for Kids | Fun Family Crafts
Pingback: 41+ DIYs to Make Angel Christmas Ornaments | Guide Patterns
Pingback: Angel Crafts for Kids – Rocanida Sales
Pingback: Craft: 41+ DIYs to Make Angel Christmas Ornaments – CrochetingHearts.org