
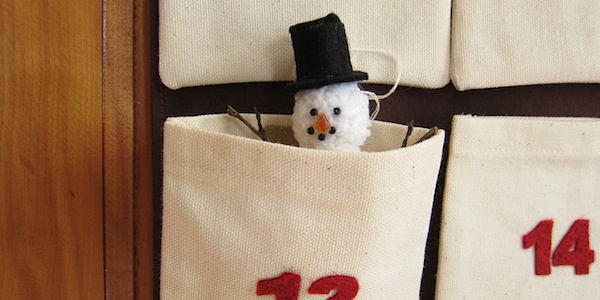

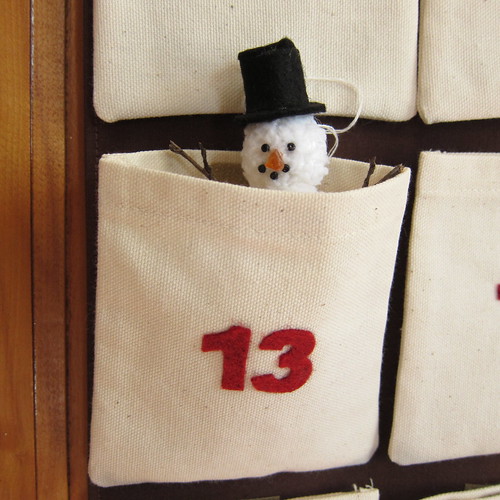
(Every week until December 1st we will be making a small Christmas ornament that can be used in our Pocket Advent Calendar. Join us in making all 24 or just pick and choose your favorites.)
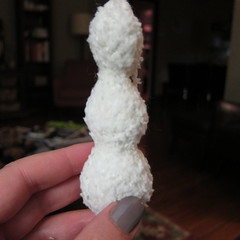
This week we are knitting up a wintertime classic for our Advent Calendar ornament, a snowman.
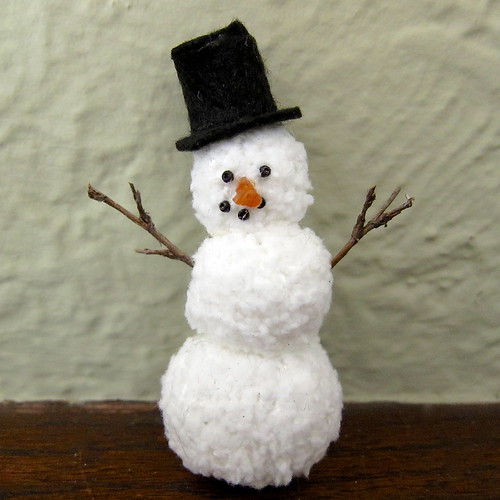
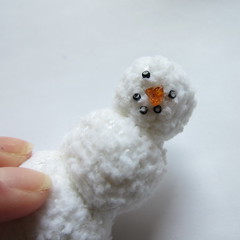
Our little 3″ snowman is knit out of Baby Teri, a textured yarn that I think looks like snow. Just like when making a real snowman, I used things I found around the house and yard to give him a face and arms. The hat was custom made from some scrap felt.
This is a relative quick and easy knit if you are familiar with knitting on double pointed needles. It’s a little tricky getting started as you only have 6 stitches, but take your time with those first few rows and it gets much easier. I’m sure someone is going to ask me if this can be knit flat. Yes, you could knit it flat (make sure to purl every other row instead of knit). I’m not sure if the shaping will look exactly the same when finished and stuffing might be a little tricker.
Mini Snowman Ornament
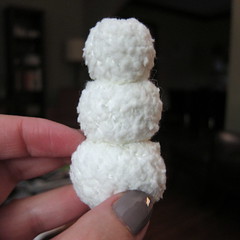
The finished snowman without the hat is about 3” tall done in this yarn with this gauge.
Download a PDF of the Mini Snowman Ornament Pattern. To see any of the pictures in this tutorial bigger just click in them.
Supplies:
- Red Heart Baby Teri or other worsted weight yarn in white
- Stitch marker
- Four size 3 double pointed needles
- Tapestry needle
- Strong fabric glue
- Scrap black felt
- Small black beads
- Long orange bead
- Small twigs
Gauge:
6 stitches per inch (Gauge is not super important here but you want to make sure you are getting a tight weave so the stuffing doesn’t show through.)
Pattern:
Cast on six stitches. Divide between 3 needles. Join together being careful not to twist. Place a stitch marker to mark the end of the round.
Round 1 : (kfb, k1) 3 times
Round 2: k
Round 3: (kfb, k2) 3 times
Round 4: k
Round 5: (kfb, k3) 3 times
Round 6: k
Round 7: (kfb, k4) 3times
Round 8: k
Round 9: (kfb, k5) 3 times (21 stitches)
Round 10-12: k
Using the tapestry needle, pull your cast on thread to the inside. Secure either by weaving in or knotting off.
Round 13: (k2tog, k5) 3 times
Round 14: k
Round 15: (k2tog, k4) 3 times
Round 16: k
Round 17: (k2tog, k3) 3 times
Round 18: k
Round 19: (k2tog, k2) 3 times (9 stitches)
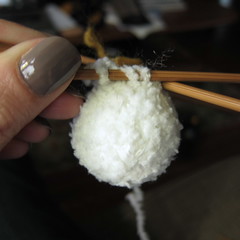
Stuff the ball you have just knit. Try to stuff it firm and shape as you work.
Round 20: (kfb, k2) 3 times
Round 21: k
Round 22: (kfb, k3) 3 times
Round 23: k
Round 24: (kfb, k4) 3 times (18 stitches)
Round 25-26: k
Round 27: (k2tog, k4) 3 times
Round 28: k
Round 29: (k2tog, k3) 3times
Round 30: k
Round 31: (K2tog, k2) 3 times
Round 32: k
Round 33: (k2tog, k1) 3 times (6 stitches)
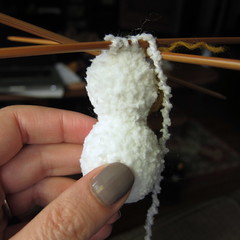
Stuff the ball you just knit
Round 34: (k2tog, k1) 3times
Round 35: k
Round 36: (kfb, k2) 3 times
Round 37: k
Round 38: (kfb, k3) 3 times (15 stitches)
Round 39: k
Round 40: (k2tog, k3) 3times
Round 41: k
Round 42: (k2tog, k2) 3 times
Round 43: k
Round 44: (k2tog, k1) 3 times (6 stitches)
Cut the yarn leaving a 10” – 12” tail. (If you want to embroider on the face, do it now.) Stuff the ball you just made. It won’t look much like a nice plump snowman yet.
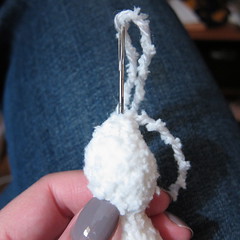
Using the tapestry needle, weave the tail through the stitches on the needles. Remove the needles. Pull tight. Now pull the tail down through the top of the head to come all the way through to the bottom. Pull to give the snowman a little more of a squished appearance. Tie off.
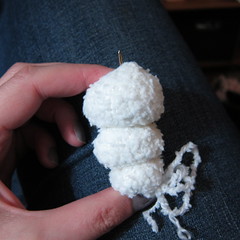
Now he’s a little more roly-poly
Finishing:
Really you can add the face and other details anyway you want.
Face:
For the face I used black and orange beads and glue them on with a really strong fabric glue. I filled the holes in on the beads with glue and once it was dried colored them in with a marker.

You could do French knots for the eyes and mouth or glue on small pieces of felt.
The nose was the trickiest part and I just happened to have the right shape bead. You could make a small carrot from something like Fimo or just make one out of felt that doesn’t stick out.
Hat:
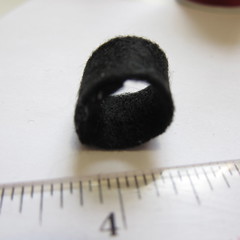
Cut a small rectangle of black felt that is about ½” by 1”. Roll into a tube and glue together.
Cut a small circle of felt that just fit over one open end of the tube and glue it on. Cut a slightly larger circle and glue the other open end of the tube to the center of it. Glue to the top of the snowman.
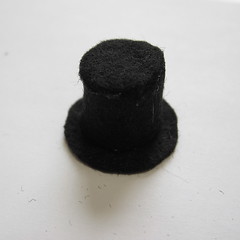
I squished the hat to one side a little for a jaunty look.
You could make your snowman sportier and give him a knit stocking cap instead.
Arms:
I went for authenticity here and cut small twigs from a bush in the yard, trimming them until they were the right size. They are just pushed into the sides of the snowman with a little glue on the ends. You could use wire instead of twigs for the arms or just leave them off.
copyright 2012 Kathy Lewinski
JustCraftyEnough.com
Please do not sell, duplicate for distribution or teach this pattern without my permission. If you want to sell items made with this pattern please contact me for permission.
© 2005 – 2012 Kathy Lewinski & Susan Cornish

Pingback: 19 DIY Snowflakes, Snowballs and Snowmen Crafts
Pingback: 50 Super Fun Snowman Crafts