

A month or so ago, I found these large wooden “goose” eggs on clearance and couldn’t resist picking them up for an Easter project. I’d been really attracted to the faux milk glass I’d seen in various tutorials around the web and thought these eggs would look beautiful done with the same technique.

It took a few tests to get these to look the way I wanted. In one trial, I used silicon gel to make the dots like a lot of the tutorials suggested. I ended up with things that looks more like Hershey’s kisses and forget about getting the same size. I thought maybe the silicone was the problem so I tried all different sorts of glue with the same results.

I decided that the dots need to be manufactured, to achieve that wonderful uniformity. I came upon a string of half beads that were perfect, they were the right size and flat on one side. In the end, this ended up being so much easier and neater than the silicone, or any of the glue trials.
Faux Milk Glass Eggs
Supplies:
- fine sandpaper
- large wooden eggs
- half circle beads (I found these with the trims at Jo-Ann)

- tacky glue
- matte white spray paint (you could use glossy, but matte will hide any flaws better)
1. Sand any rough spots on the eggs
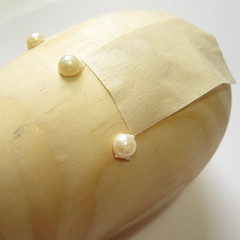
2. If your beads are strung together like mine cut them apart getting as close as possible to the bead.
3. Glue the beads to the eggs. I found after the first row was done it was easier to space out the rows after that. I used a piece of masking tape to help with the spacing.
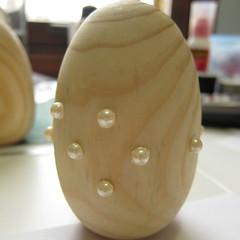
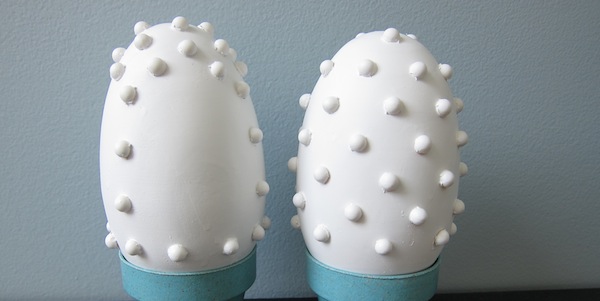
On one egg I did an all over design, on the other I left a medallions.

4. Once the beads are dry, spray paint the eggs with the white paint. It will probably take quite a few coats to get full coverage. I actually wish I had sprayed them with a primer first.

Make sure to do multiple thin coats instead of spraying it on too thick, otherwise you’ll end up with drips.
I think these eggs will look lovely on the center of the Easter table. They are a striking contrast to the brightly colored dyed eggs.
© 2005 – 2012 Kathy Lewinski & Susan Cornish

Pingback: Faux Milk Glass Eggs · Home and Garden | CraftGossip.com
Pingback: Chalkboard Easter Eggs » Lisa Moorefield