

For Iron Craft this week, we were to create something to help us get organized or organize our craft spaces. I really need to organize my craft room, but until the construction we are having done to it is finished, it doesn’t make much sense.
So, I looked around I what I could do on a smaller scale. I have A LOT of knitting needles (Seems I’m always buying more because I can’t find the right size or the size is currently being used on another project.) I’ve actually outgrown my circular needle holder and it was time to get a second one, or better yet, make one!
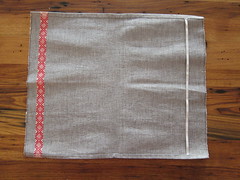
I started thinking about what fabric I had in my stash to make this with. I wanted something with a little weight. Then I remembered Susi’s Quick Needle Case and realized a placemat was just the thing. Even better I had this cute one in my stash.
Circular Needle Organizer
Supplies:
- placemat (mine was a heavy cheap one from Ikea)
- 1/4″ elastic, just over 2 feet
- thread
- velcro
Tools:
- scissors
- sewing machine (or hand sewing needle)
- ruler
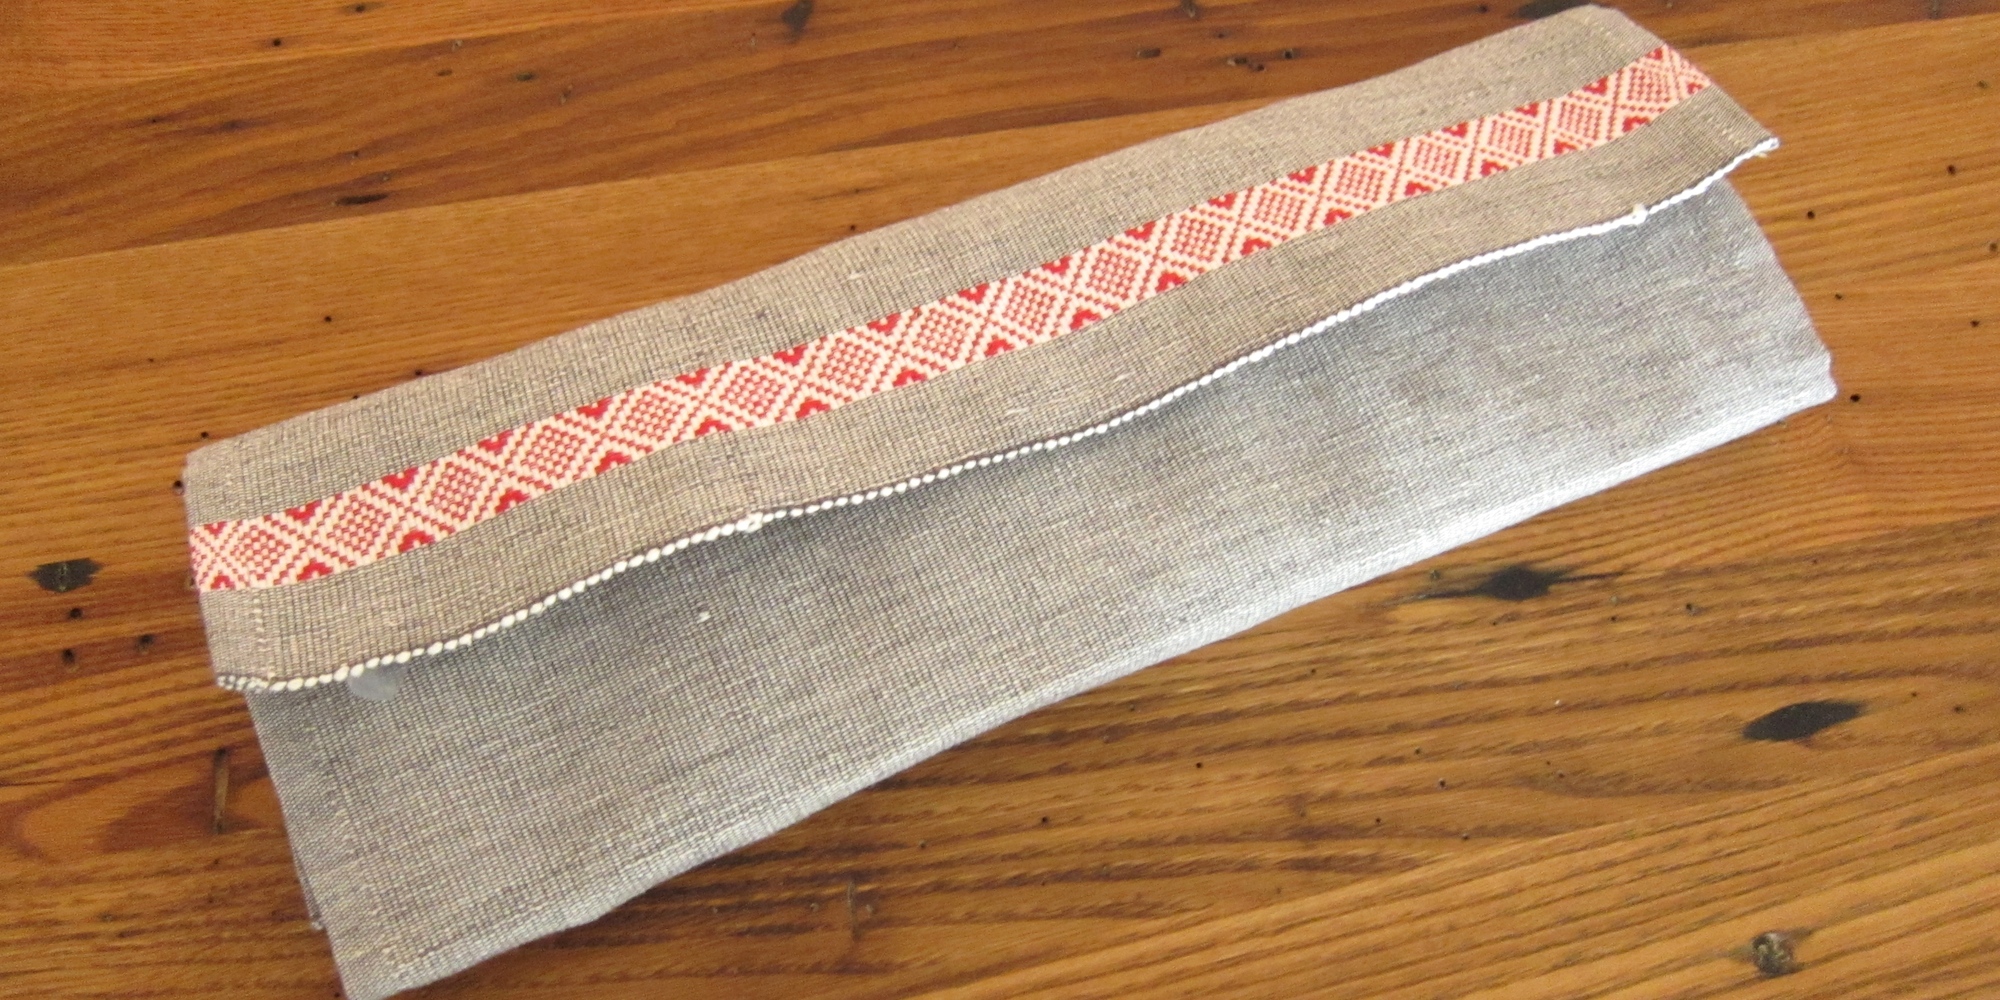
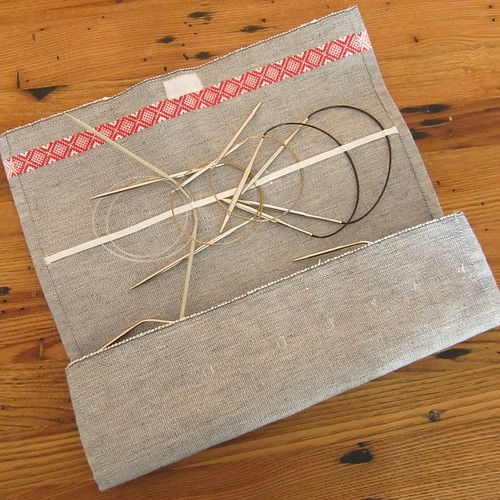
1. Cut a piece of elastic long enough to go from hem to hem height-wise on the placemat. You want it to lay flat, but not be stretched. Place it 2″ in from the right edge of the placemat. (I judged placement by putting down a few of my needles and judging how much space I needed.) Sew it down on both ends, if you are using a sewing machine do a zigzag stitch.
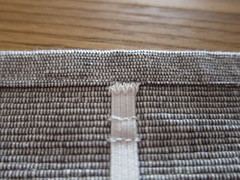
2. Now sew slots for the needles down the length of the elastic cord. I found that 1/8″ slots worked for needles up to a size 5 and 1/4″ worked up to a size 10″. You want to be able to slide the needle in, but still hold it from sliding out. I did slots about every 2″. I found it best to stitch back and forth across the elastic three or four times.
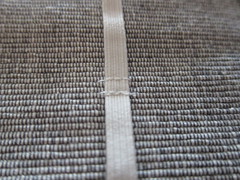
3. Repeat the process with a second piece of elastic, 5″in from the left edge of the placemat.
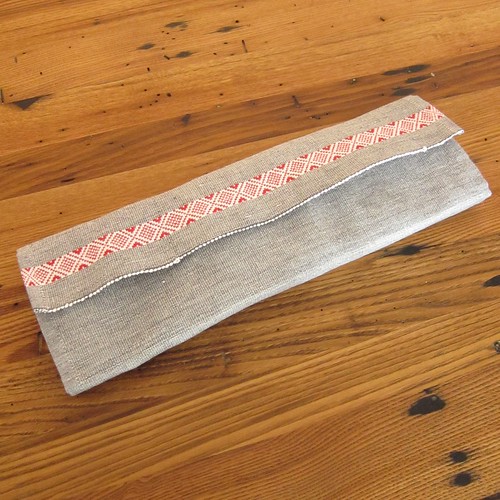
4. Put some needles in your case and fold it up.
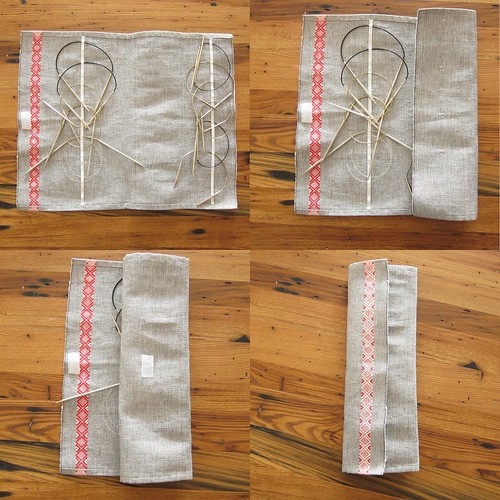
Place a piece of velcro on the top flap and a matching piece on the back of the organizer. You can sew or glue your velcro is place (I glued mine).
It’s as easy as that! Well, I’ve made one little step towards organizing the wreak that is my craft room.
© 2005 – 2014 Kathy Lewinski & Susan Cornish


Looks great Kat! I don’t knit but I would imagine those circular needles would be hard to keep track of!
I love this! I did something else with my circulars: http://www.sarahewhite.com/2014/01/28/quick-and-easy-storage-pouches-iron-craft-challenge/ 🙂
I tackled the knitting needles this weekend as well. I had purchased bed sheets last week, and they came in a large see-thru plastic zippered pouch. I have my circulars in either the original packaging or a zip type bag, with size marked in magic maker on the outside. I put these in size order in the big pouch, and I can see them all, and they are labeled and easy to take out to use. My double-pointed needles I keep in a round tube zippered bag I had from something else long ago.I try to keep them in their original cardboard holder also
Sounds good. I just got a new needle set and am thinking I need to look at a good way to keep them stored.