

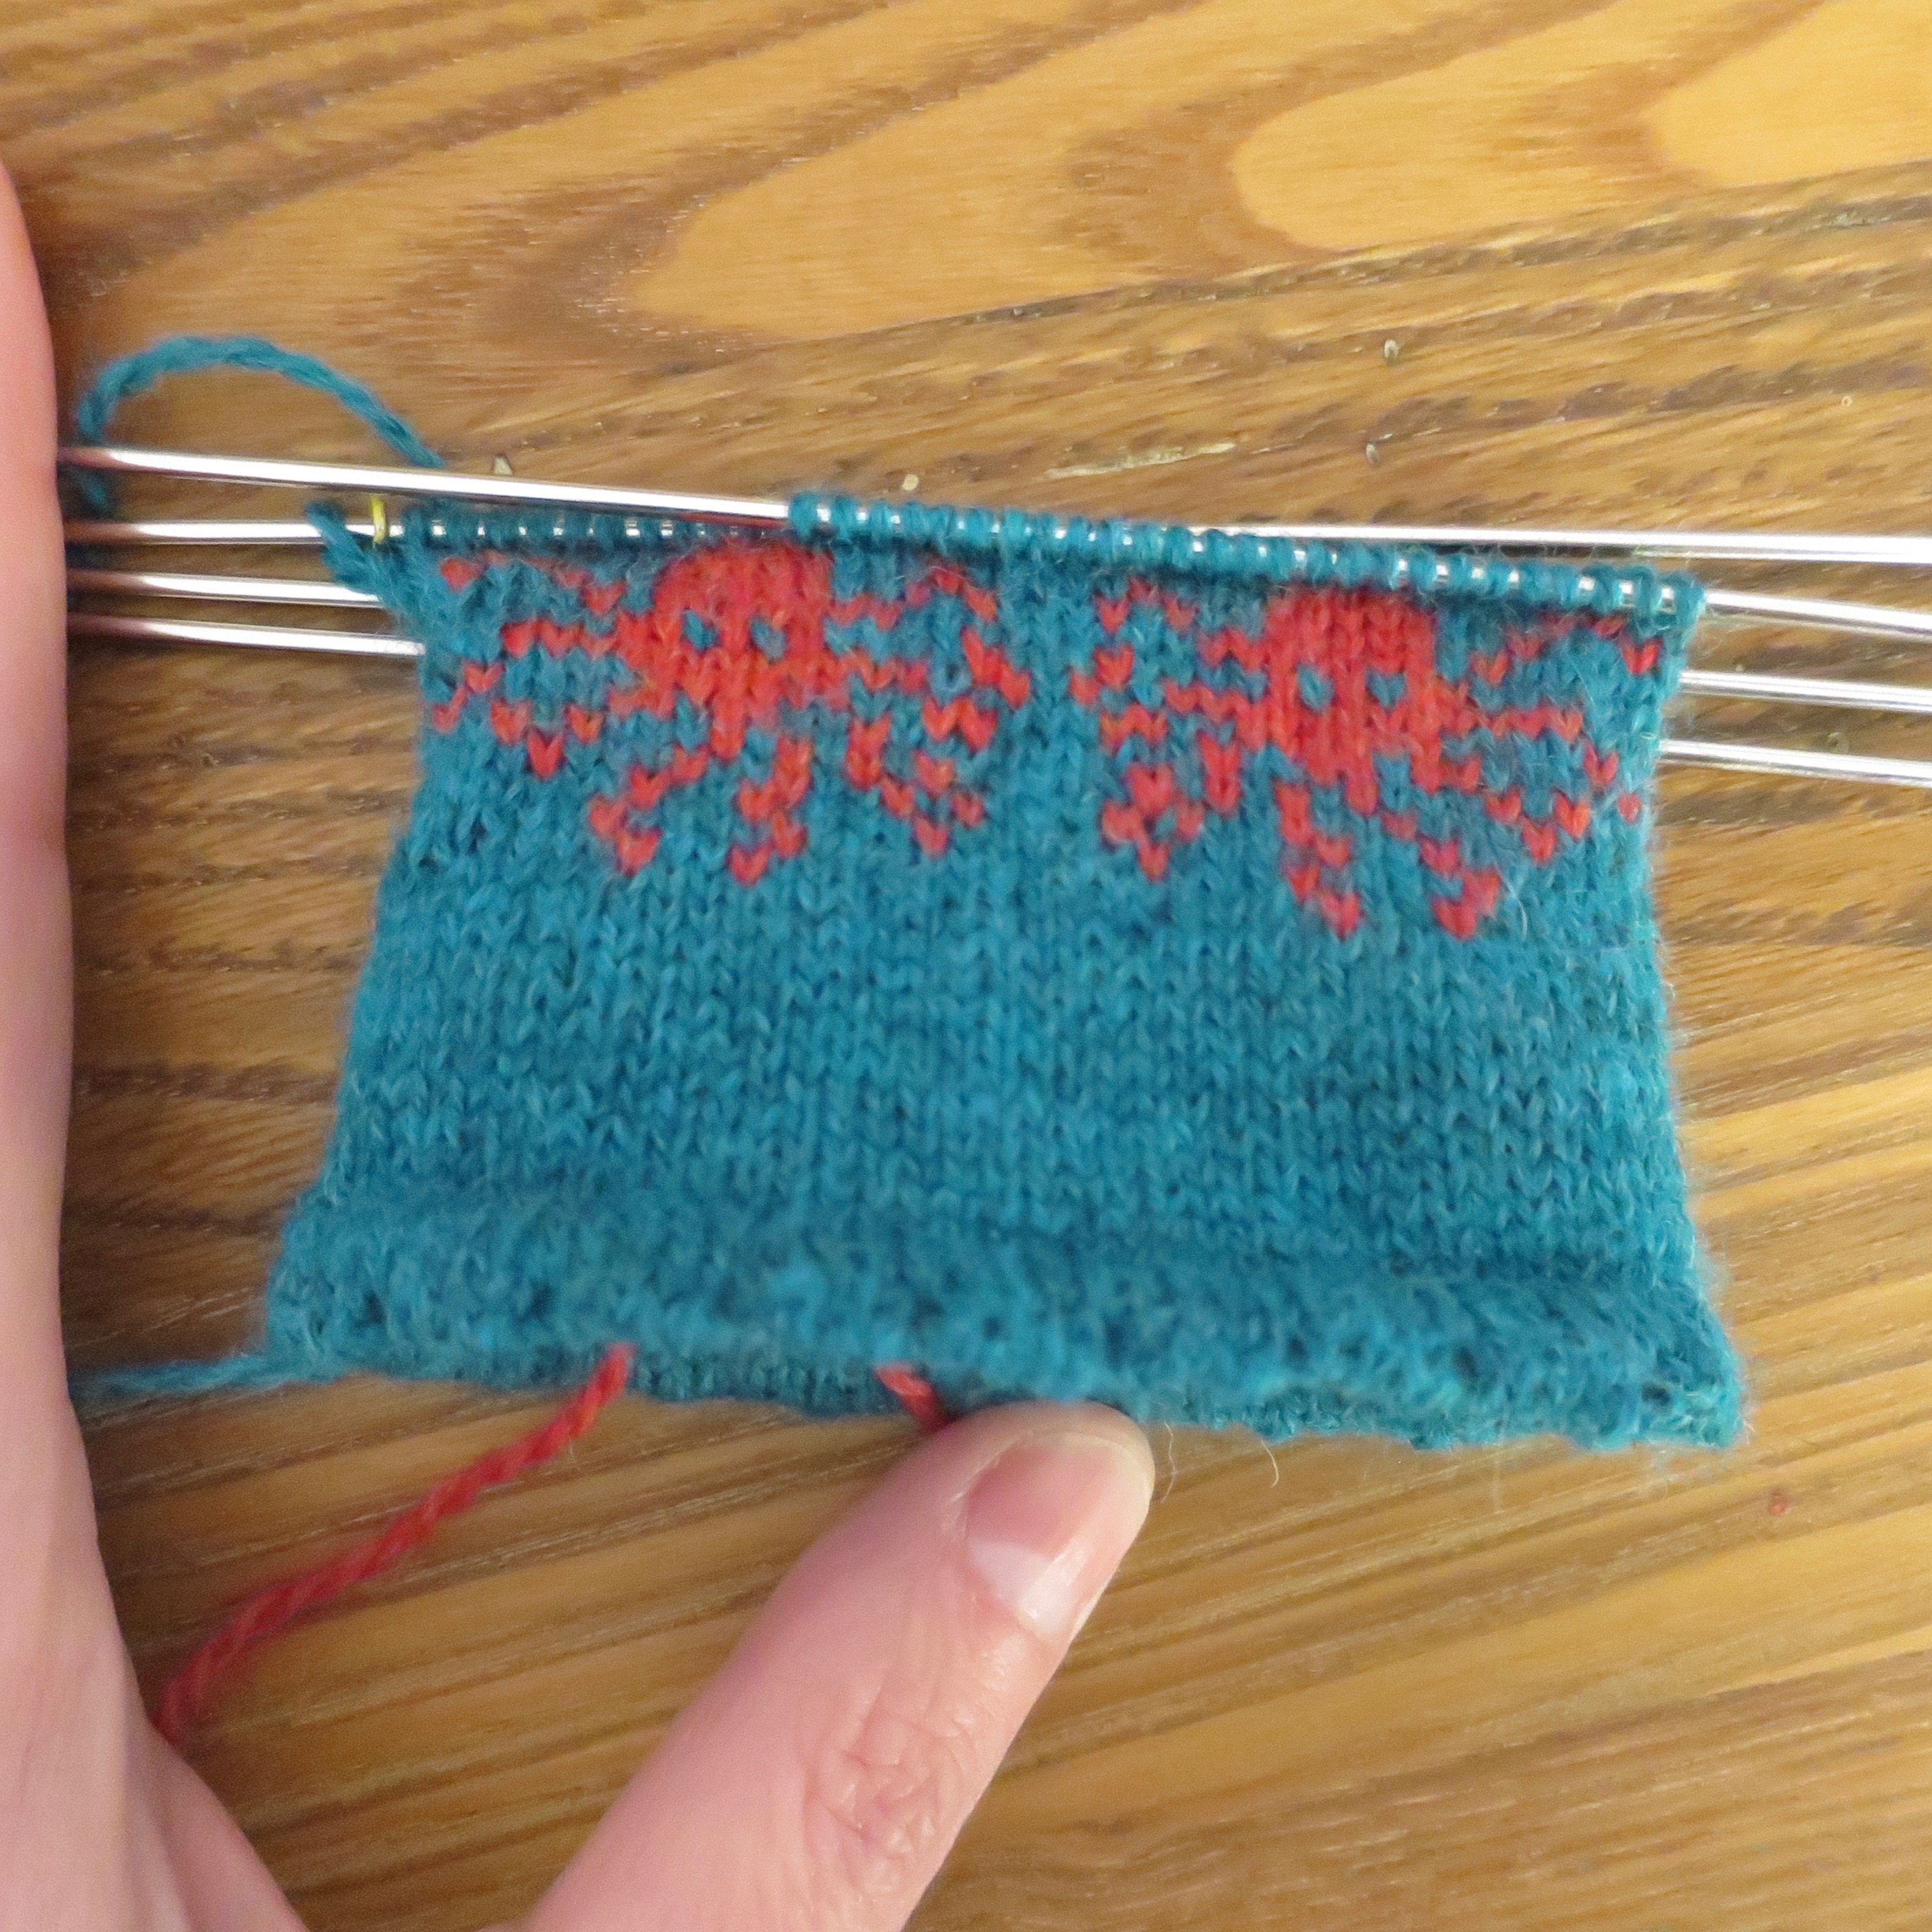
I hope everyone is moving right along with their cuffs. All the octopi are looking so great! Here are mine.
This week we will be working up through the mid-hand, just past the thumb divide. This mitten can be worn on either hand, so you are knitting two of the exact mitten. I hope you guys enjoy knitting this as much as I did.
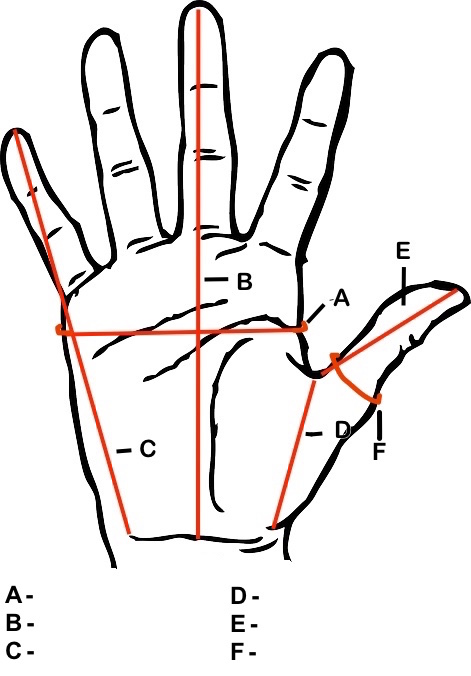
Now is the time to decide which length you are going to make in your size. The length we are talking about is “B” in the image below.
I have had to make slight adjustments in the colorwork pattern to make it work for each different length in each width, so make sure to follow the pattern for the one you want.
What colors should I use in this section? For the rest of the hand and the beginning of the thumb, I used my main color and my contrasting color 1. So for me that is the blue and green. If you are someone who wants a challenge or enjoys working with three colors at a time, you could use three colors in this section, one for the creatures and one for the seaweed.
Here are a few tips for knitting this section:
- It really helps to have a way to mark the row you are on on your chart. I use a magnetic chart holder, but you could use post-it notes or cross out rows as you finish them.
- Keep an eye on where your make ones will be and try not to catch any floats there the row before you do the make one. This helps prevent peek-through at the increase.
- Don’t forget to work the colorwork pattern for the thumb! It is off to the right side of the main mitten pattern in the chart. I have noted the row where the colorwork starts on the thumb in the written pattern to help you with that. Don’t be like me and have to rip back because you totally spaced it out!
Not a fan of the side-gusset thumb? Some people just like the fit of an afterthought thumb better and that is fine. You can easily change the pattern to do that, here’s how.
- When you do the increases on row 35 only increase 4 stitches evenly across the row instead of 5.
- Don’t work any of the make-ones or stitches between them on the following row, just work the stitches for the hand of the mitten.
- When you get to the row in the pattern where the thumb gusset stitches would be put on scrap yarn, you are at the row to place your scrap yarn for the afterthought thumb. For the right hand, you’ll want to knit at least 15 stitches on the scrap yarn just in from the beginning of the row. (I like to place it 1/2″ in, some people prefer it right at the edge and only go 1 stitch in.) For the left hand, you’ll want to knit the the scrap yarn at the end of the row.
- Since I didn’t design this pattern for an afterthought thumb the placement isn’t ideal, it will cut a head in half. You could easily knit the rest of the head on the thumb though. If there are people who do this thumb, I will provide an blank thumb chart in clue 4 they can use to chart a pattern for their thumbs.
Finally, here are your downloads
Under The Sea Mittens Small Clue 2
Under The Sea Mittens Medium Clue 2
Under The Sea Mittens Large Clue 2
© 2005 – 2017 Kathy Lewinski & Susan Cornish

One Comment to Under the Sea Mittens KAL: Clue 2