

This Iron Craft challenge was called Copycat and we were asked to make our own version of someone else’s project. I went to my “Things to make” board on Pinterest to get some ideas. I wanted to do something that wasn’t knitting this time around and was immediately attracted to the cute Sarubobo on Mairuru. These are her adorable versions.
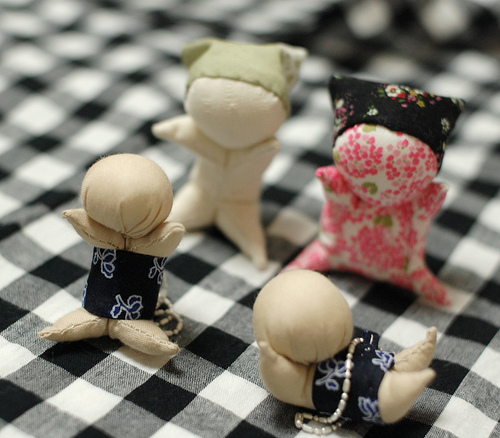
According to Wikipedia “Sarubobos are red human-shaped dolls, with no facial features, made in a variety of sizes. Traditionally, sarubobos are made by grandmothers for their grandchildren as dolls, and for their daughters as a charm for good marriage, good children and to ensure a well-rounded couple.” Now they are popular souvenirs and come in different colors to represent different wishes. I just thought they were cute.
Here is my final version. I used her recipe #4 which makes for a fatter sarubobo, the pink one above.
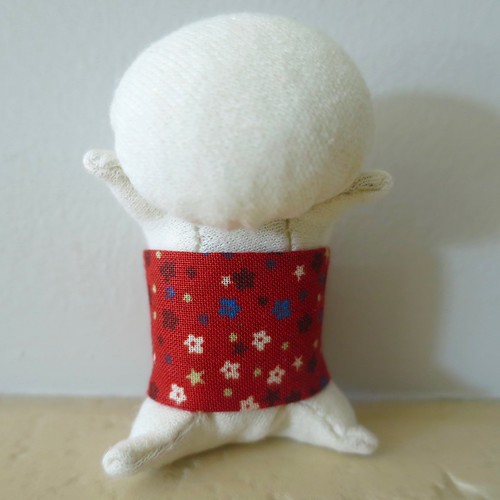
I don’t know if I think it is quite a cute as the original. My hand sewing certainly could use some work.
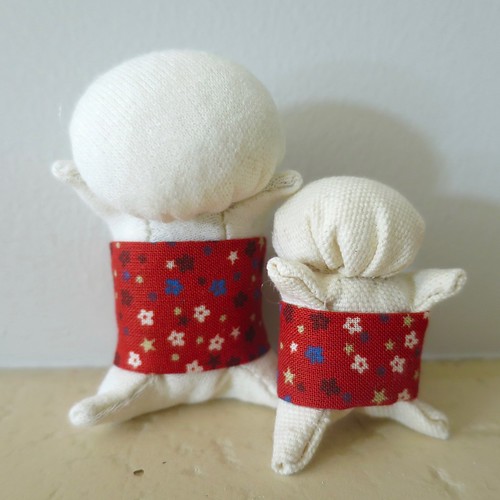
I made two of these. The little one is the same size at the original pattern, about 2″ tall, and made from a light canvas or broadcloth. I thought the fabric was too thick to get pointy hands and feet and a smooth enough head. The larger one, I made from my own adapted version of the pattern and is about 2 3/4″ tall. For this one, I use a jersey material. It was easier to work with, but the stretchiness made my stitches pull a bit when stuffed. I think a light cotton like a quilting cotton probably would have been the best thing to use.
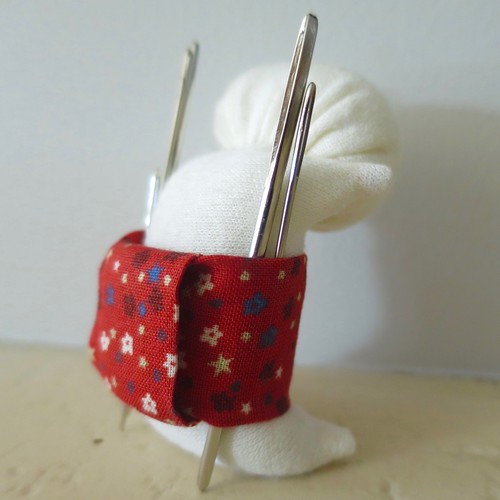
I have put my bigger sarubobo to good use as a needle holder.
Sarubobo
Supplies:
- light cotton fabric body and head, you only need about 10″ x 5″
- scrap of fabric for obi
- pencil or dressmaker’s pen or pencil
- scissors
- thread to match body fabric
- hand sewing needle
- stuffing
All seam allowances are 1/4″.
1. Download and print the Sarubobo Pattern. This is my adapted version of the pattern which makes the larger size sarubobo. You can reduce it or make it bigger for different size sarubobo. I also changed the length of the stomach piece to allow for a seam allowance at the top. Use the pattern to cut out your pattern pieces.
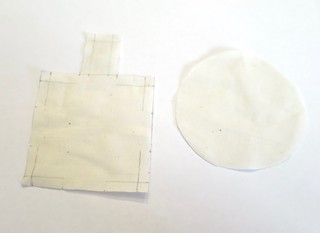
Mark the sewing lines if you desire. I found them very helpful on the body piece, but didn’t bother on the head.
If you want you can cut the seam allowance between the stomach piece and the body. It makes it a little easier to sew together, but be careful to not cut it all the way across. Also pay special attention when sewing at this spot to not get a hole. I did the little sarubobo without cutting this and cut it on the larger one. It did not change the finished look very much.
2. Sew the body – I sewed each side of the body together in one line, hand, stomach, foot. The original version sewed the hands and feet first and then sewing the sides of the stomach in. You can do whichever way works for you, but I will be showing how I did it.
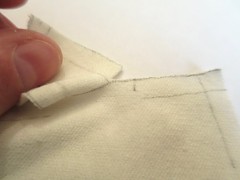
You will be doing the following all as one long straight seam. Starting on one of the hands, fold the corner in half at the point matching the straight edges. Sew along the seam line for 1″ in small straight stitches, this is the point marked “a” on the larger square.
Open the seam at the end point. Now fold down the small square that is the stomach so point “a” on it matches the point “a” on the body and match up the straight edge.
Pinning it in place helped me keep it straight while sewing. Sew the side of the stomach piece in place, up until point “b”.
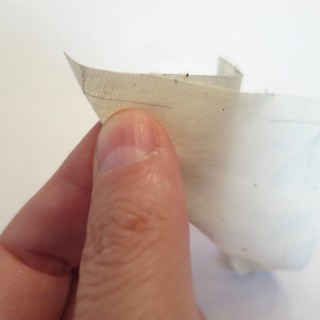
Now fold the foot at the point, as you did at the hand and continue the seam to the tip. Knot off.
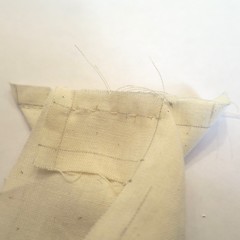
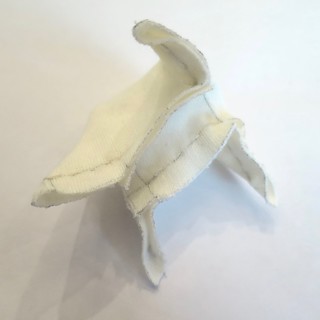
Now repeat for the opposite side. You will have a hole between the hands at the top of the stomach. Your finished piece will look sort of like a turkey.
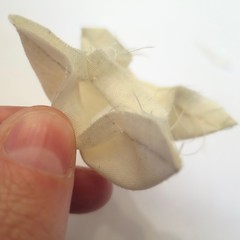
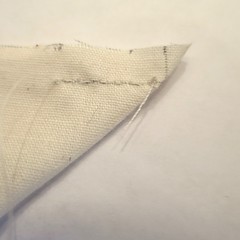
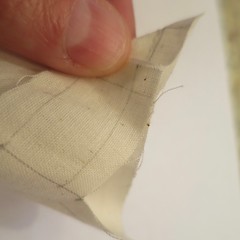
For better points on the hands and feet, clip the seam allowance at the points.
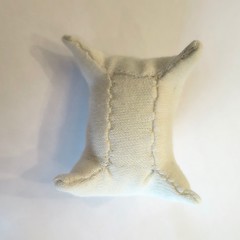
3. Stuff and finish body – Turn the body right-side out through the hole. Carefully work out the points at the hands and feet. Stuff and sew the stomach shut.

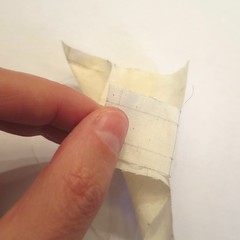
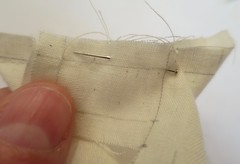
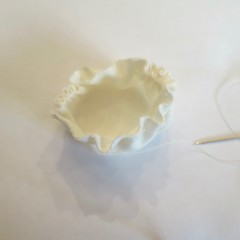
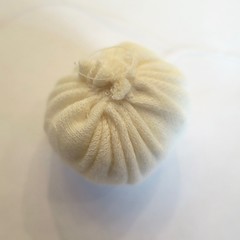
4. Make and attach head – Sew a line of stitches in 1/4″ for the edge on the head piece. You can use a bigger stitch here than on the body. Pull in to start creating the head shape. Stuff and pull the hole shut. I found sewing across the area where the hole is a few times helped pull it in tight and tuck the seam allowance in.
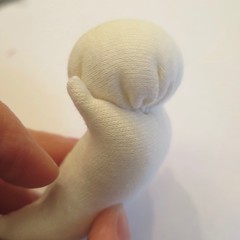
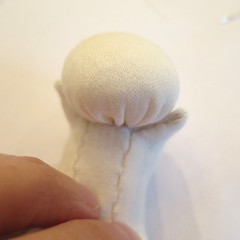
Sew the head on to the body, hiding the area where the head is sewn together.
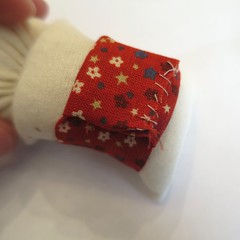
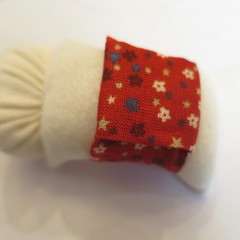
5. Make the obi – Cut a rectangle of the obi fabric that is twice the width you want the finished obi plus 1/4″ seam allowance and just long enough to go around the sarubobo’s stomach with a 1/4″ overlap. Sew into a tube and fold so the seam is on the back. Wrap around the stomach and stitch together at the back. Be careful not to sew to the sarubobo.
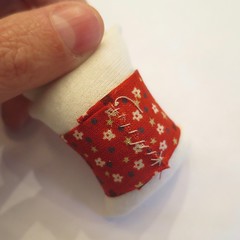
Make a second tube slightly skinnier and long enough to go around the obi with a 1/4″ seam allowance. Slide that tube between the obi and the body with the seam facing you. (You can see, I didn’t even bother to sew my tube.)
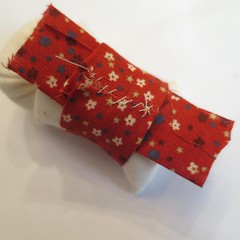
Fold over the obi and sew shut being careful not to sew to the obi. Work this piece around the obi so this last seam is hidden underneath.
© 2005 – 2016 Kathy Lewinski & Susan Cornish


3 Comments to Iron Craft ’16 Challenge #14 – Sarubobo