

Now that we have our custom charts drawn, we can get to the fun part of creating our color work design. This is where you can let your creativity go wild. I’ve tried to put lots of examples and advice in this post, but as always please ask questions and share your creations with us on Ravelry.
The mechanics of drawing out the design are pretty basic, just color in a square on your grid for each stitch. With a pencil and paper, you can use colored pencils just make sure they are erasable. With Excel, use the fill function. On Stitch Fiddle, you use the pencil tool. (If you want more than the basic palette in Stitch Fiddle, just click the plus sign under the colors and the skies the limit.)
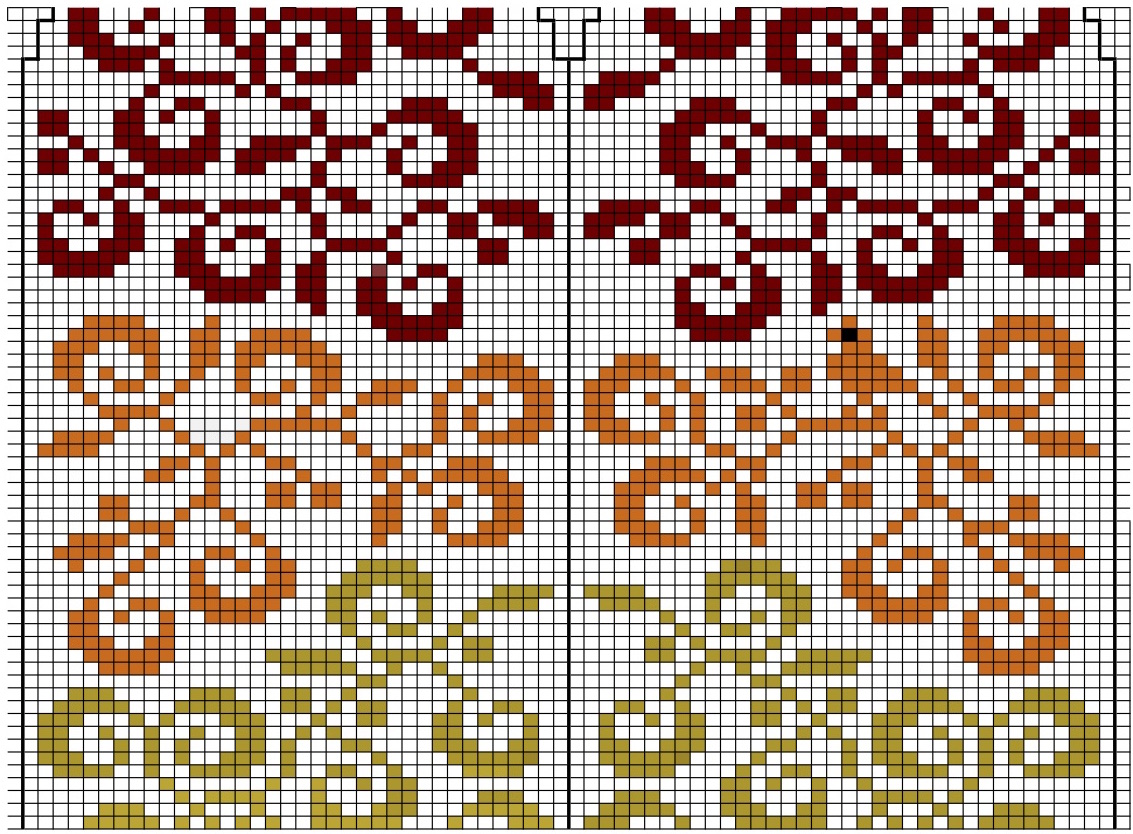
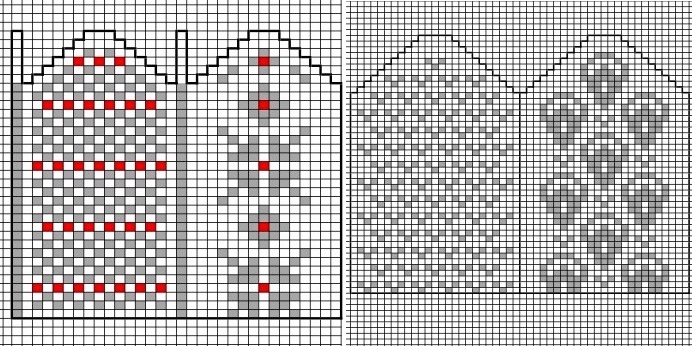
I do a lot of experimentation at this stage with the design layout. For example, here are three different cuff options I played with for the Cornwall Spring mittens I am currently knitting.
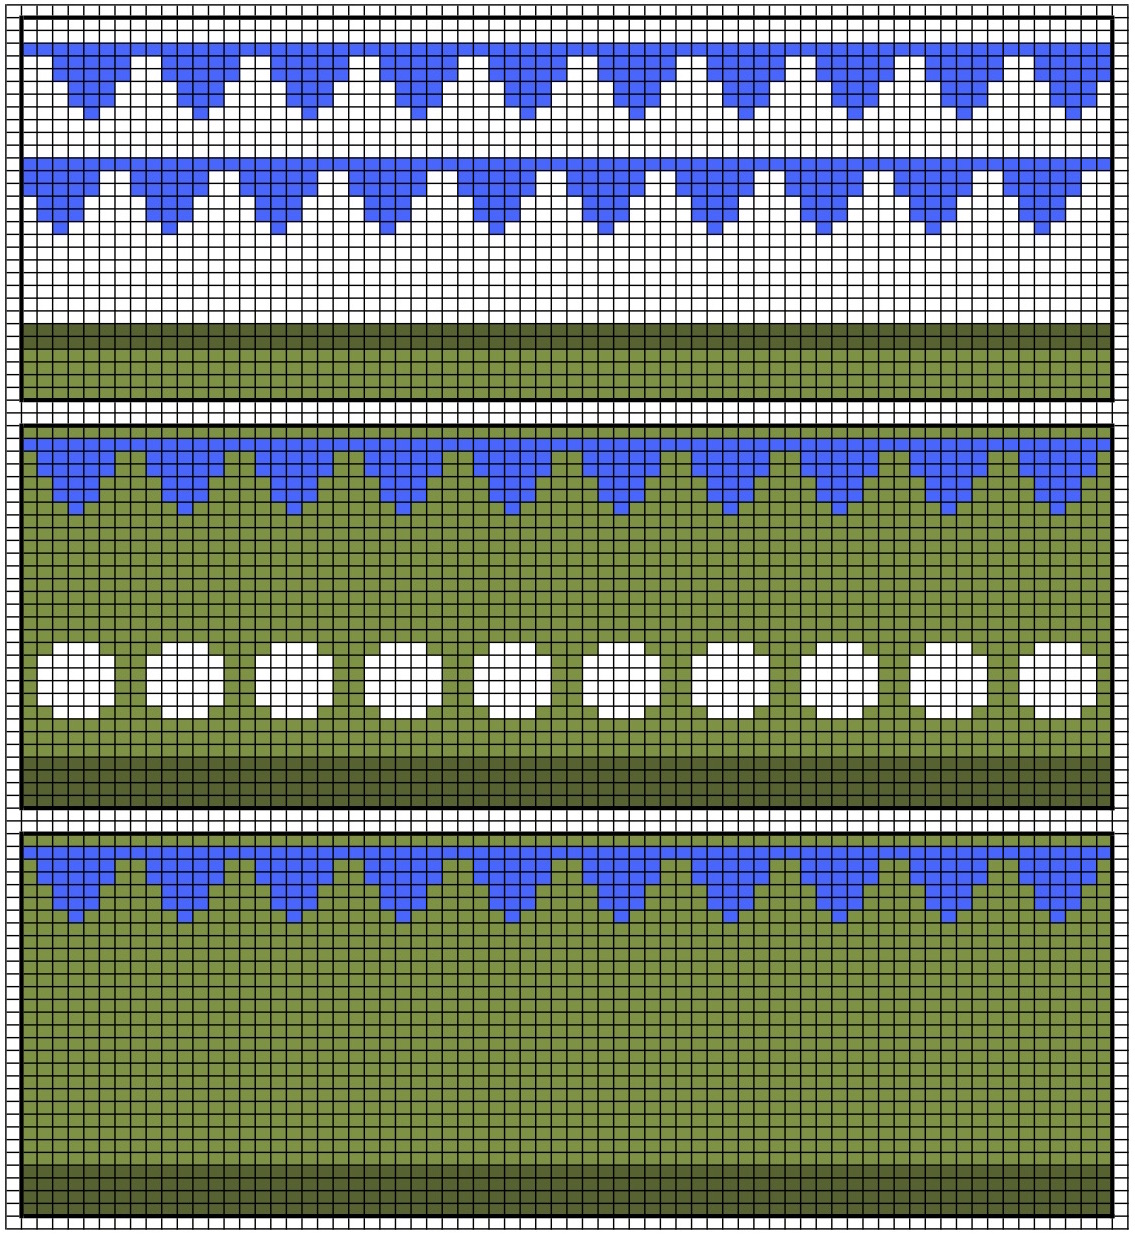
I like being able to look at designs like this before actually knitting them up.
Inspiration:
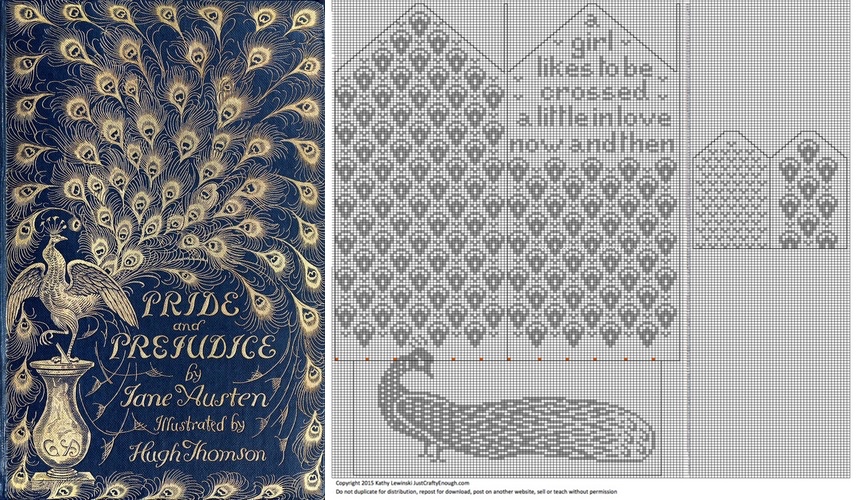
Your inspiration for your design can come from anywhere. Mine have come from ancient rock carvings, tv shows, pop art and pottery. The design I’m getting ready to knit up right now is inspired by an old book cover.
If you want to chart a picture, such as a team logo, both Stitch Fiddle and Excel can help.
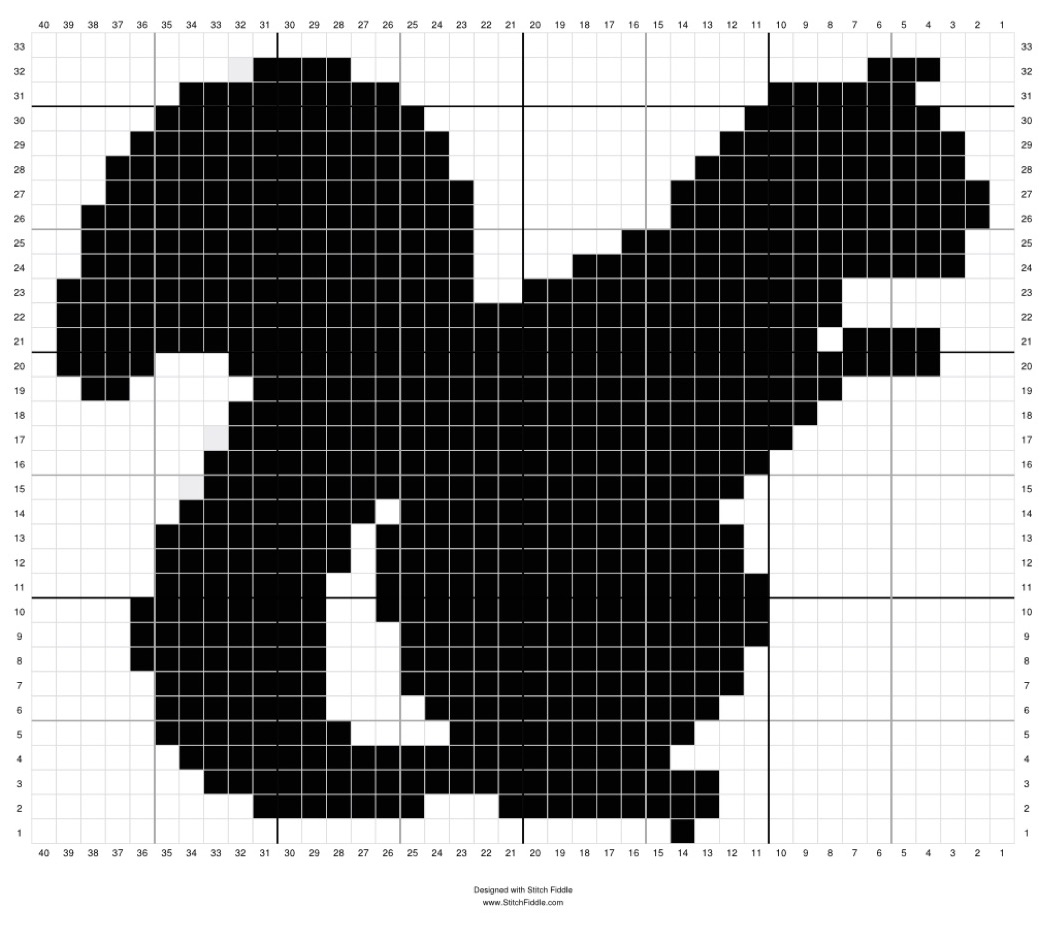
Stitch Fiddle – This is really a fun part of Stitch Fiddle . Open a new chart, chose Knitting, Color Knitting, In the Round and then Upload Picture. Select or drop the picture you want to chart onto the next page. Now this is the important part to make it work for your pattern, you need to enter a size for your chart. Think about how many stitches wide and tall you want this image to be on your knitting. (The smaller it is the less detail you will get.) Then you need to add your gauge and the number of colors you want your chart (this needs to be at least two). Here is a squirrel chart I did with a size of 40 x 40 stitches, gauge of 40 stitches and 48 rows in 4″ and two colors.
You can go in an make changes to the chart after Stitch Fiddle charts it to get it just the way you want.
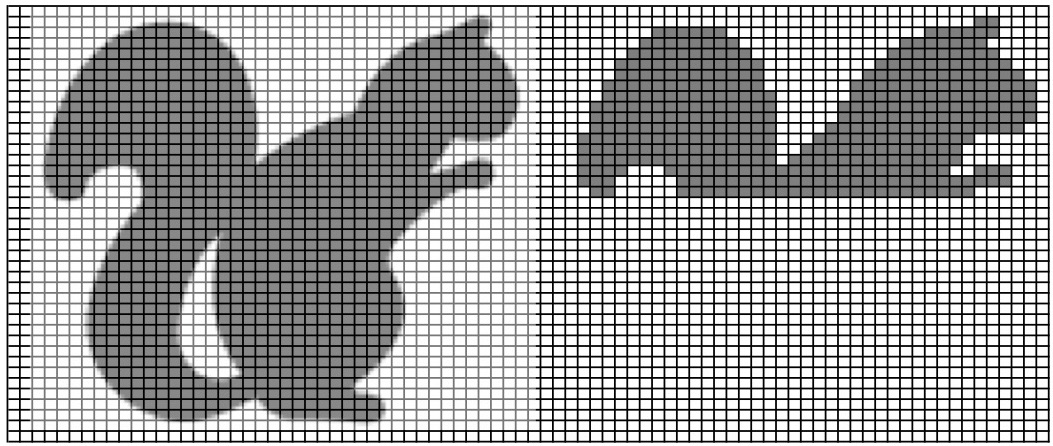
Excel – This requires a little more work on your end. Set up your knitting graph paper in Excel and then insert the picture you want to chart. Format the picture increasing the transparency so that you can see the graph lines over it. Then change the size of the picture until it is the approximate number of stitches and rows you want. Now you need to use that as your guide to create your chart. You can’t fill in the squares over the picture, so I usually work right next to it. Here is my start at charting the same squirrel this way.
Tips for Color Work Design:
These are tips of things I find work for me and are by no means rules. Have fun with it, experiment, and be willing to rip back.
- If you are working with more than two colors, think about whether or not you want to knit more than two colors at a time or if you need to make sure each row only includes two colors.
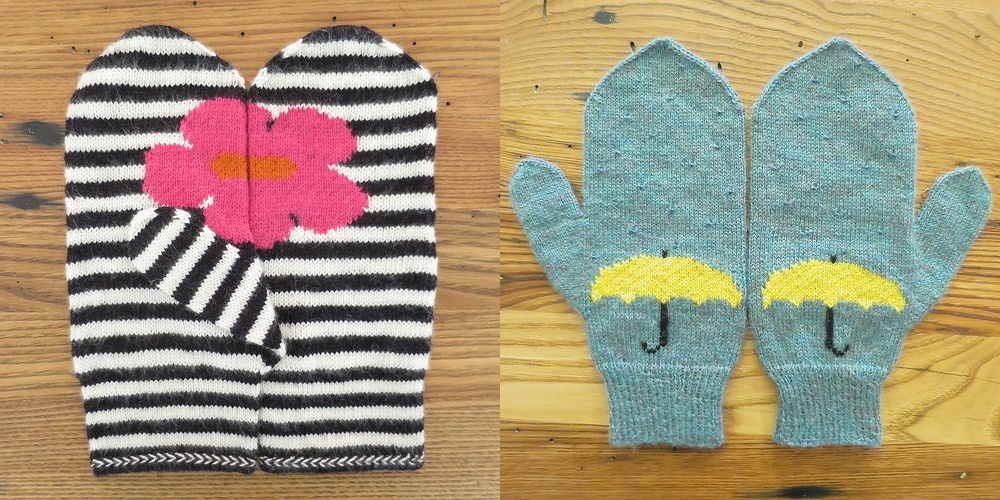
- Think about floats and catching floats. Do you want a pattern that has lots of long areas of one color that will require you to catch lots of floats or do you want a pattern with lots of color changes less floats to catch. I have done a few patterns with just one big image on them and and can be tricky to knit them neatly. On my May Flower Mittens, I ended up knitting the section with the flower flat, doing intarsia, and then seaming it. On my April Showers Mittens, I only have the umbrella on the front, so I ended up stranding and catching floats all around the palm. I had to be very careful to make sure this part of the mitten kept the same gauge as the part that didn’t have color work.
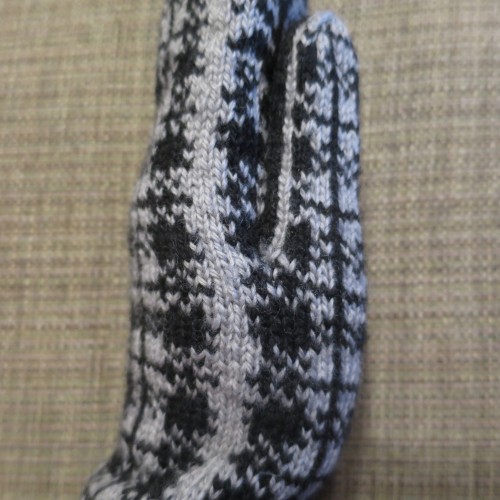
- How will you handle the Jog? When you knit in the round, you are basically knitting a spiral, which means your pattern will be off where your rows start and end. If you are doing stripes, it is easy to get rid of the jog, by using the jogless stripes technique. The way I typically handle the jog is to not have a design or be in mid-design on the last and first stitch of each side of the mitten. (I’ve also done a check pattern on those stitches which is a fun effect.)
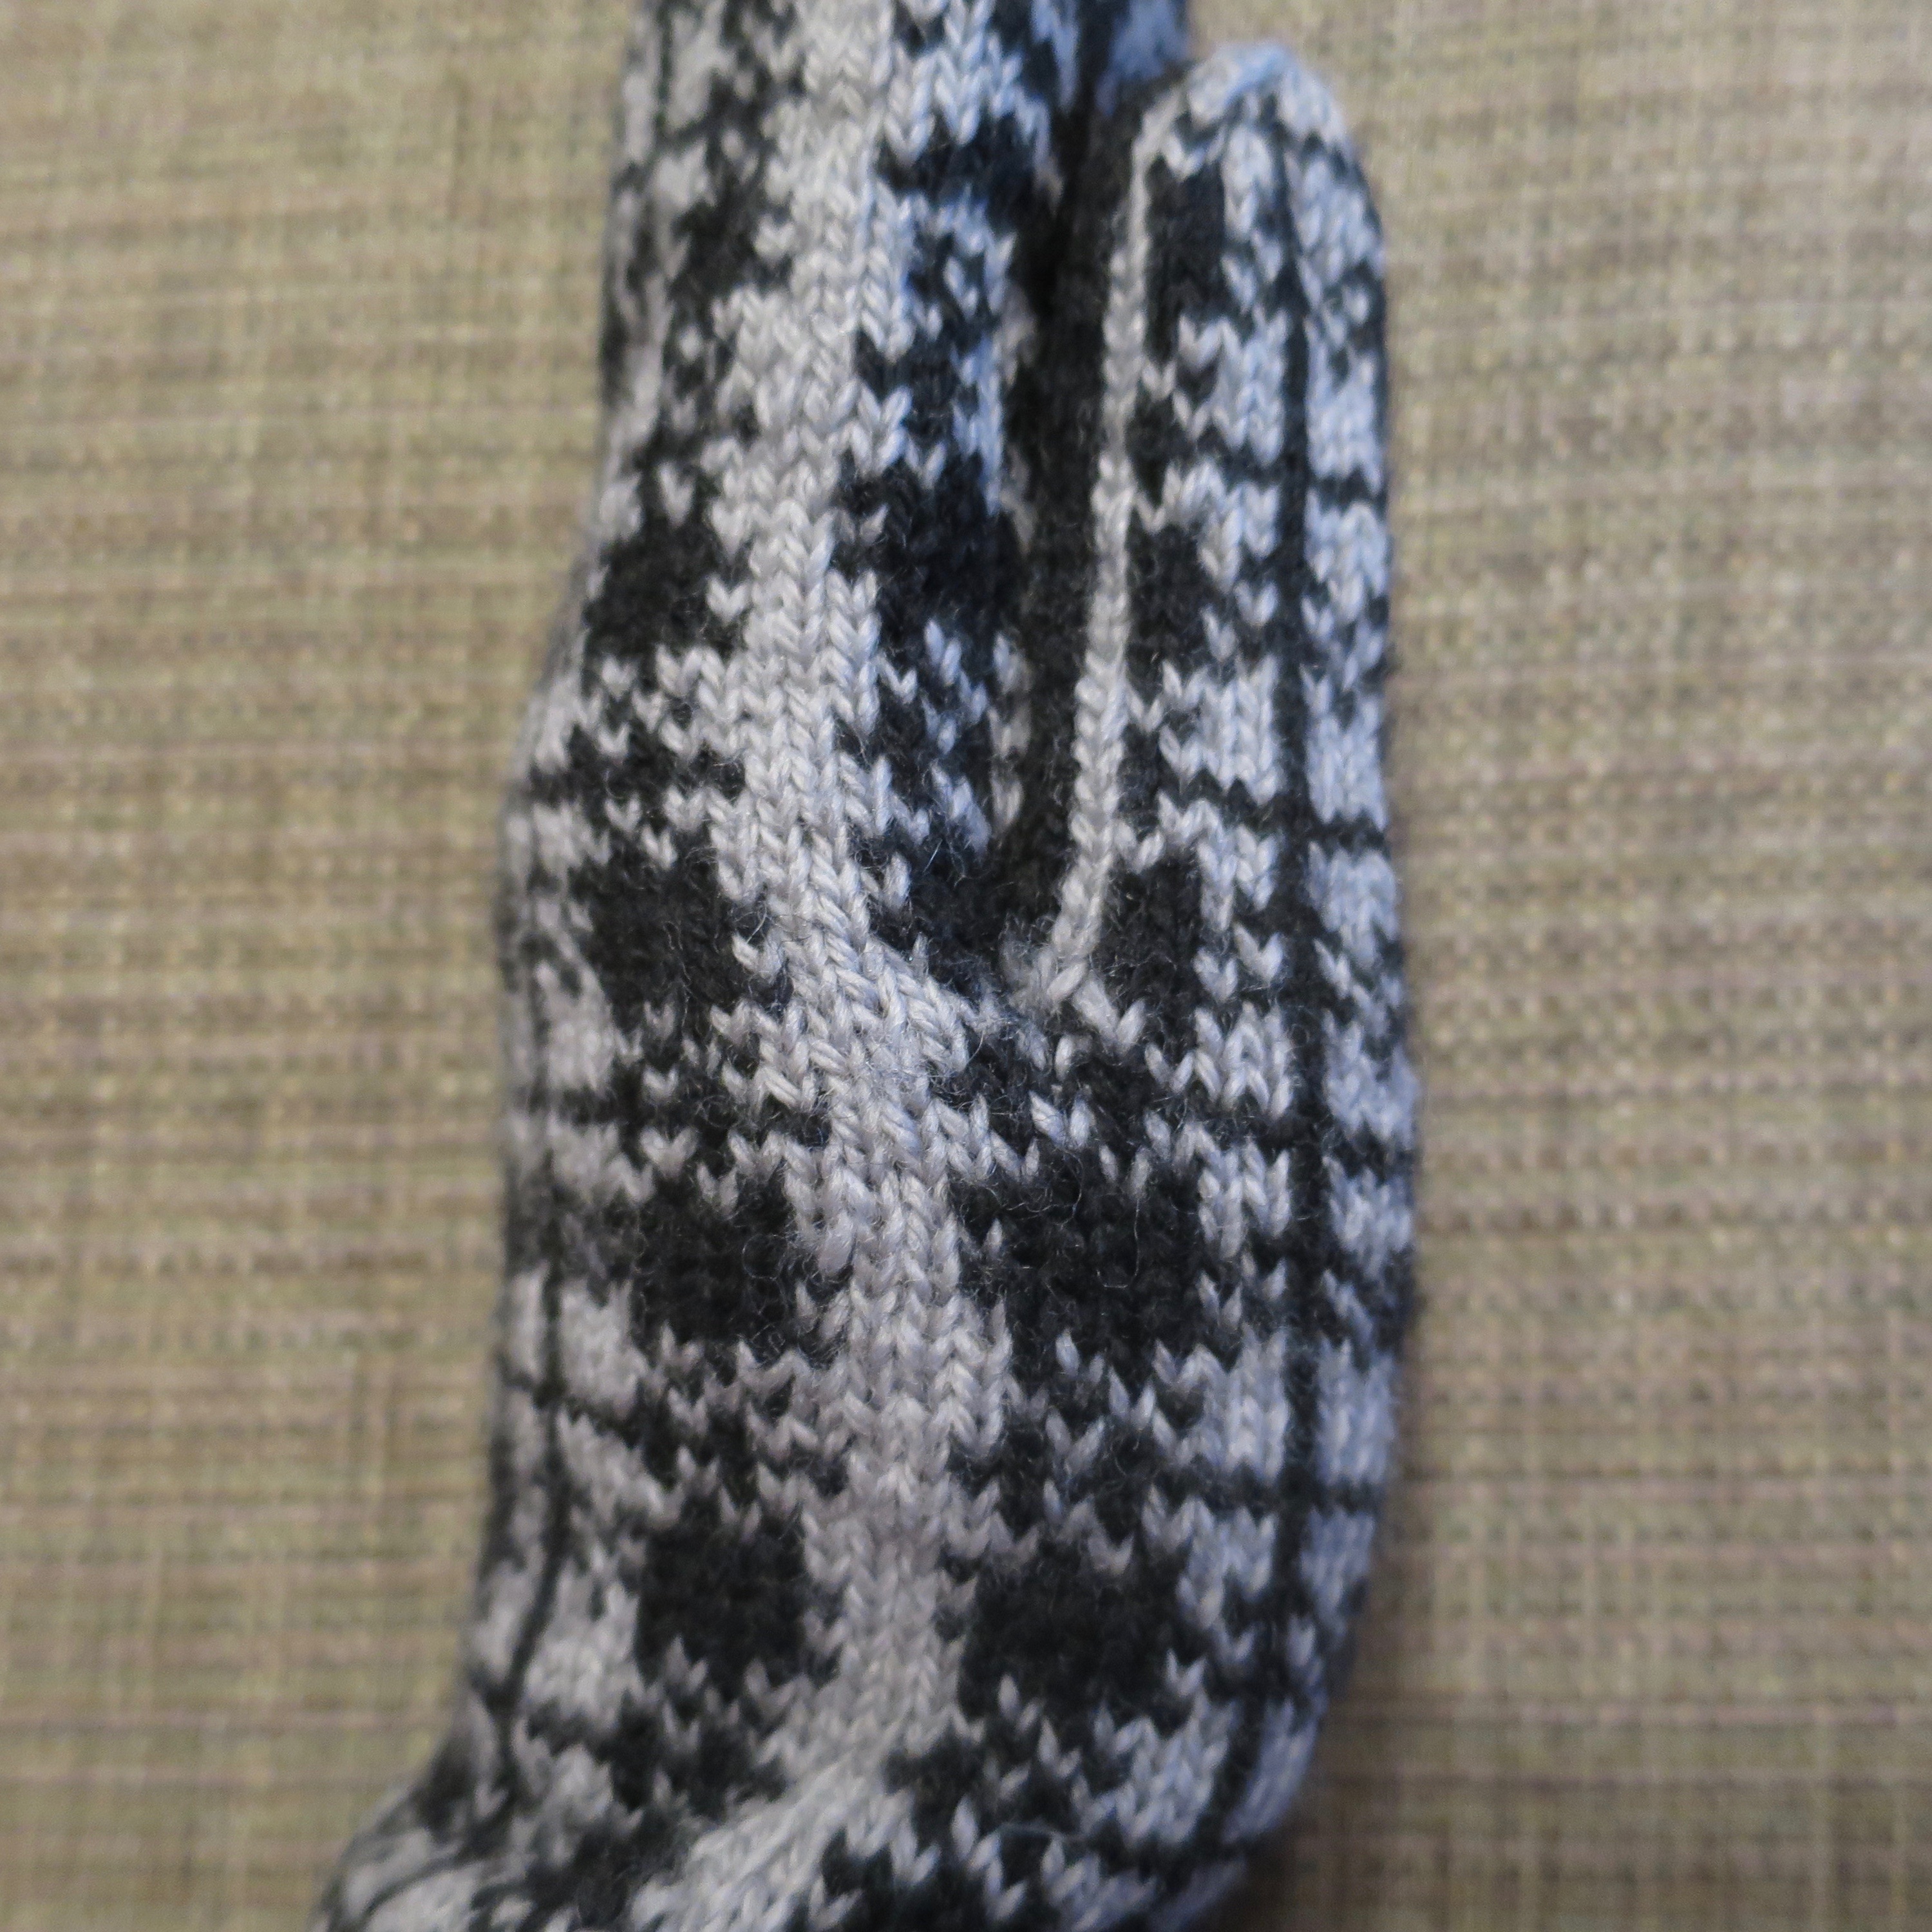
Those edges stitches without a color pattern on them can be a distinctive part of a pattern, especially on an all over pattern like this.
Here is how something like that looks on.
Or they aren’t even noticeable in pattern with less distinct lines from side to side like this.

- You may have to slightly alter the width of your mitten hand to fit your pattern. Depending on your design, you may want to center something. This means you need the width of each side of your hand to be either an odd or even number. If you find you do need to change the width, I find it is best to go up a stitch rather than go down.
- If you are doing a design that will cover your whole mitten, start working from the top. It is such a bummer to start designing from the bottom, only to find the design doesn’t end right at the top. Starting from the top will save you lots of time.
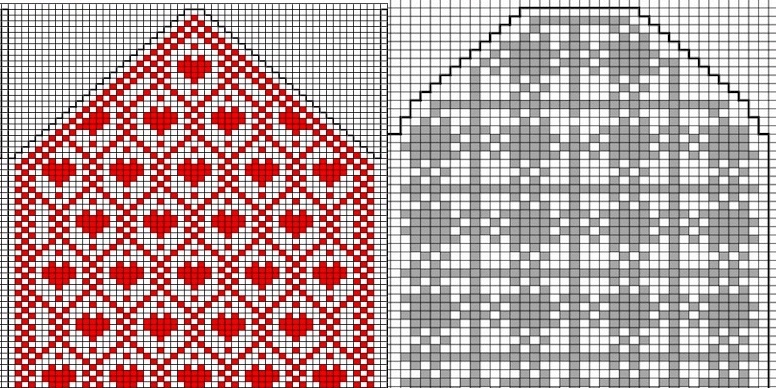
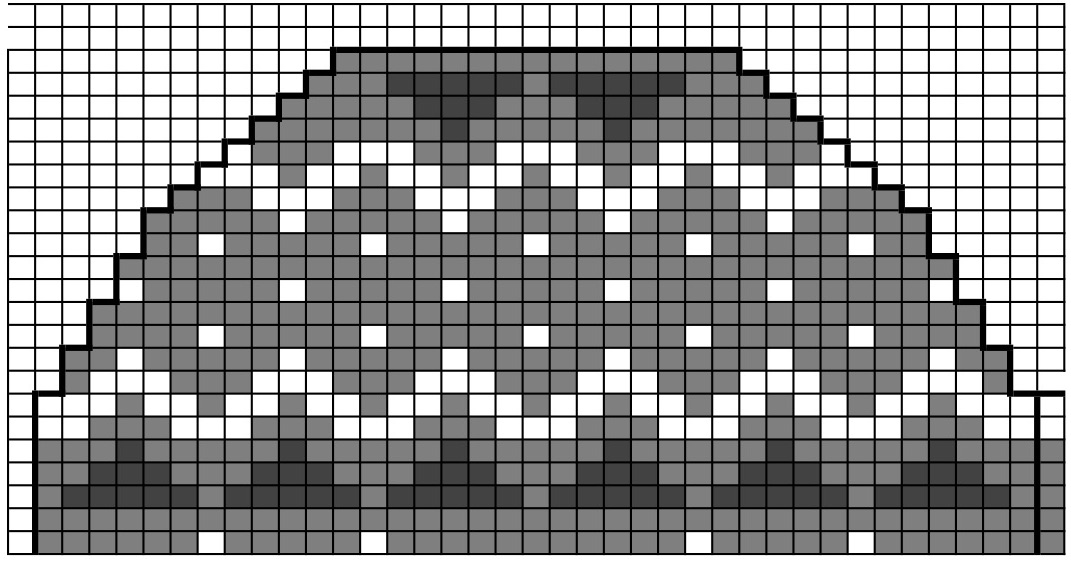
- Think about how the decreases at the top will effect your pattern. The decreases at the top of the hand and thumb can distort and hide your design. If I am doing a pattern like the two above, I leave don’t to the color work on the first and last two stitches of each side. When I have a pattern that goes around the mitten like the one below, then I just let it go through the decreases. (I will tell you though that the dots next to the edge basically disappeared once knit.)
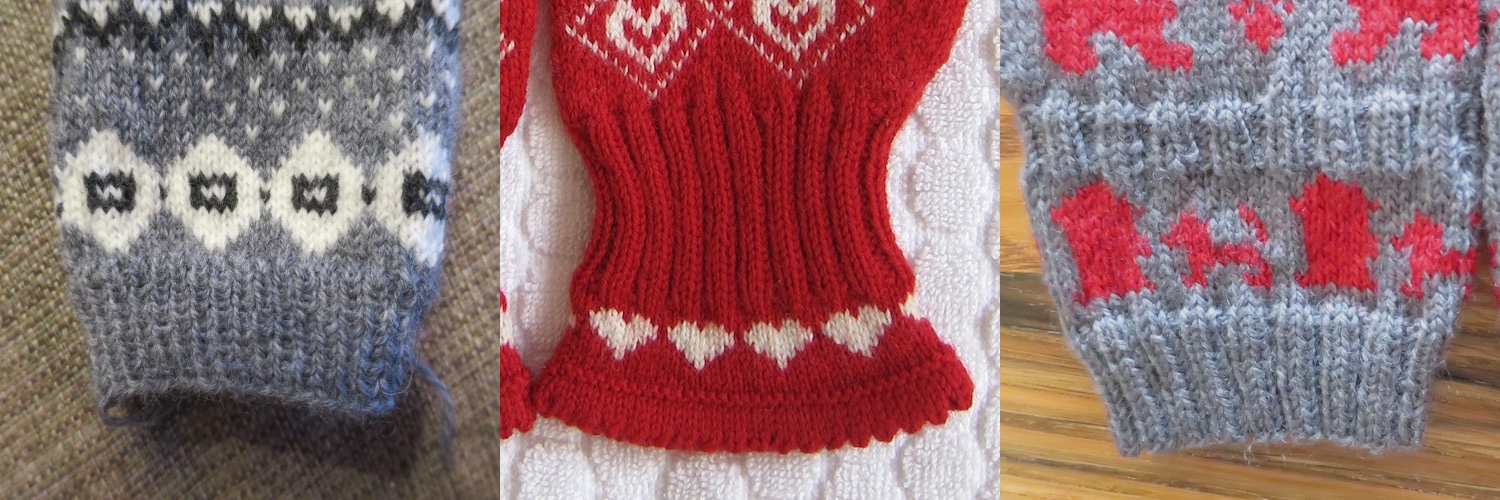
- Stripes, both vertical and horizontal, are an easy way to add color to ribbing without fancy color work. If you want to have color work and ribbing on your cuff remember ribbing pulls in and can distort the color work a little. It helps to have a row or two of no color work before or after any ribbing. Here are three cuffs with ribbing I’ve done, with color work after, before, and in the middle of ribbing.
- If you plan on having color work on the row where you do the increases between your hand an cuff, you will need to think out the increases. I will often mark on the chart with an x where I want to do an increase, so I can see what color the increase needs to be. Remember, if you are doing a side-gore thumb, that row will also need a stitch added to start the gore.
- If you are doing a peasant thumb, think about how you will work the back of it. It is a fun place to add a little extra design or even a solid color.
© 2005 – 2016 Kathy Lewinski & Susan Cornish
