


Every Friday for the twenty-four weeks leading up to December 1st, we will be making a handmade Christmas ornament. Follow along and make them all or pick and chose your favorites.
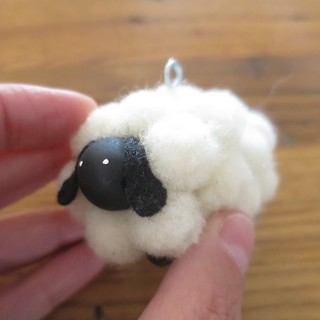
While I was making the Snow Fairy Ornament I started thinking about what other things I could make with a doll peg. It hit me that it would work on its side for as a sheep.
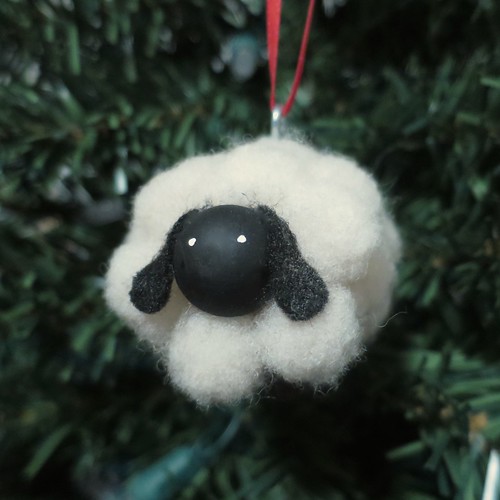
What could be more perfect for making a nice wooly sheep than natural wool roving. I could have just glued the roving around the body, but wanted something with a little more, almost cartoonish, shape. Felted balls were just the thing. Since I didn’t need really solid balls, it took about 1 – 2 minutes to make each one. So, other than drying time this little guy came together quickly. He’d be a great little gift for knitting, spinning or weaving friends.
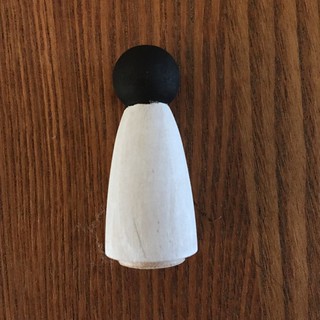
Let’s talk a little about supplies on this project. Doll pegs come in different shapes and sizes. The ones I have are all like the smaller girl in this picture.

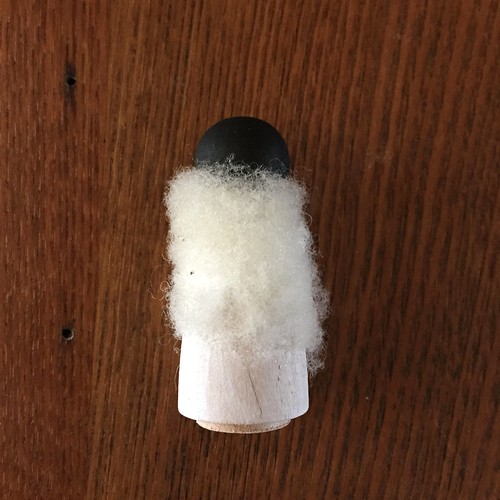
I wanted to use what I had on hand, but if I was buying something just for this I would have gotten one of the dolls with a straight body instead. To make up for that shape I glued some extra roving around the top of the body to even things out.
If you don’t have roving and don’t want to buy it, you can also use wool yarn. Just unravel and shred the yarn a bit before felting it. I find unplied yarn works best, but I’ve used ply as well, you just need to shred it a bit more. I wrote this post back in 2007 where I used yarn to make felted balls.) Of course, you can also buy felted balls, but I find they are usually really firm and pricey.
Wooly Sheep Ornament
Supplies:
- wooden doll peg
- acrylic paint in black and white
- small screw eye
- small paintbrush
- wool roving
- needle felting needle
- needle felting board or foam
- tacky glue
- black felt
- small scissors
- toothpick (optional)
- 1/4″ black beads
1. Paint the head of the doll peg black.
I painted the body white incase it would should through in spots and then realized the wooden color was probably closer to the color of my natural wool. Plus in the end you couldn’t see it anyway.
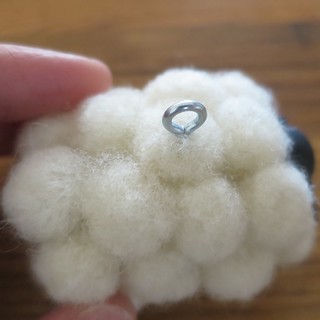
2. Ok, here is my do as I say not as I did step…Screw the screw eye into the body so it is about in the middle. You do not have to screw it in all the way as you want it to be above the wool a little, just make sure it is secure. I place mine so my sheep would face forward when hanging. (I forgot to do this until the end it is was a lot trickier through the wool!)
3. Use the roving and needle felting supplies to make felted balls. Mine were about 1/2″.
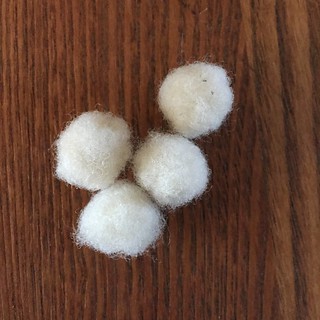
To make these I just felted the roving until I had a ball just about the size I wanted, then I rolled the ball between my palms to tighten it a little. I wasn’t trying to get a really solid ball like I would use for jewelry, I kept mine pretty little soft.
4. Start gluing the balls around the body of the peg doll with the tacky glue.
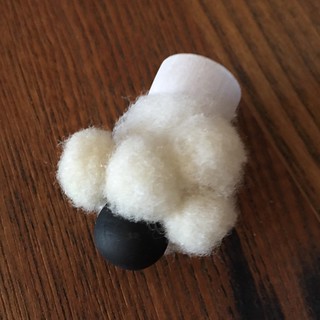
On the side that will be the top of the sheep, the one with the screw eye, you want the wool balls to be glued back a little further from the head. You’ll have a hard time with room for the ears otherwise. On the bottom I have the wool almost out as far as the head.
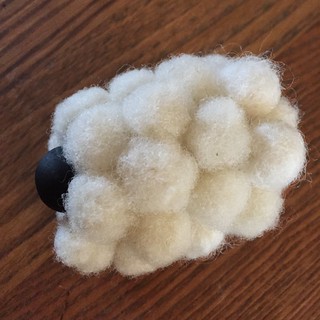
Cover the whole peg doll body including the base. Press the balls together as much as you can while gluing. Let dry. If you have any gaps you don’t like you can use the felting needle to lightly felt the balls to each other closing the gaps.
I also pressed and felted the balls on the top of the sheep top a little, so he was slightly bigger on the bottom.
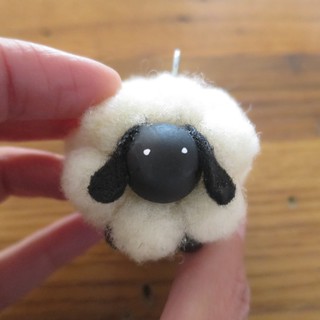
5. Cut two small ears from the black felt and glue to the sides of the head.
I gave mine quite long ears like Shaun the Sheep, but you could also do smaller pointy ears.
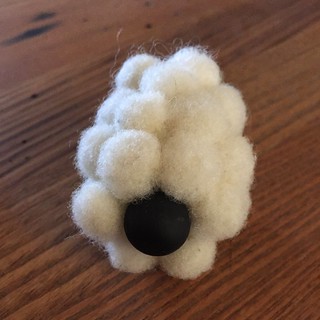
6. Paint white eyes. I find a toothpick to be perfect for this.
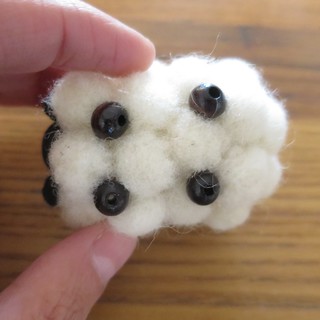
7. Glue the four bead to the bottom of the sheep for legs.
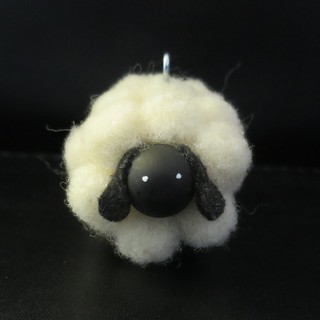
Put a ribbon or hook through the screw eye for hanging.
© 2005 – 2015 Kathy Lewinski & Susan Cornish


