

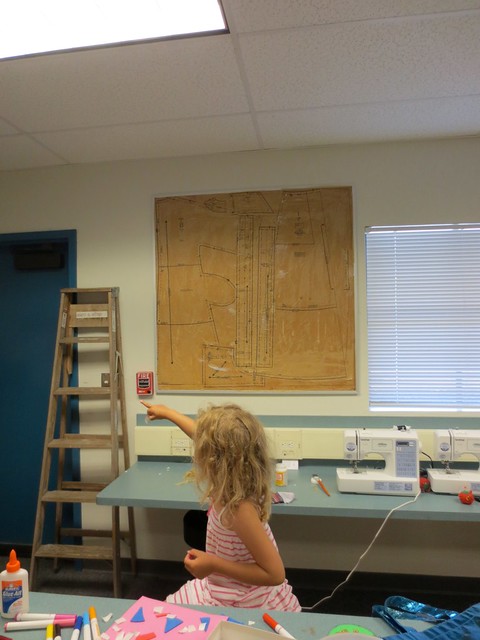
In preparing my new room at school, they hung some great cork boards on the walls, and I asked if I could go ahead and apply a treatment to one of them. I was given the green light.
My goal was to do a pattern-tissue collage on the boards to add a bit of extra interest and make them less institutional cork board and more “sewing studio fabulous”.
My challenges:
- these boards were already permanently mounted to the walls, so I could not pull them down and take them outside, I had to work up on the wall
- I had an assistant that day
In the end, I hung out over the counter on the ladder and worked it out.
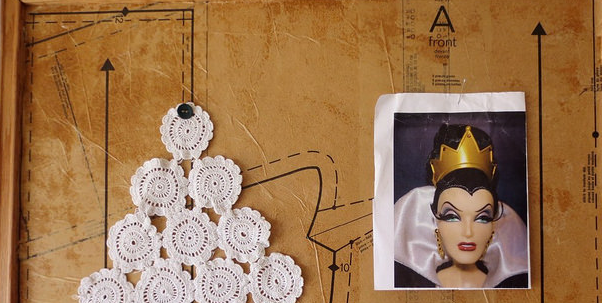
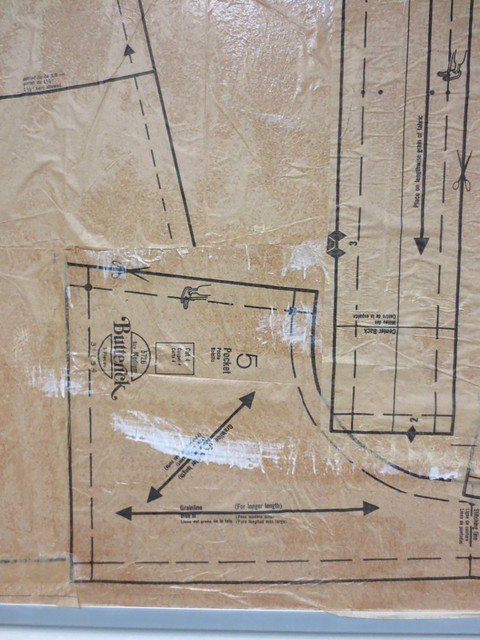
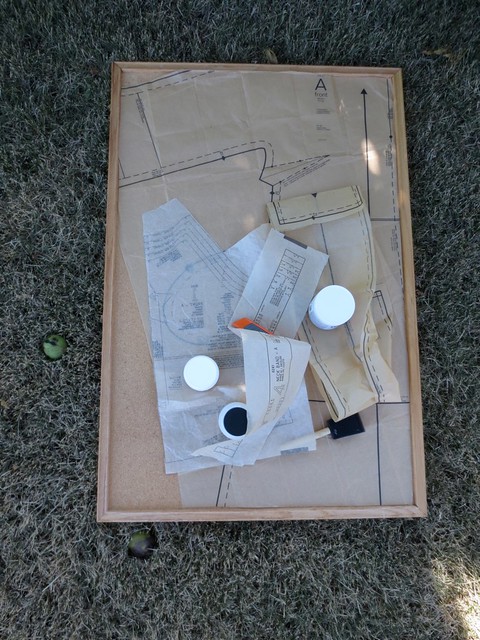
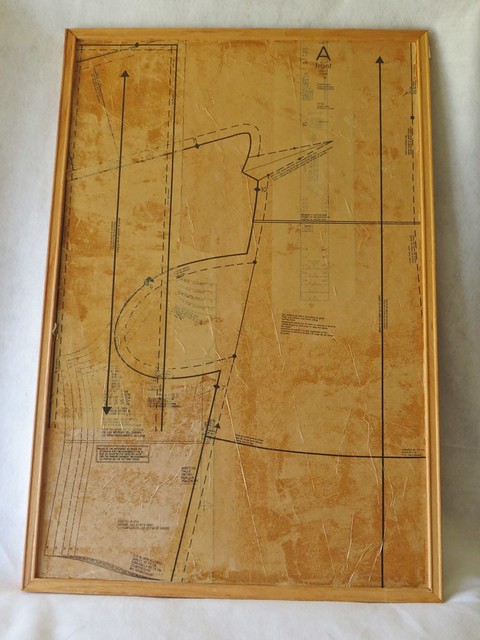
First, I cut a template from a huge cardboard sheet so that I could work on the layout flat on the ground. Using my cardboard, I laid the pattern pieces out and cut them to fit where I wanted them to go. Then I went up on the ladder and put a layer of mod podge all over the board. I had to work quickly because the board is BIG and I did not want the ‘podge to dry. I carefully picked the tissue pieces up and stuck them to the board. Then I smoothed them out as much as possible (which was, not a lot). Next, I added a layer of mod podge over the top. The overall result is striking. I used a 70’s pattern and I think it shows if you look at the shape.
But if I were being really picky, I don’t like the way there are lighter patches and darker patches.
(Shown here still wet.)
I don’t like the way there is good contact in some places and no contact in others.
So, in true obsessive fashion, I set out to do another one, this time at home. (Again, I had help.)
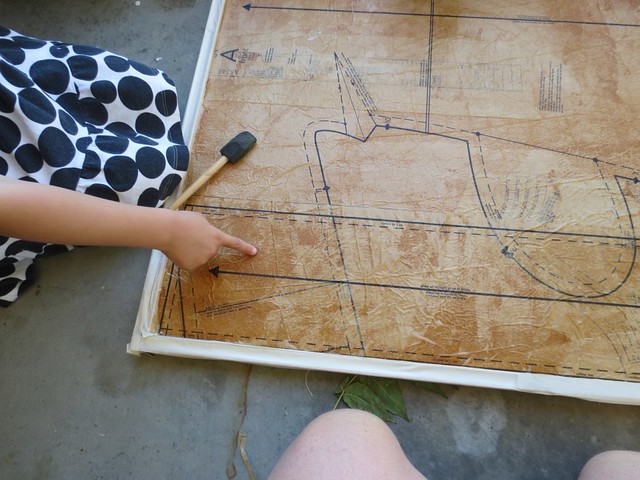
Out in the yard, I had some breezes to contend with. I did some things differently this time:
And instead of Mod Podge, I went with a higher end Golden (Brand name, not the color) UV protective top coat.
For the first layer, against the cork, I used a spray adhesive. I hoped that by using a product with very little liquid, that I could avoid some of the worst wrinkling.
Sewing Pattern Cork Board
Supplies:
- spray adhesive
- foam or bristle brush
- Golden UV coating OR Mod Podge
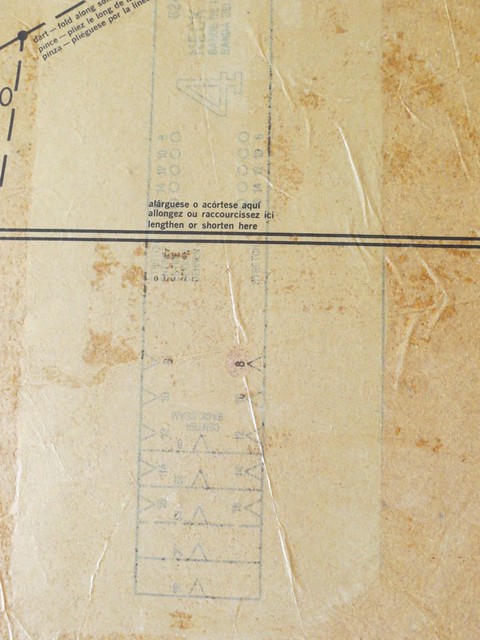
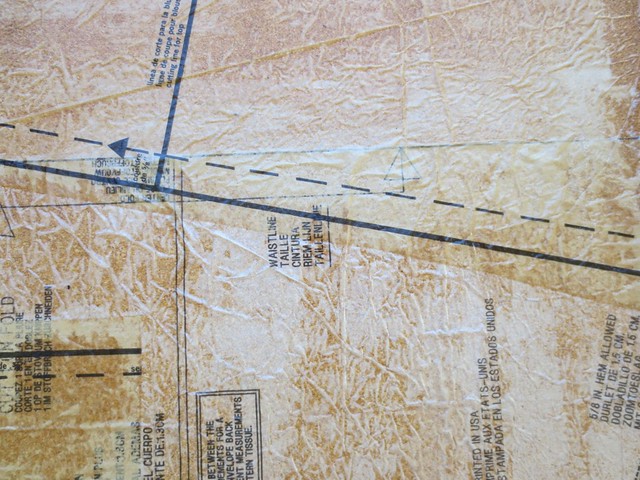
- old pattern paper
- cork board
Tools
- scissors
- utility knife
Steps
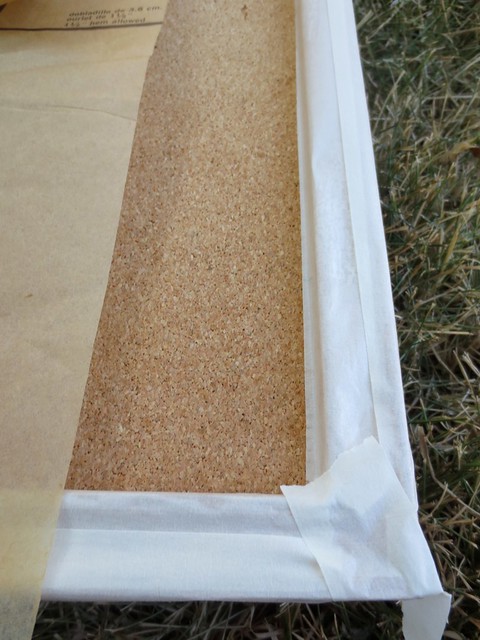
Start by covering the frame with masking tape. (This will protect it from the spray adhesive later.)
Lay the pattern pieces out on the board and cut/trim them to the board shape.
Remove the tissue pieces from the board and set them aside (if you need to, make light pencil markings to show where they should go) .
Move the board to a well ventilated location and spray the board with an adhesive.
Retrieve the pattern pieces, and go back to the board. Carefully arrange the tissue on the sticky surface.
Using a brush, apply a top coat (Golden, in this case).
Smooth out any wrinkles you can (careful not to rip the tissue).
Let dry. (Many of the wrinkles will shrink out as it dries.)
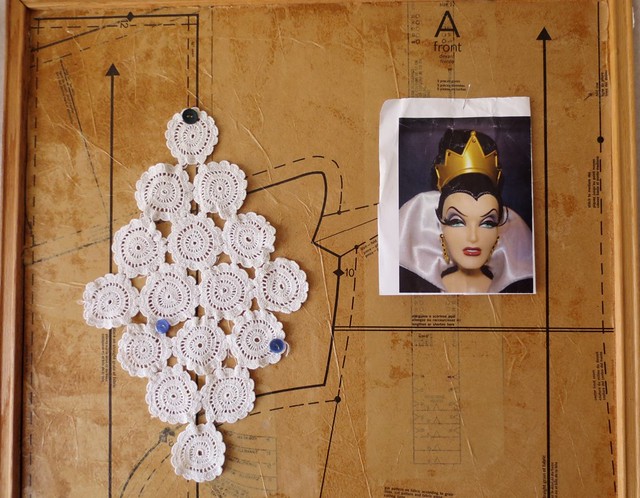
Pin things on the board, and enjoy!
© 2005 – 2014 Kathy Lewinski & Susan Cornish

Love them! Great job and so glad that it worked out for you. I am doing a similar treatment for this week’s Iron Craft Challenge and will add a final patina by tinting the top coat glue.
This really is stunning. WELL DONE.
I love it! I do wonder how well it would wear with pins being taken in and out of it, though. Maybe the varnish protects the tissue enough?