
The Iron Craft challenge that was posed to us was UFO. Go forth and FINISH SOMETHING! What a great challenge! Apparently, I could do this every week, all year! There is something very gratifying about going all the way through your back-log and taking a long hard look at it. In the process of choosing what I wanted to work on, I found myself saying, “Well, if I don’t want to tackle that this week, will I ever want to tackle that? ” In some cases, the answer was, “No, I guess not.” The good news is that I have a TON of really fun stuff in my craft room. The bad news is, I have a TON of stuff in my craft room. I have NO business going to some of my favorite stores for a LONG LONG time. (uh oh)
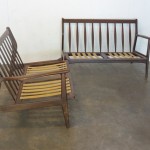
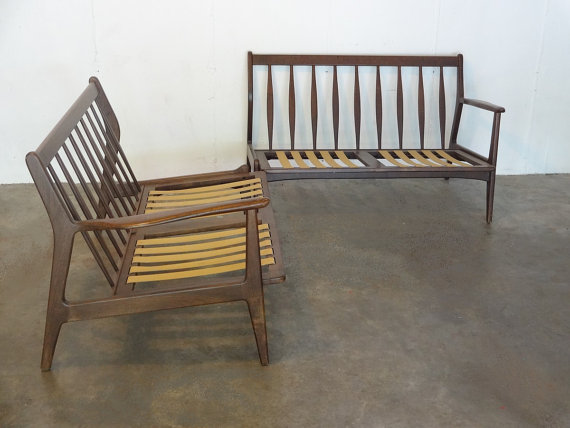
I had high hopes of finishing the great pillow project, but alas, that was unrealistic. So instead, I will give you the progress update. (Here is where the whole thing started. And then fabric. And then progress.)
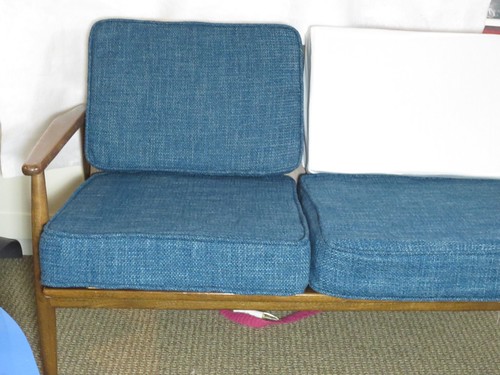
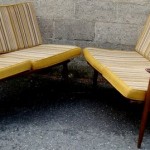
Here you see 3 blue cushions! with pipe! Wow.
I have learned that about 7 hours goes into one finished cushion. Seven. How can that be? Let me outline some of the process.
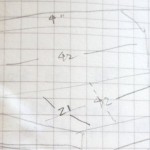
- pattern making
- make muslin sleeve for each pillow
- cut main fabric panels
- cut side fabric panels
- zig-zag the edges of ALL panels
- make one zipper side panel for each cushion (then make them over again, because an “invisible zipper” is not when it is done in upholstery fabric)
- sweat cutting out the second round of side panels because all the pipe is not done yet. Pipe is cut on the bias and the cushion tops and side panels are cut straight, with the grain
- on the bias, cut strips for pipe
- (cut strips for pipe until your fingers wear down)
- sew pipe (good news, the pipe strips do NOT have to be bound with a zig-zag)
- set the pipe around the edge of the cushion on one side. (this includes a laborious “closing the loop” on each flat face of each pillow)
- sew the side panels in all the way around on the top
- sew the side panels in all the way around the bottom
- stuff the muslin covered foam into the case you have made
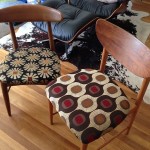
Given the issues I have been having with the zipper, I decided to try a few without zippers (for the back cushions. I figure if those are in dire need of a wash they can be carefully picked off, dry cleaned and put back on. By me. ) So the no zipper method was very satisfying. Until, that is, it came time to close the smallish hole that was left open to squeeze the pillow through. I had out an embroidery needle and tried to learn to use that correctly. I am not going to lie. Straight up, I am slogging through this process. Whatever you were quoted to recover your favorite piece, that is a fair price.
If we said 8 cushions at 7 hours each and I offered myself $25/hour, that’s $1400. That does not include the cost of the upholstery foam or any of the fabric or the pipe filler. The only “cheap” material used was the muslin. Using $25/hour is probably not enough for a shop owner to pay his overhead. Now, a professional could get these done MUCH faster. Maybe there is even some kind of machine that does the pipe. But at the end of the day, for my little home effort we will be approaching $2000. My respect for the professional upholsterers has sky rocketed.
Thanks for following along. This is not the last you’ll hear of this project.
© 2005 – 2014 Kathy Lewinski & Susan Cornish