
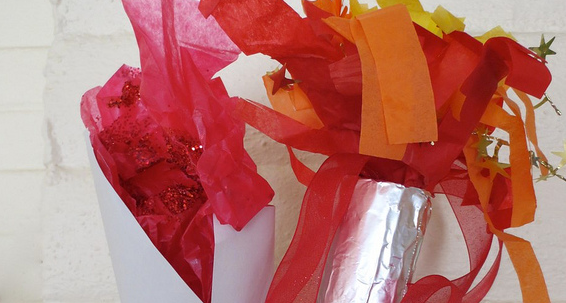

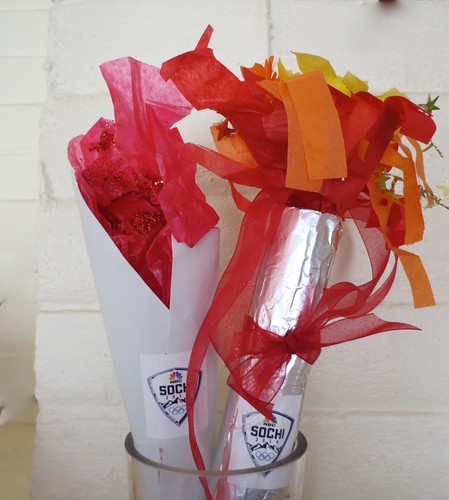
We had a parade to go to for the opening ceremony of the Olympics. It was a great event that was hosted by our local ice rink. They said they would have supplies available, but we made our own at home just in case. Then we made another one when we got there. So, here I give you the Olympic torches, two ways.
Here is how you could do one.
Olympic Torches
Supplies:
- cardboard tube inside of a paper towel roll
- tin foil
- yellow tissue paper
- orange tissue paper
- red tissue paper
- rubber cement (or other multi surface glue product)
- plastic wrap (Up-cycle the plastic or shrink wrap off of the last box you opened or, if you don’t have any on hand, a sandwich baggy will do.)

Optional:
- wire with glitter stars
- ribbon (with sparkle, all the better)
Tools:
- craft scissors
Directions:
1. Pull out a sheet of foil that will cover the paper towel tube. Paint on a stripe of rubber cement along the length of the tube. Start the foil there and roll it around. Paint a second stripe of cement where you think the foil will end. Roll the foil all the way around to rest on that strip. Fold the ends of the foil over the edge of the tube. Set this aside while you make the flame.
2. Fold a sheet of yellow tissue in half the long way, so you have a long thin strip. Start to roll it into a hot dog size tube. Leave some room in the middle to get the blade of the scissors in later.
3. Fold the orange tissue in half. Take the plastic wrap, and lay that along the orange tissue. Add this to the outside of the yellow roll. (The tissue provides a little shine and a little bit of “filler” to expand the flame later when it is cut. )
4. Fold the red tissue in half, lay the plastic on there and roll the red around the outside.
5. Take the scissors and make cuts in the tube of tissue and plastic you have created. Cut down the “tube” of tissue in strips. Gently pull the tissue and “fluff”.
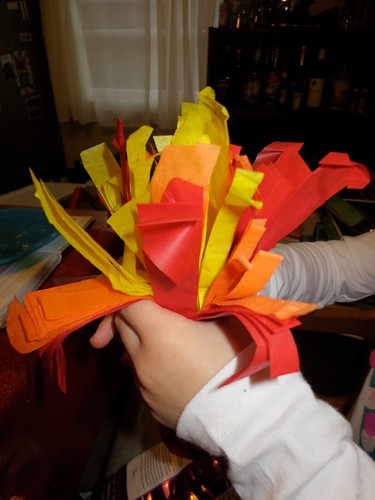
(have your assistant hold onto that for a moment.)
6. Cut any accessories that you have to add, glitter wire, glitter ribbon… and push that down into the paper roll or add it to the sides. Then take the whole operation and gently nuzzle that down into the tin foil tube. By the time all of that is rolled together, you should not need any further glue. If your roll is too small and it is not stable, then wind some scrap paper around the bottom to make the fit into the tube a little tighter.
The second torch was created at the ice rink, just as they had promised.
Their methods were more stream lined, but to the bearer of the torch, they were also VERY satisfying.
Supplies:
- white paper
- red tissue
- spray adhesive
- loose glitter
- scotch tape
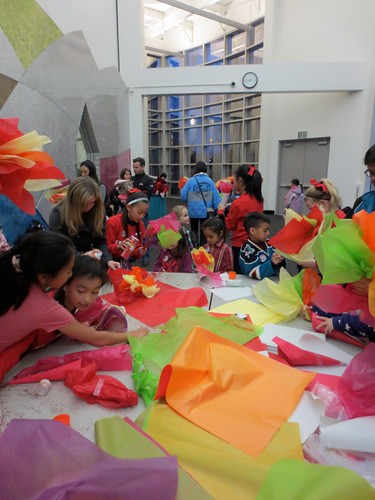
They took a piece of 8.5 x 11 paper and twisted it into a cone. Then they took 1 – 2 sheets of tissue and formed a “flame” with their hands. Here’s where it got fun – they sprayed adhesive onto the tissue flame and sprinkled loose glitter onto it to give the flame a little sparkle.
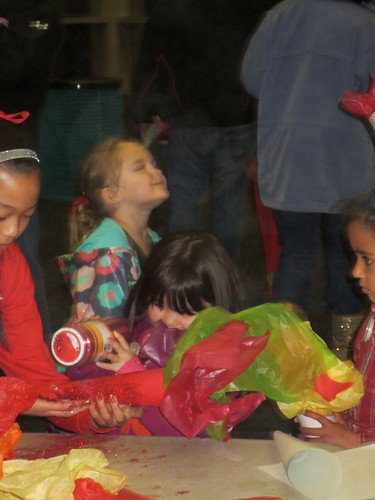
Now, I am no ninny, but let me say, this is not a project that you want to sponsor in your home. I know some parents who are more phobic about loose glitter than they are about the flu season and if you relate to this school, then stick with the first torch.
With a small girl in the house, glitter and sparkles are just part of the general fabric of our lives, but let me say that glitter is LITERALLY part of the fabric of our lives. It is embedded into EVERY fabric in the house.
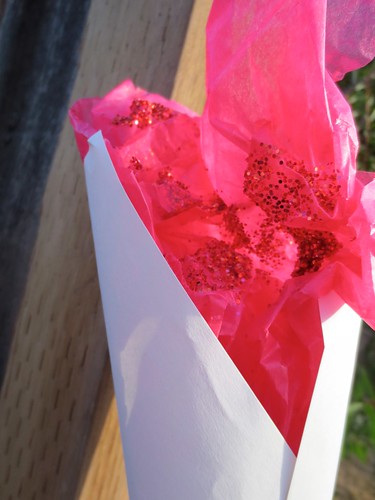
Take the sprayed, glittered tissue and just tuck it into the cone.
And, if you have access to some official Olympic stickers, add them for credibility.
© 2005 – 2014 Kathy Lewinski & Susan Cornish

I fully support your support for a glittered life and applaud your acceptance of a glittered home. I am ashamed to say that I have had a lot of explaining to do with people when trying to explain how glitter has appeared in some of the places it shouldn’t have. Regardless, I love both torches.
Oh THANK you. I think a sprinkling of glitter validates you as a well rounded person. And. It means that fairies have visited you recently.