

When I was knitting up my Breton Stripe Handwarmers, I started thinking about what a great little project they were because they are so easy to custom fit and add design features to. I thought I would walk you all through the process…

Easy Custom Fit Handwarmers
This is not a pattern to make handwarmers, instead I will teach you to create your own pattern to fit you.
Supplies:
- yarn of your choice (the amount you need will depend on the weight of the yarn and how long you want your handwarmers. Unless you are making super long ones or using very bulky yarn you shouldn’t need more than a ball.)
- 4 double-pointed needles the size of your choice (you could also do this with the magic loop method)
Tools:
- measuring tape
- ruler
- stitch marker
- tapestry needle
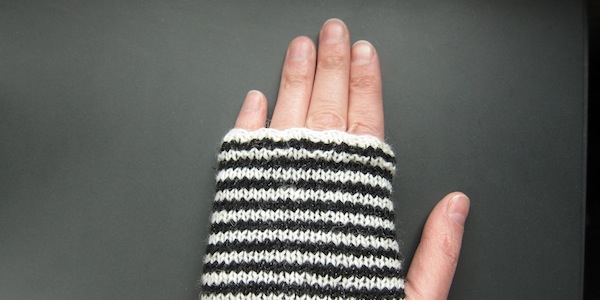
1. Get your hand measurement – With the measuring tape, measure around the widest part of your hand not including the thumb, typically I would say the knuckles right before the fingers. This is the measurement you will need to make your handwarmers around.
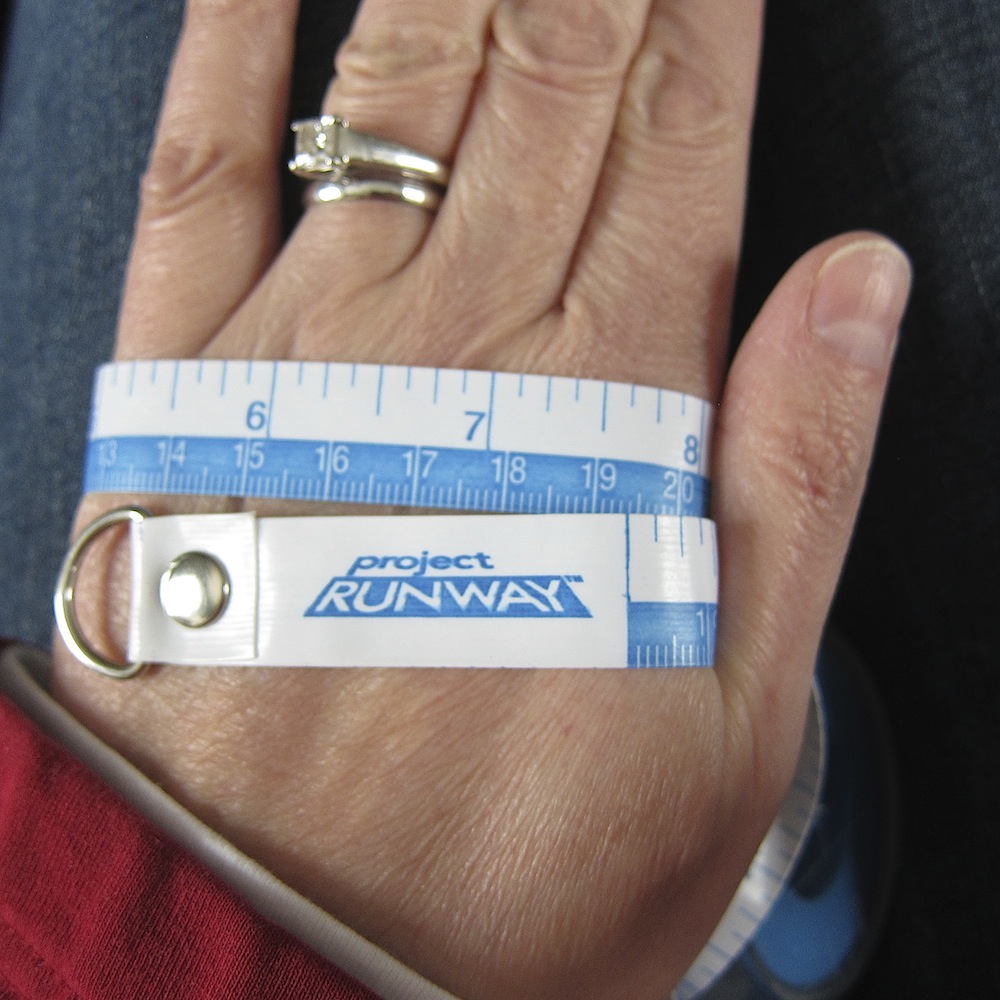
We’ll use my hand as an examples. My measurement is 7.5″.
2. Knit a gauge swatch – Knit up a gauge swatch using the yarn and needles you want to make your handwarmers from. Measure the swatch and find out the number of stitches per inch. (If you have never done this, Susi has a great posting on The Gauge Swatch Dissected.)
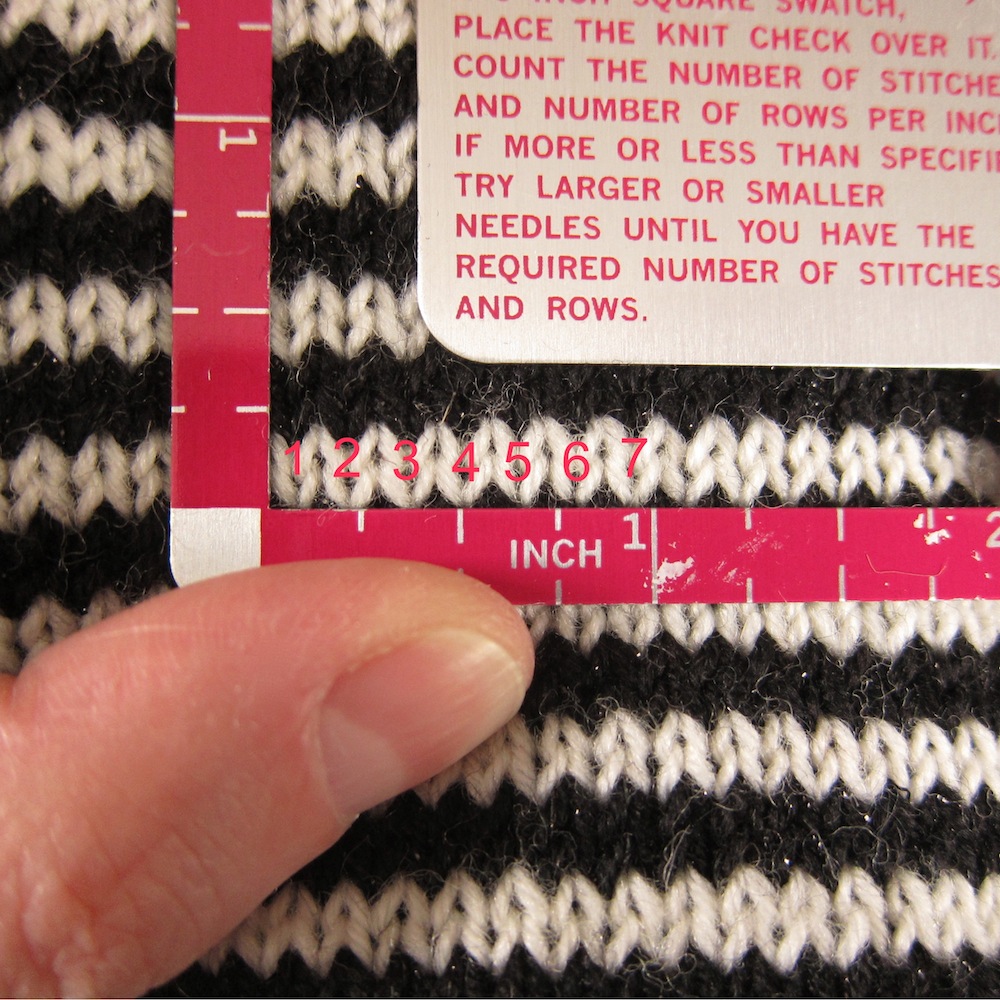
My gauge swatch gave me 7 stitches per inch.
3. Do the math – Multiply number of inches in your hand measurement by the number of stitches per inch in your gauge swatch.
For me that would be 52.5. This is technically the number of stitches I need to knit to make the handwamer fit around my hand. Ok, you can’t knit a half stitch. I would round my number to 52 stitches.
Something to take into consideration here…
Knitting stretches, so if you like a tight fitting handwarmer you may want to actually knit your handwarmers up slightly smaller, a half inch should do. So that would mean for me multiplying 7″ by 7 stitches per inch for a total of 49 stitches.
4. Chose a cuff – How will you edge your handwarmers? You can knit the whole thing is stockinette and let the cuffs roll naturally. You can do a few rows in garter stitch and then switch to stockinette which will prevent rolling. You can do a basic knit purl ribbing.
![IMG_4385[11]](http://www.justcraftyenough.com/wp-content/uploads/2013/04/8617101171_4fe309bb15_o.jpg)
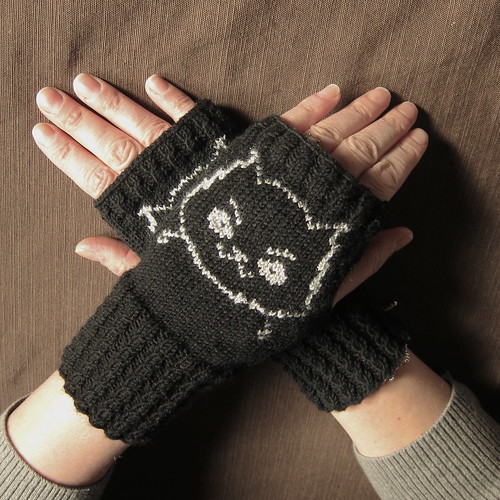
You can do a fancy rib like Susi did on her Cartridge Rib Fingerless Gloves. You can do a hemmed cuff like I did on the Breton Stripe Cap. You could also do a lovely cable rib.
For my handwarmers I went with a basic knit2 purl2 ribbing. I like the way ribbing has some elasticity to it that helps hold the handwarmers in place.
Once you have chosen your cuff style, you have to think about how that will effect your stitch count. Ribbing and cabling require a center number of stitches in the pattern repeat, so you need to make sure the number of stitches you are working with will work with your pattern.
So, on my handwarmers my k2 p2 ribbing requires 4 stitches for each pattern repeat. In step three, I decided I was going to be working with 49 stitches. That is a problem because 49 is not evenly divisible by 4. Easily fixable, 48 is divisile by 4 and that one stitch won’t effect the size of my handwarmers greatly.
Note: One stitch isn’t much of a difference when your gauge is 7 per stitch, but say you are working with a bulkier yarn and have a gauge of 4 stitches per inch. Then the loss of one stitch will be 1/4″. You’ll need to decided whether you can handle that much change in size or whether you should chose a different cuff pattern.
5. Cast on – We are going to knit these handwarmers from the top down. I like to do it this way because I find it is easier for measurement as you go and I think my cast on looks neater than my bind off and it will be seen more.
Cast on the number of stitches you came up with in the steps above. So, for me that would be 48 stitches. Divide those stitches between three double-pointed needles. Join to knit in the round placing a stitch marker between the first and last stitch. Be careful not to twist the stitches.
6. Knit the top cuff – I like a little cuff, 1/2″ – 1″, at the top of my handwarmers, to secure them. You can skip this and just knit them straight, they will look similar to the top of the Cartridge Rib Fingerless Gloves, but you might have some problems with rolling.
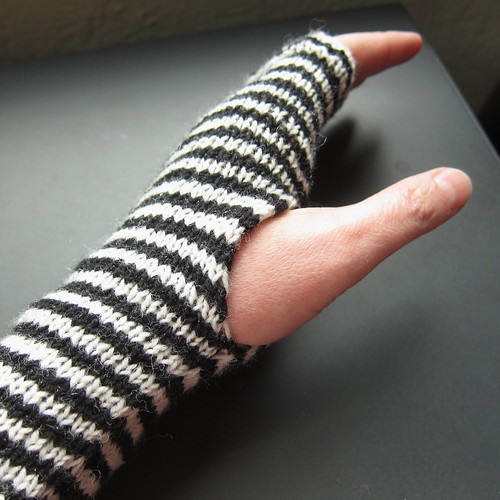
7. Knit the hand to the thumb – Once the top cuff is done you can knit the hand until you have the length you want your handwarmers to be before the reach your thumbhole. I’ve seen them reach almost the nail of the baby finger, some make them to the middle knuckle and others just go to below the fingers, this is your choice.
For my handwarmers I went to mid-finger. I wanted a length that would keep my fingers a little warm, but still let me use them.
8. Make the thumbhole – We are going to do the most basic thumbhole for this handwarmer, just a straight opening. We do this by knitting flat for awhile instead of knitting in the round. You can do this right on your double-pointed needles.
On the first row of the thumbhole knit to the end of the row. Now, instead of slipping the marker and continuing in the round, turn your work and purl back the way you just came. You’ll be looking at the inside of you handwarmers. When you get to the end of that round, turn your work again and knit back the way you just came. Continue in this manner for about 1 1/2″ (it’ll look too small, but I wear and women’s large and it was perfect for my thumb. You could go to 2″ if you want a more generous hole.)
You can do the thumbhole just as I’ve written it above and it will look fine. You will those have that bumpy edge that you get when knitting stockinette. You can create a smoother edge by slipping the last stitch of every row.
9. Join back up and keep knitting – When you have knit the thumbhole to the desired length, start knitting in the round again. Knit until your handwarmer is the length of your hand.
10. Finish it up – Keep knitting until your handwarmer is the length you want down your wrist ending with the cuff design of your choice. You can make these as long as you want.
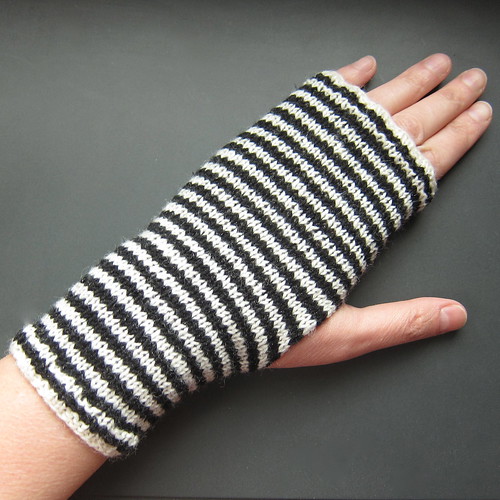
Once again you have choices. You can do stockinette until the very end and just add a small cuff like I did.
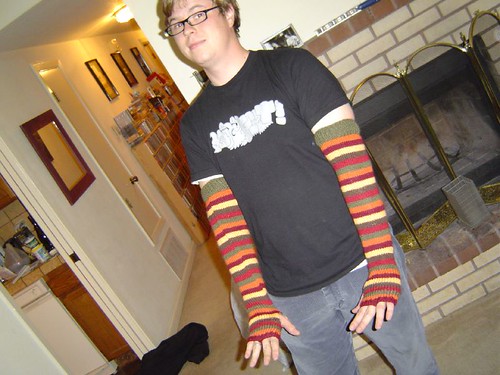
Or you can add a much longer patterned cuff like in the Mad Cat Handwarmers.
No matter what you chose to do, make sure to bind off loosely.
Weave in your ends and you have designed a custom fit handwarmer!
There are so many things you can change up to this design to make it your own. Add a colorwork design. Do a cable, lace or rib pattern through the whole handwarmer. Add a picot or lace edging to the cuff.
Have fun with it. Designing your own knitwear can be addictive once you see how easy it is.
© 2005 – 2013 Kathy Lewinski & Susan Cornish

Thank you so much for this tutorial – I feel I can knit beautiful handwarmers for anyone. God bless you!