

(Every week until December 1st we will be making a small Christmas ornament that can be used in our Pocket Advent Calendar. Join us in making all 24 or just pick and choose your favorites.)
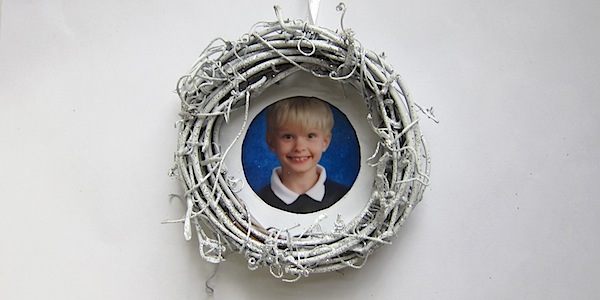
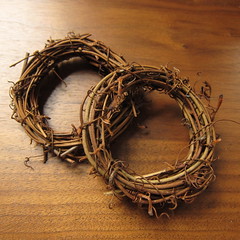
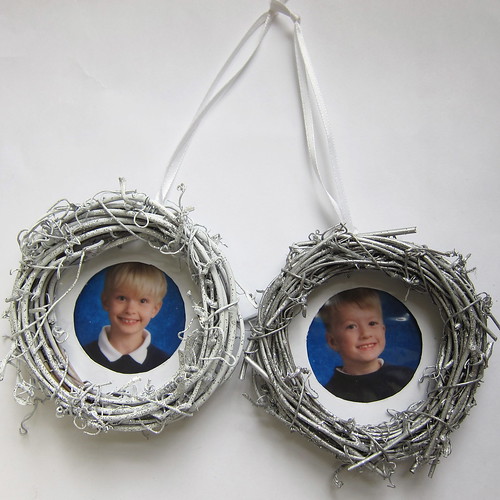
I think there is something so wonderful about having family pictures on your Christmas tree. The holidays are supposed to be about family and friends, so making them a part of the decorations only makes sense. With that in mind, this week’s ornament is a willow wreath frame.
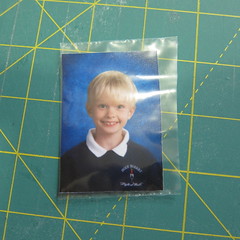
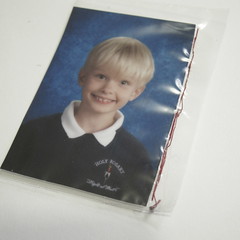
Three inch wreaths are the perfect size to hold a small school picture. Of course, these don’t just have to be for school photos, photobooth pictures (which are the right size too) would be really fun in these frames. Vintage family photos or wedding pictures reduced to fit would be lovely too. A circular white matting and plastic photo sleeve hold the photo in place. The sleeve is open at the top allowing the picture to be exchanged each year. (Though you could always make a new wreath for each new year’s photo.)

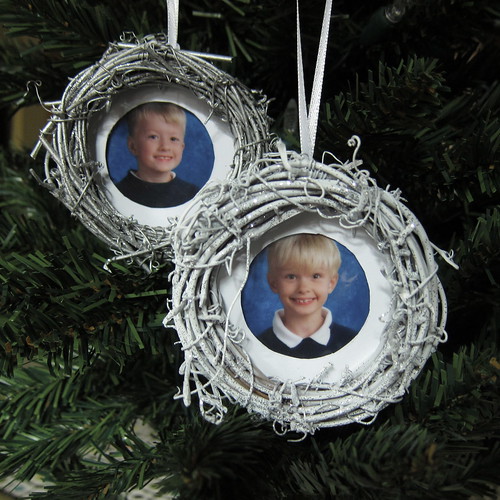
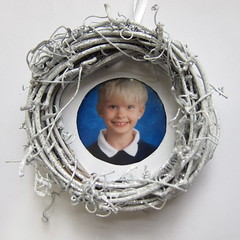
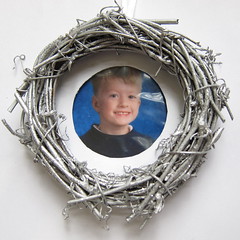
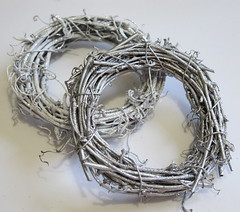
The wreaths are painted white or silver and sprinkled with glitter to make them stand out against the green tree. I can’t decided if I like the silver or white better. The white is really crisp but the silver has an antique feel to it.
Now, I have 4 more nephews photos to make frames for!
Willow Wreath Photo Ornament
Supplies:
- Small willow wreath, about 3-inches (I found them at Michael’s for $0.49)
- Silver or white spray paint
- Silver glitter
- Cardstock
- Compass
- Scissors
- Tacky glue
- Small plastic bag or sleeve, the ones I used were 2.75″ x 4.5″, you just want it to be big enough to hold a small school photo. If you can find one that fits a photo perfectly all the better.
- Thread
- Thin hand-sewing needle
- 8 – 10″ length of 1/8″ ribbon
1. Paint the wreath – Decide which side of the wreath will be the front and which will be the back. You want the back to be the flatter of the two. Trim branches that are sticking out with scissors if you need to make it flatter. Spray paint the wreath on both sides with white or silver paint. I did one coat on the front, one on the back (making sure to get the sides) and then a second coat on the front. While the last coat was still wet I sprinkled some fine silver glitter on.
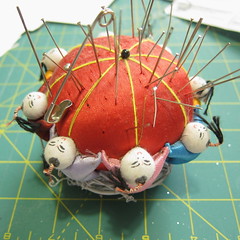
2. Make the photo mat – Using the compass draw a circle that has a diameter of 2.5″. The draw a circle inside that one with a diameter of 1.5″. Cut the circle out making a donut shape. Use the glue to attach it to the back of the wreath, making sure the center hole is centered in the middle of the wreath. Let dry. I used my pin cushion as a little weight while it was drying.


3. Make the photo sleeve – My plastic bag fit my photo like this.
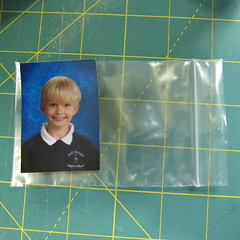
I wanted it to be closed on both sides and the bottom and open on the top. So, I trimmed the bag to be 1/4″ wider than the photo.
Then with a thin needle and thread a sewed up the side twice, you could probably do this with your machine. (I was tempted to try melting it with my iron, but was afraid that would get messy.)
Then I trimmed closer to the stitching and cut the excess at the top of the picture. Now the sleeve is only open at the top. (You may have to do this differently depending on the size of your plastic bag or if you are lucky not at all.) Carefully, glue the photo sleeve to the photo mat making sure to center it.


Now you can change the photo whenever you like.
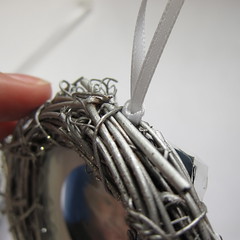
4. Attach ribbon hanger – Fold your ribbon in half and tie a slip knot at the top to create a loop. Thread it through a branch at the top of the wreath and knot it through its own loop. (A needle or pin can help push the ribbon between branches if its tight.)
Your wreath is now ready to hang and enjoy.
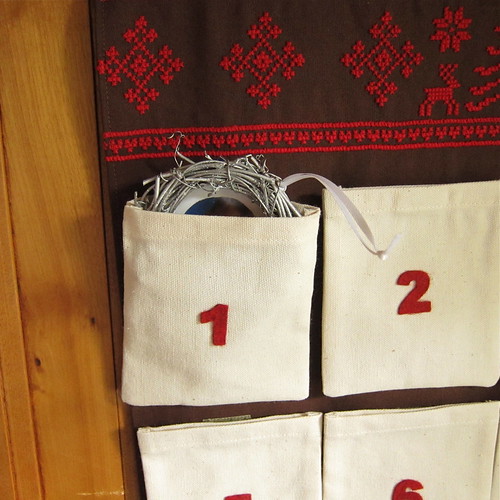
Or, of course, put in pocket 1 of your advent calendar.
© 2005 – 2012 Kathy Lewinski & Susan Cornish


One Comment to Advent Calendar Project – Week 1